Daggerfall Tools for Unity generates very large, complex procedural scenes entirely at runtime. If you haven’t seen it already, check out the mod showcase video to see just how large these environments are. Every texture, billboard, mesh, town, and dungeon are imported and converted procedurally from native DOS binary data at runtime.
While converting our material system over to the Standard shader for Unity5, I thought how great it would be to add normal maps to the procedurally generated scenes. Unfortunately, Daggerfall is such a classic game (polite way of saying very old) it doesn’t come with any normal maps built-in. And the requirement for this to happen at runtime added several challenges along the way. This journal entry details how I go about it.
The basic strategy of generating normal maps is to create a bump map from the colour image based on light and dark areas, then change the bump map into a normal map. It’s a simple idea in theory, but how does it look in practice? Turns out it looks pretty good, even helping the pixel art to “pop” a little.
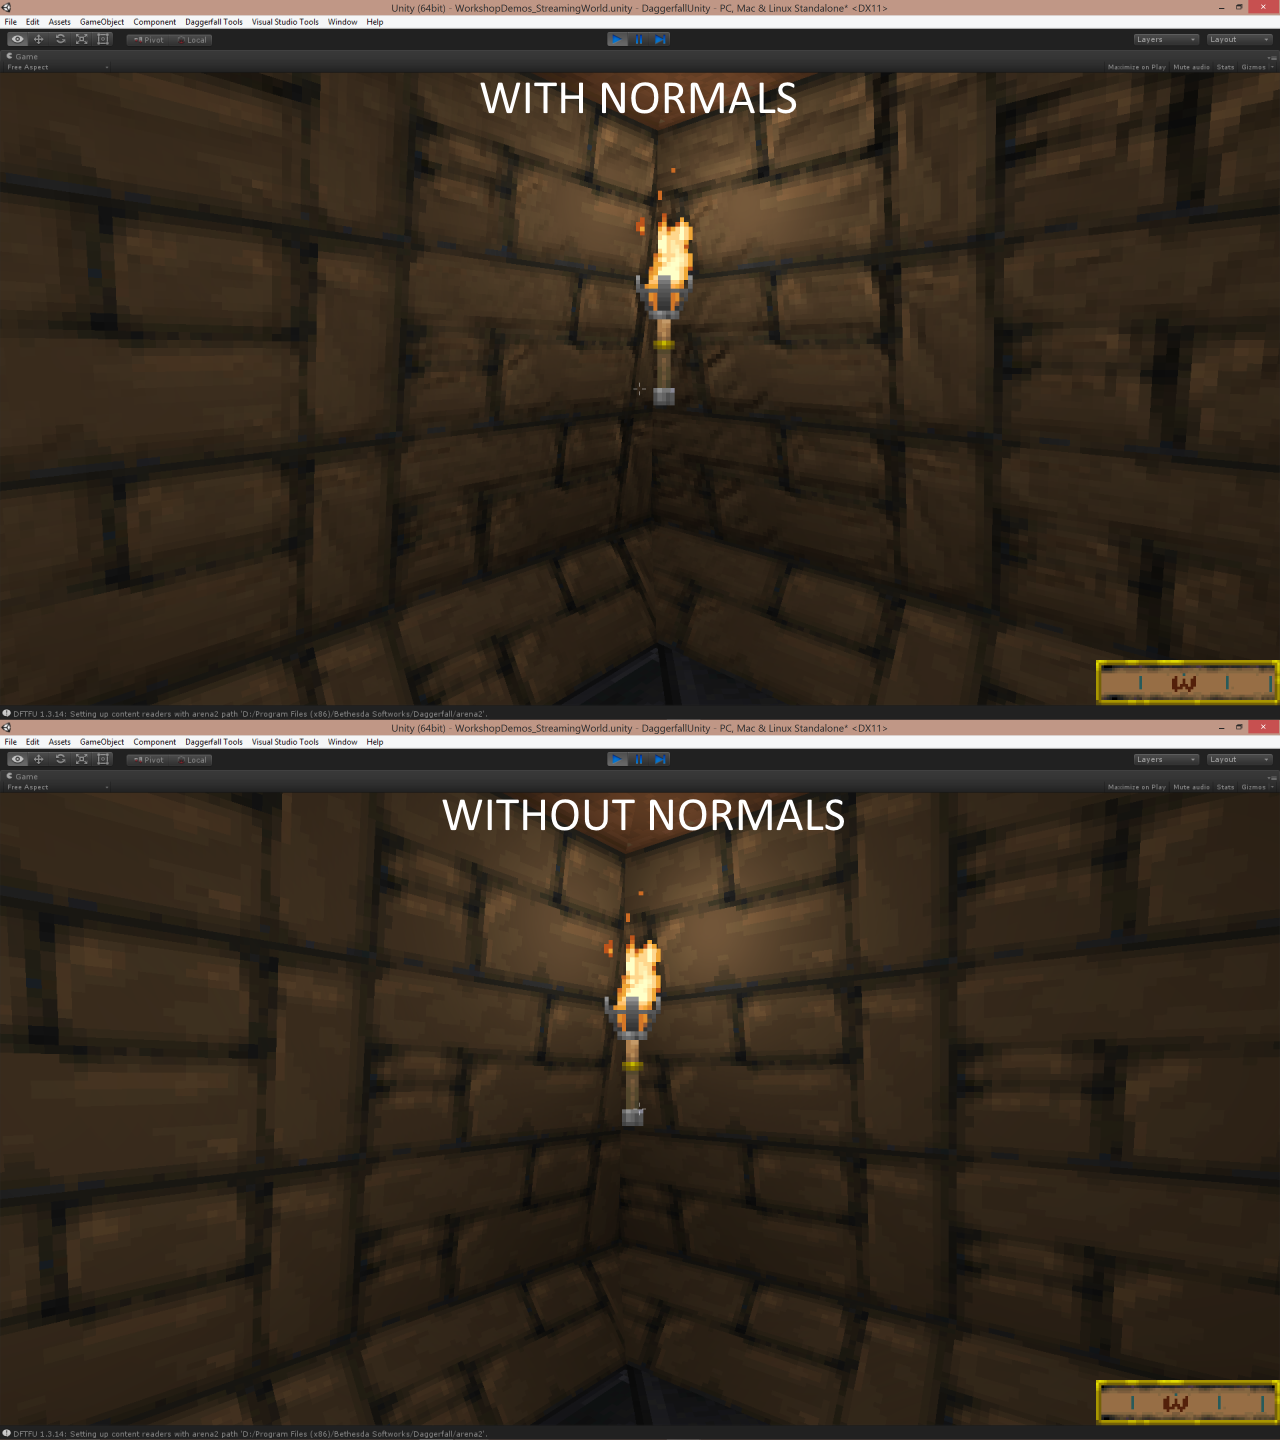
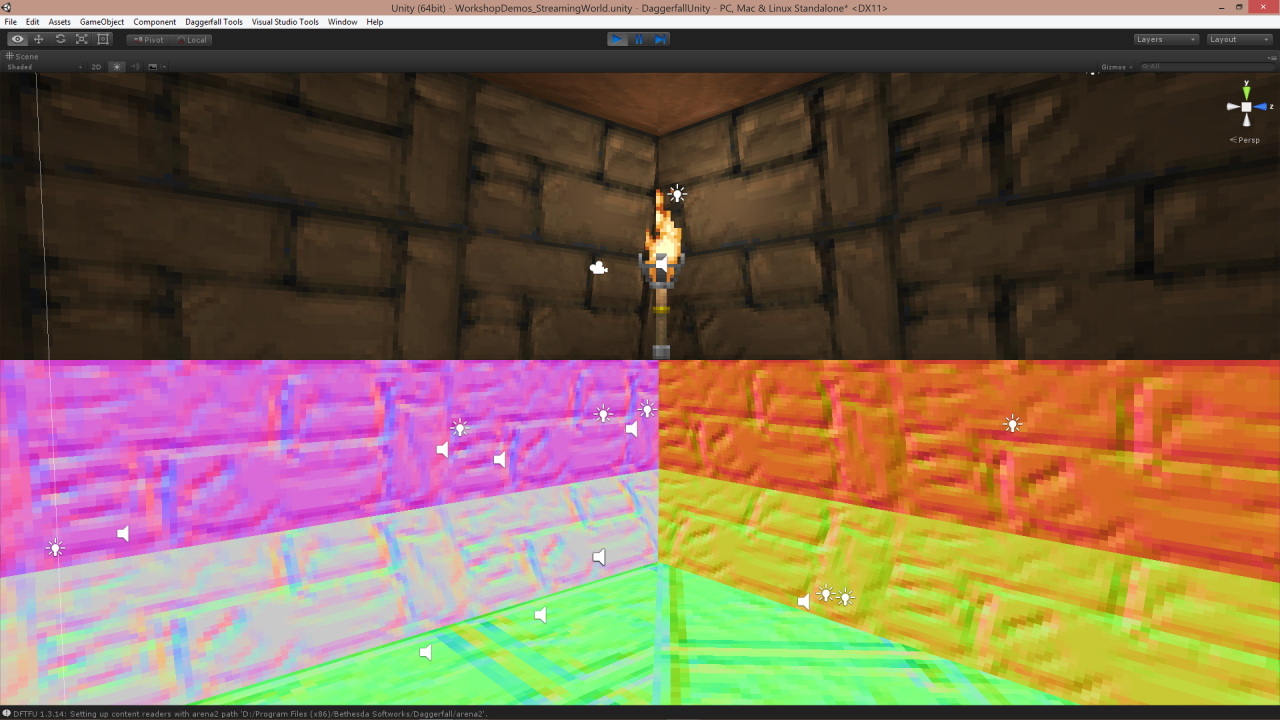
Identical scene with and without normal maps
In the scene with normals, textures take on a bit more character and bumpiness, helping them to feel more like real surfaces than just textured polygons. While the effect will never be as great as hand-painted normal maps, the generated approach works surprisingly well with Daggerfall’s painterly, somewhat cartoony textures. So how does it work behind the scenes?
The magic all begins at import time with a matrix convolution filter in our ImageProcessing class. The first step is to run source textures through something called a sobel filter to find edges in the image. After a lot of experimentation, I settled on a two-pass (horizontal then vertical) sobel filter as this produced noticeably better results than one-pass filters. The passes are combined together to produce our final bump map.
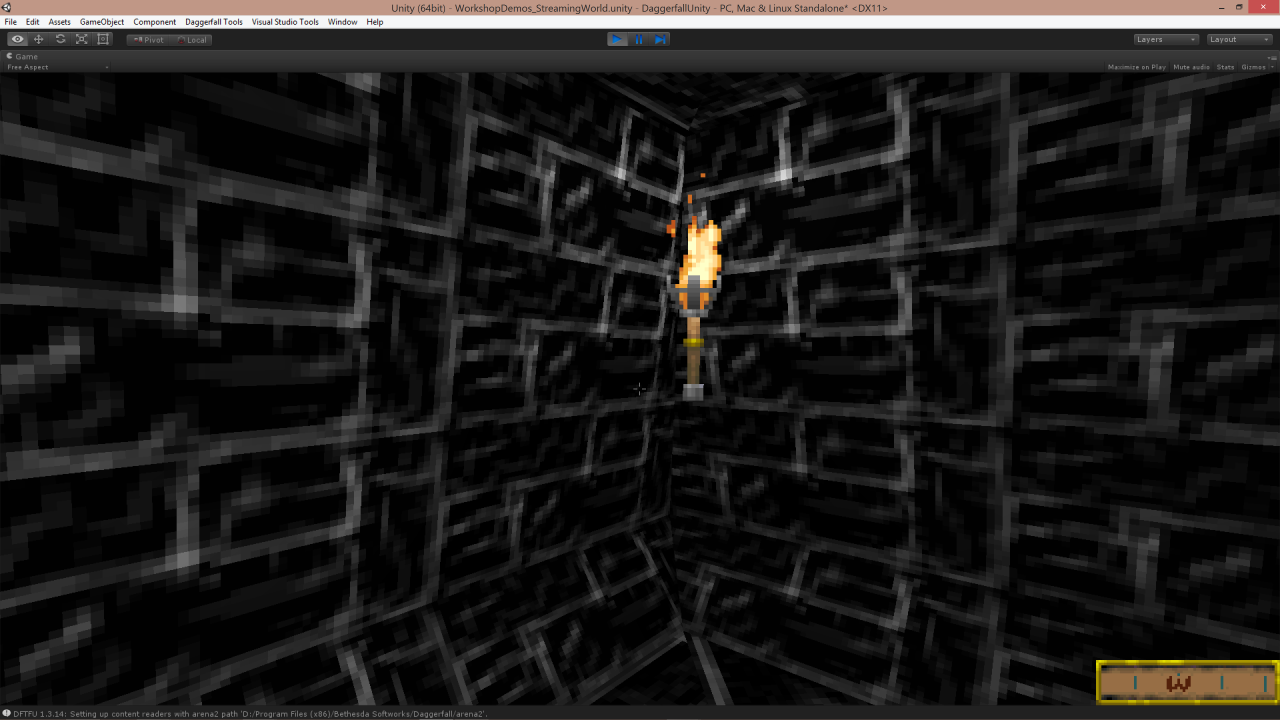
Bump map shows texture gradients based on colour value
Thanks to the sobel filter, we now have a reasonable understanding of the gradient at each pixel. Brighter pixels have a steeper gradient than dark pixels. Armed with this information, we can derive our normals for any pixel by sampling the gradient of every pixel around it, then calculating the cross product from the gradiants. Here’s the code.
// Look up the heights to either side of this pixel
float left = GetIntensity(ref colors, x - 1, y, width, height);
float right = GetIntensity(ref colors, x + 1, y, width, height);
float top = GetIntensity(ref colors, x, y - 1, width, height);
float bottom = GetIntensity(ref colors, x, y + 1, width, height);

// Compute gradient vectors, then cross them to get the normal
Vector3 dx = new Vector3(1, 0, (right - left) * strength);
Vector3 dy = new Vector3(0, 1, (bottom - top) * strength);
Vector3 normal = Vector3.Cross(dx, dy);
normal.Normalize();
We also need to write the colours back into the array. The normal is also inverted at this time. Thank you to Huknar on Reddit for the tip.
// This is a standard normal texture without Unity packing
newColors[y * width + x] = new Color32(
    (byte)((normal.x + 1.0f) * 127.5f),
    (byte)(255 - ((normal.y + 1.0f) * 127.5f)),
    (byte)((normal.z + 1.0f) * 127.5f),
    0xff);
And here is the resulting normal map shown as colours. Each pixel now communicates a little bit of 3D information for Unity’s graphics engine work with.
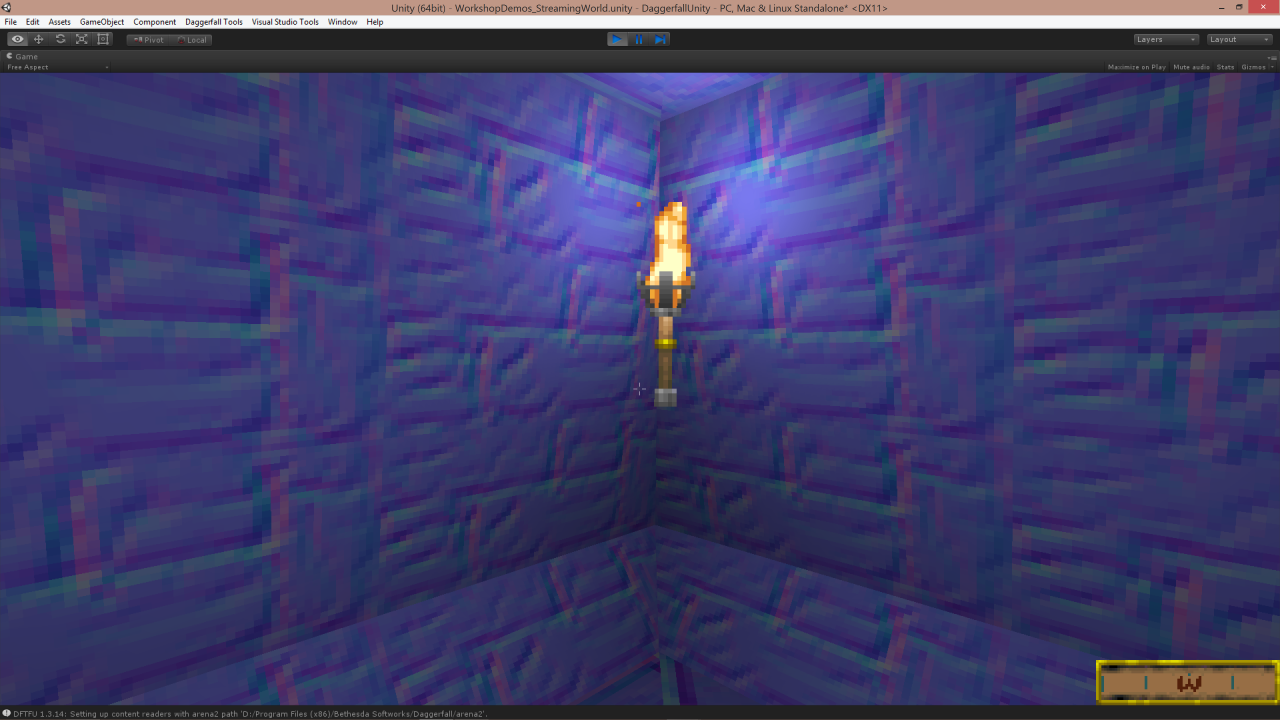
Normal map shown as 2D colours
Now there’s one more wrinkle we need to deal with. If you’re astute, you would have noticed something about “Unity packing” in that bit of code above. When importing textures in to Unity via the editor, you need to check a box so the engine knows to treat it as a normal map. Unfortunately for us, we’re importing textures procedurally and building materials on the fly – there’s no check box here. So how does Unity know it should treat our texture as a normal map?
Besides just sticking the texture into the _BumpMap parameter of the shader, we also need to repack the texture in the same way Unity does when you tick that box to import a texture as a normal map. Internally, Unity actually repacks normal maps from X,Y,Z,1 (or R,G,B,1) to Y,Y,Y,X (or G,G,G,R). We need to do the same thing for our normal map to be understood. This code replaces the last block above.
// Store result packed for Unity
byte r = (byte)((normal.x + 1.0f) * 127.5f);
byte g = (byte)(255 - ((normal.y + 1.0f) * 127.5f));
newColors[y * width + x] = new Color32(g, g, g, r);
The end result looks like below. It’s still a normal map, just one pre-packed for Unity’s shaders. You don’t normally see this in action as it all happens behind the scenes.
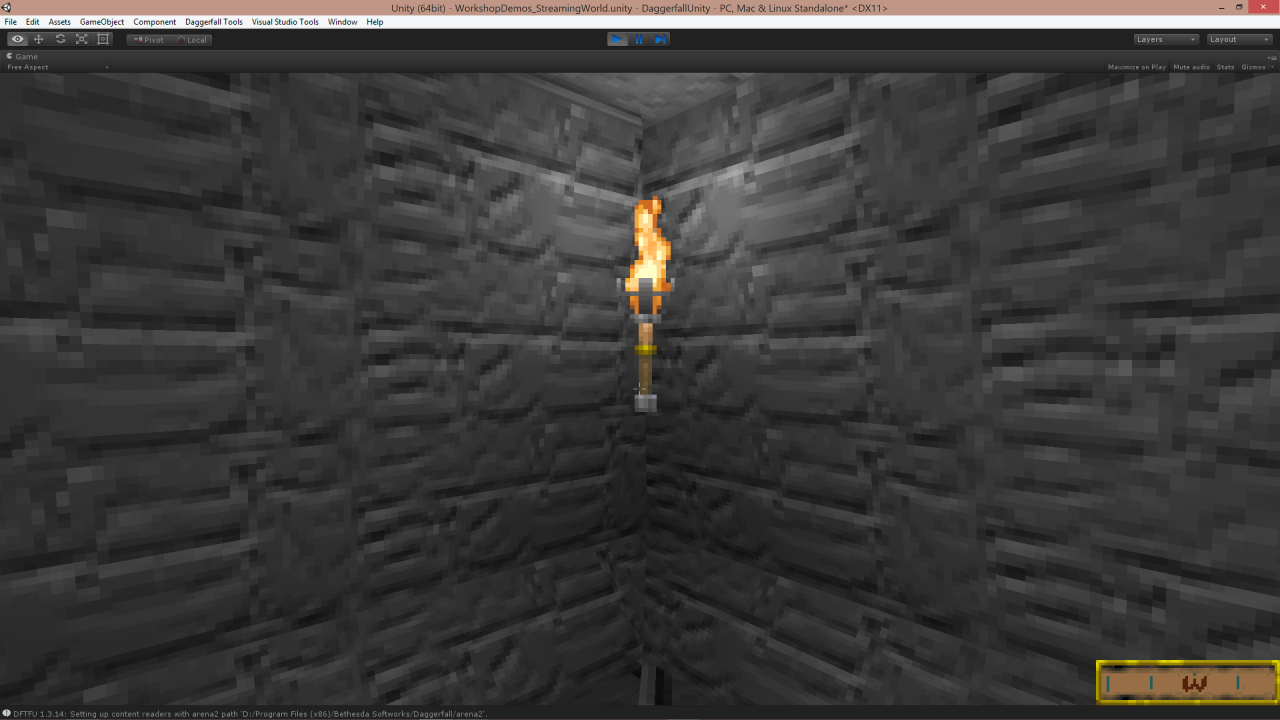
Normal map packed for Unity’s shaders
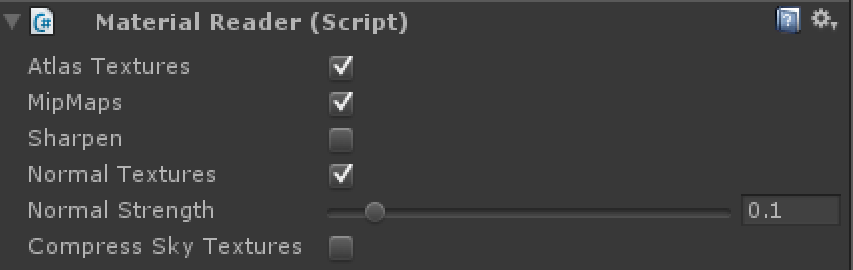
The final step is to create the material and assign the right texture maps to parameters in the shader. You also need to enable the keyword _NORMALMAP or Unity does not process the normals.
material.SetTexture("_BumpMap", normalMap);
material.EnableKeyword("_NORMALMAP");
 Procedural material with normal map generated at runtime
With everything put together, we get our scene with extra-bumpy textures thanks to the underlying normal information.
 Split shaded and normal views from editor
Putting all of this together was a fun process. I learned a lot about image processing and about how Unity works under the hood. Best of all, you can now add normal maps to your procedural scenes in Daggerfall Tools for Unity by simply ticking a box. Easy.
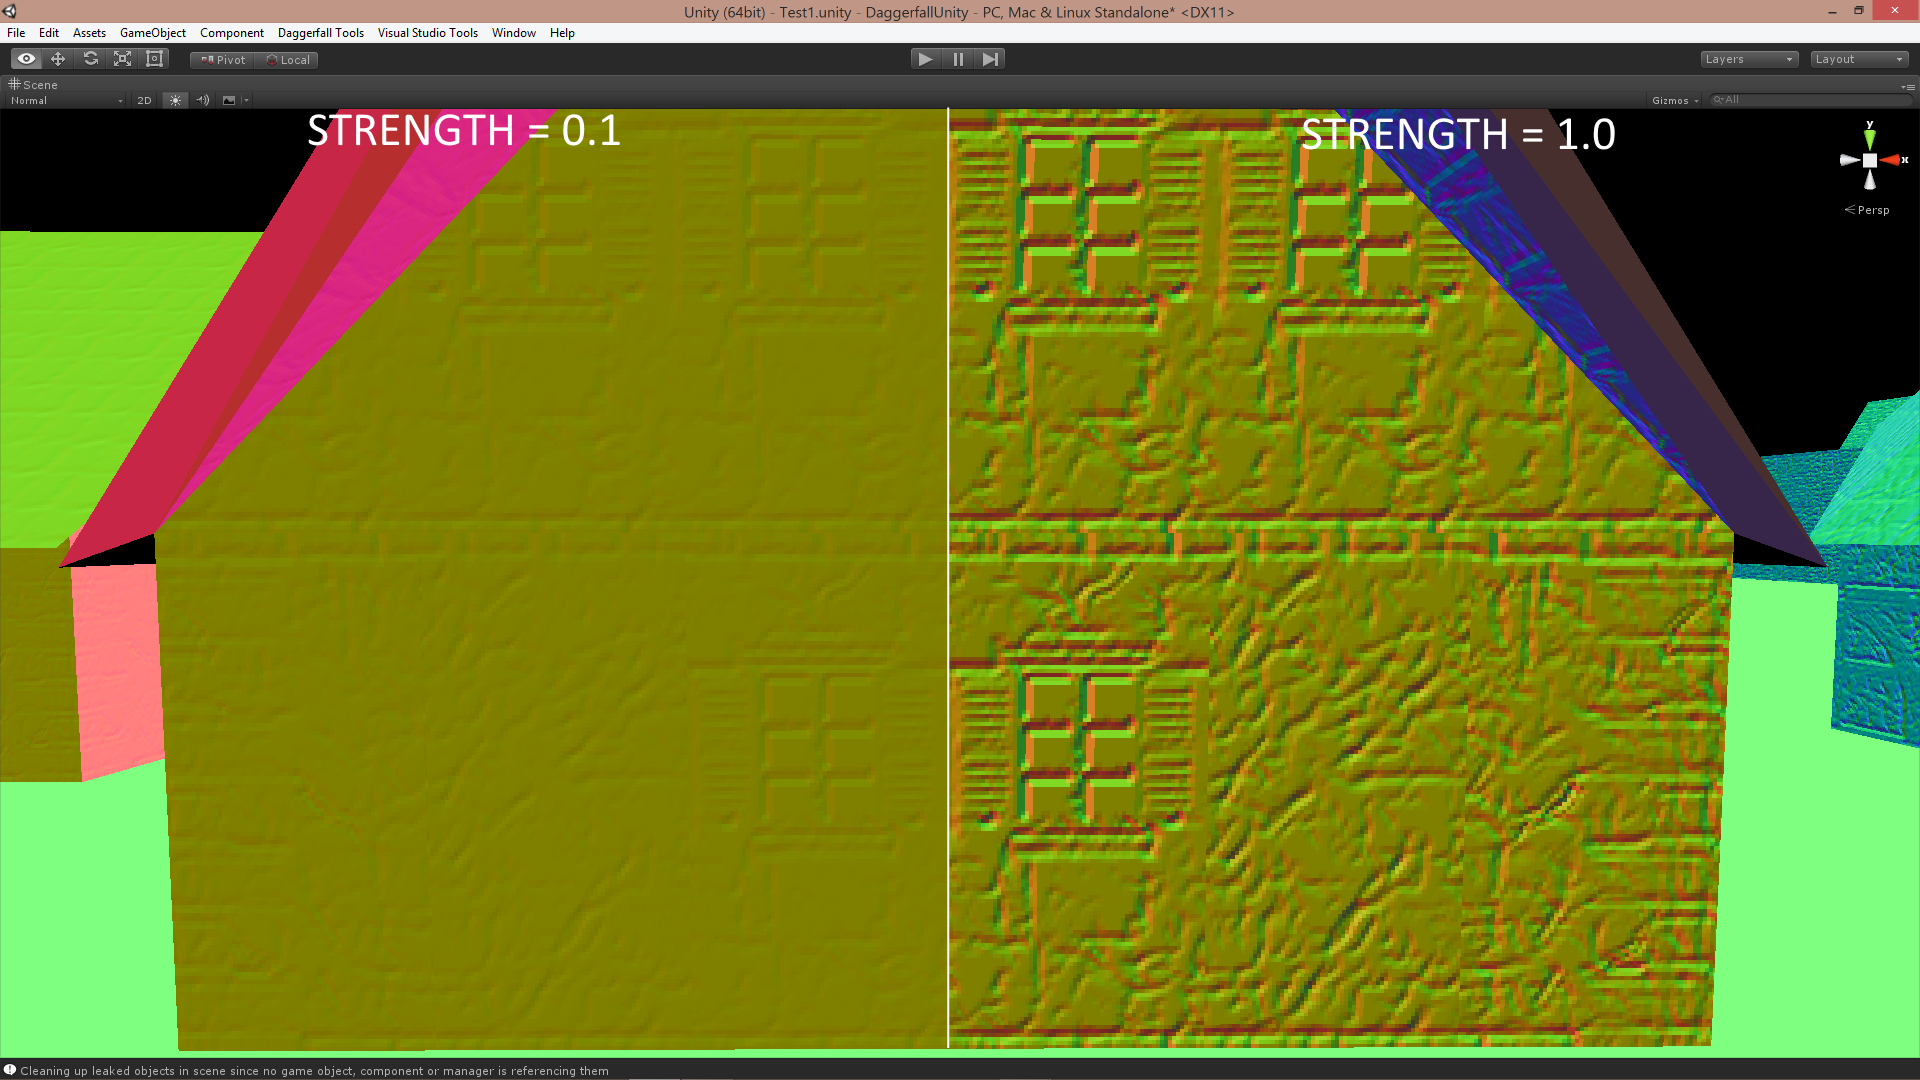
Comparing normal strength of 0.1 vs 1.0