Our rendering update and review continues with 0.13.2 now available on Releases page. This release fixes bugs, expands capabilities of new shaders, and helps mods reach compatibility with 0.13. Let’s unpack everything new in this release.
Expanded Default Shaders
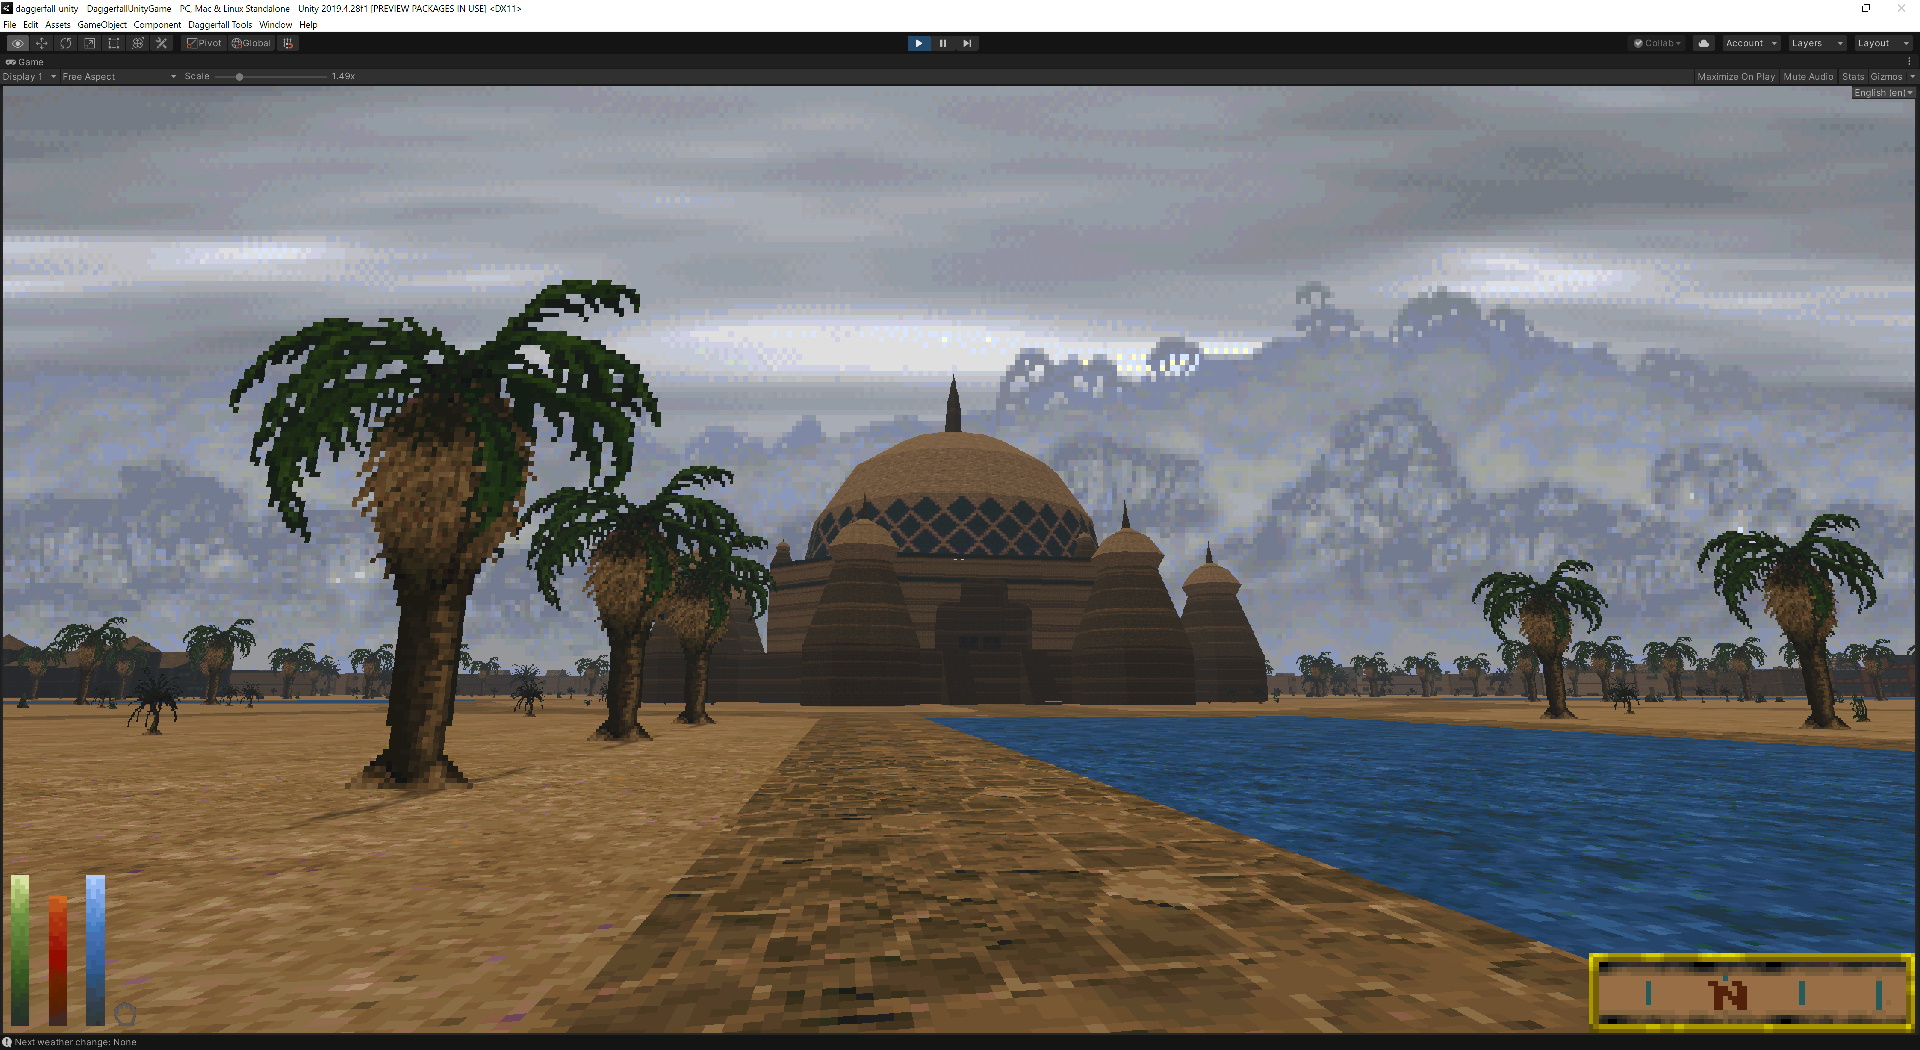
0.13 introduced new default shaders, the small programs which tell your GPU how to render objects and materials. These new shaders better reproduce classic’s colours and flat albedo look without all the unwanted specular shine that comes with Unity’s Standard shader, but did not support a PBR workflow by design. While this was suitable for classic textures, and mod authors could still use custom PBR materials in their .dfmod, any loose texture mods had less support than before.
From 0.13.2, default shaders now support albedo+normal+parallax+metallic maps, allowing loose texture mods to have an optional PBR workflow just by dropping the right textures into a folder. We also fixed several problems loading these optional maps in asset pipeline and extended this PBR support to terrain tilemap shader.
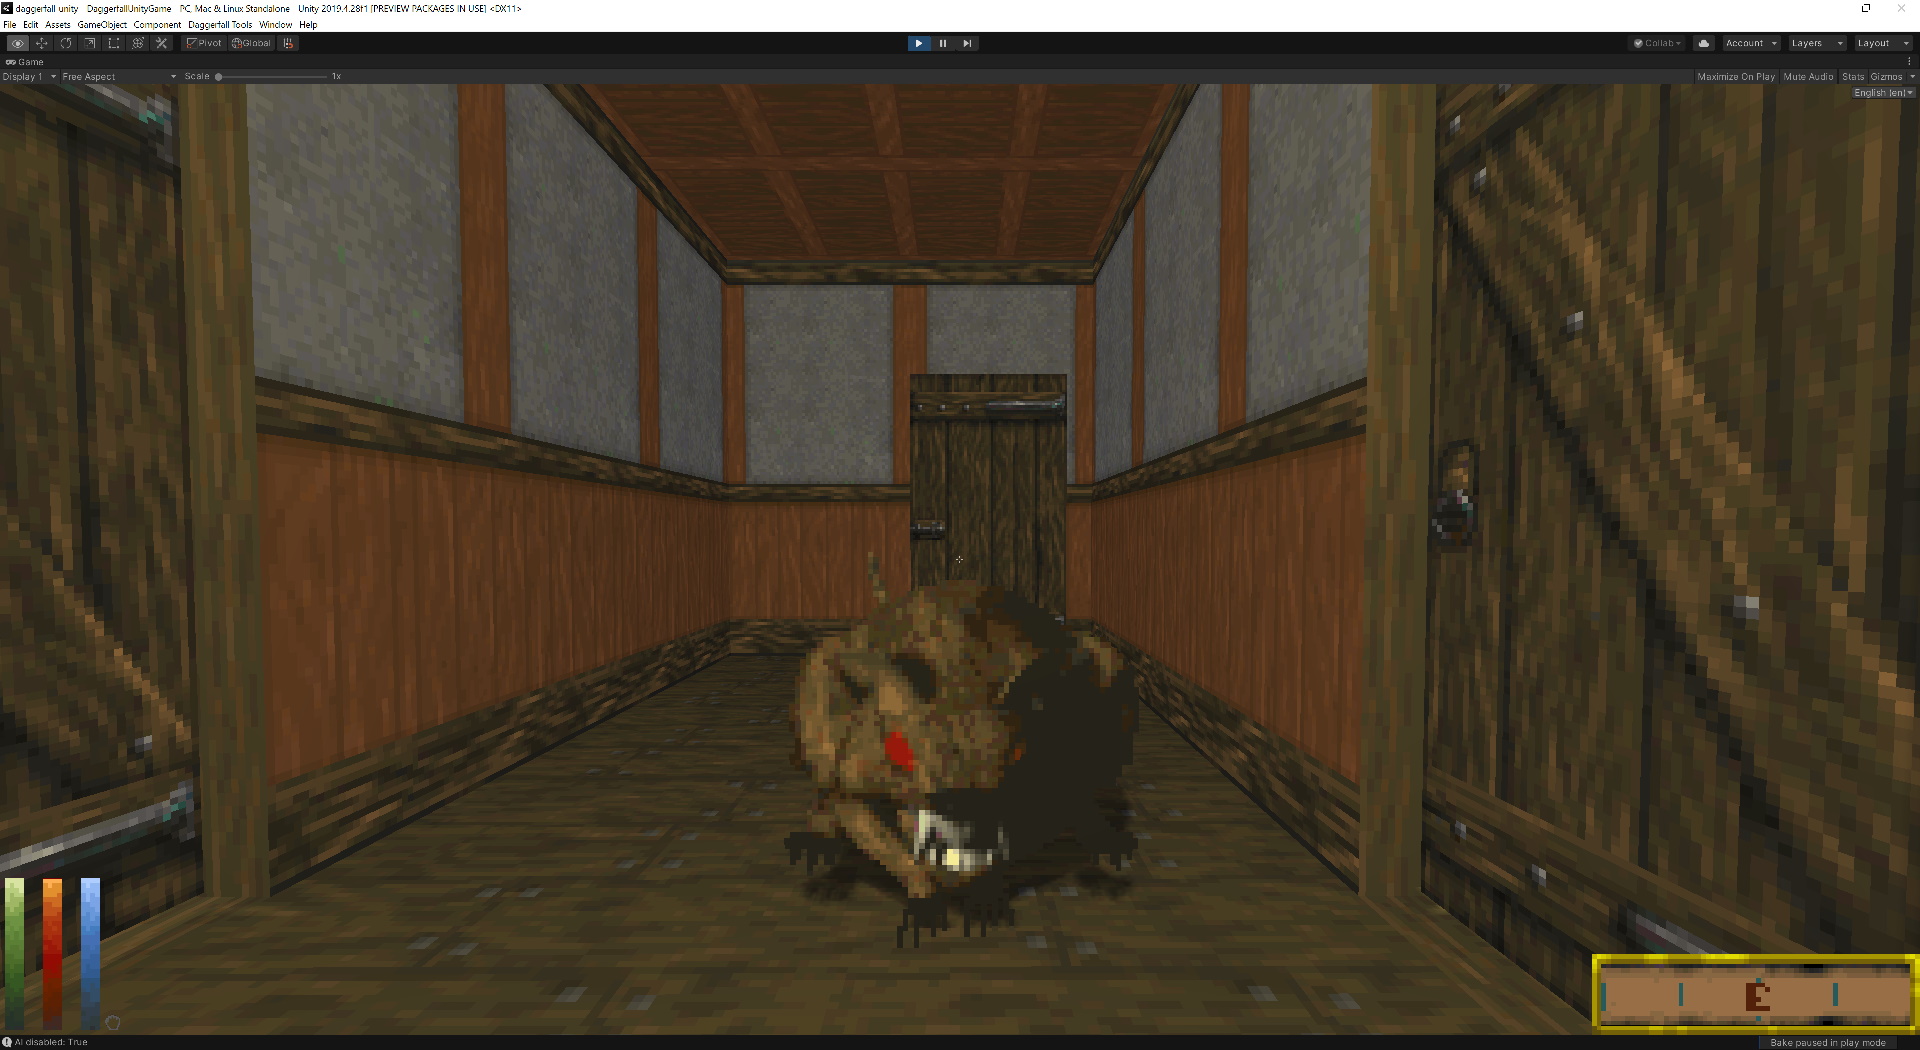
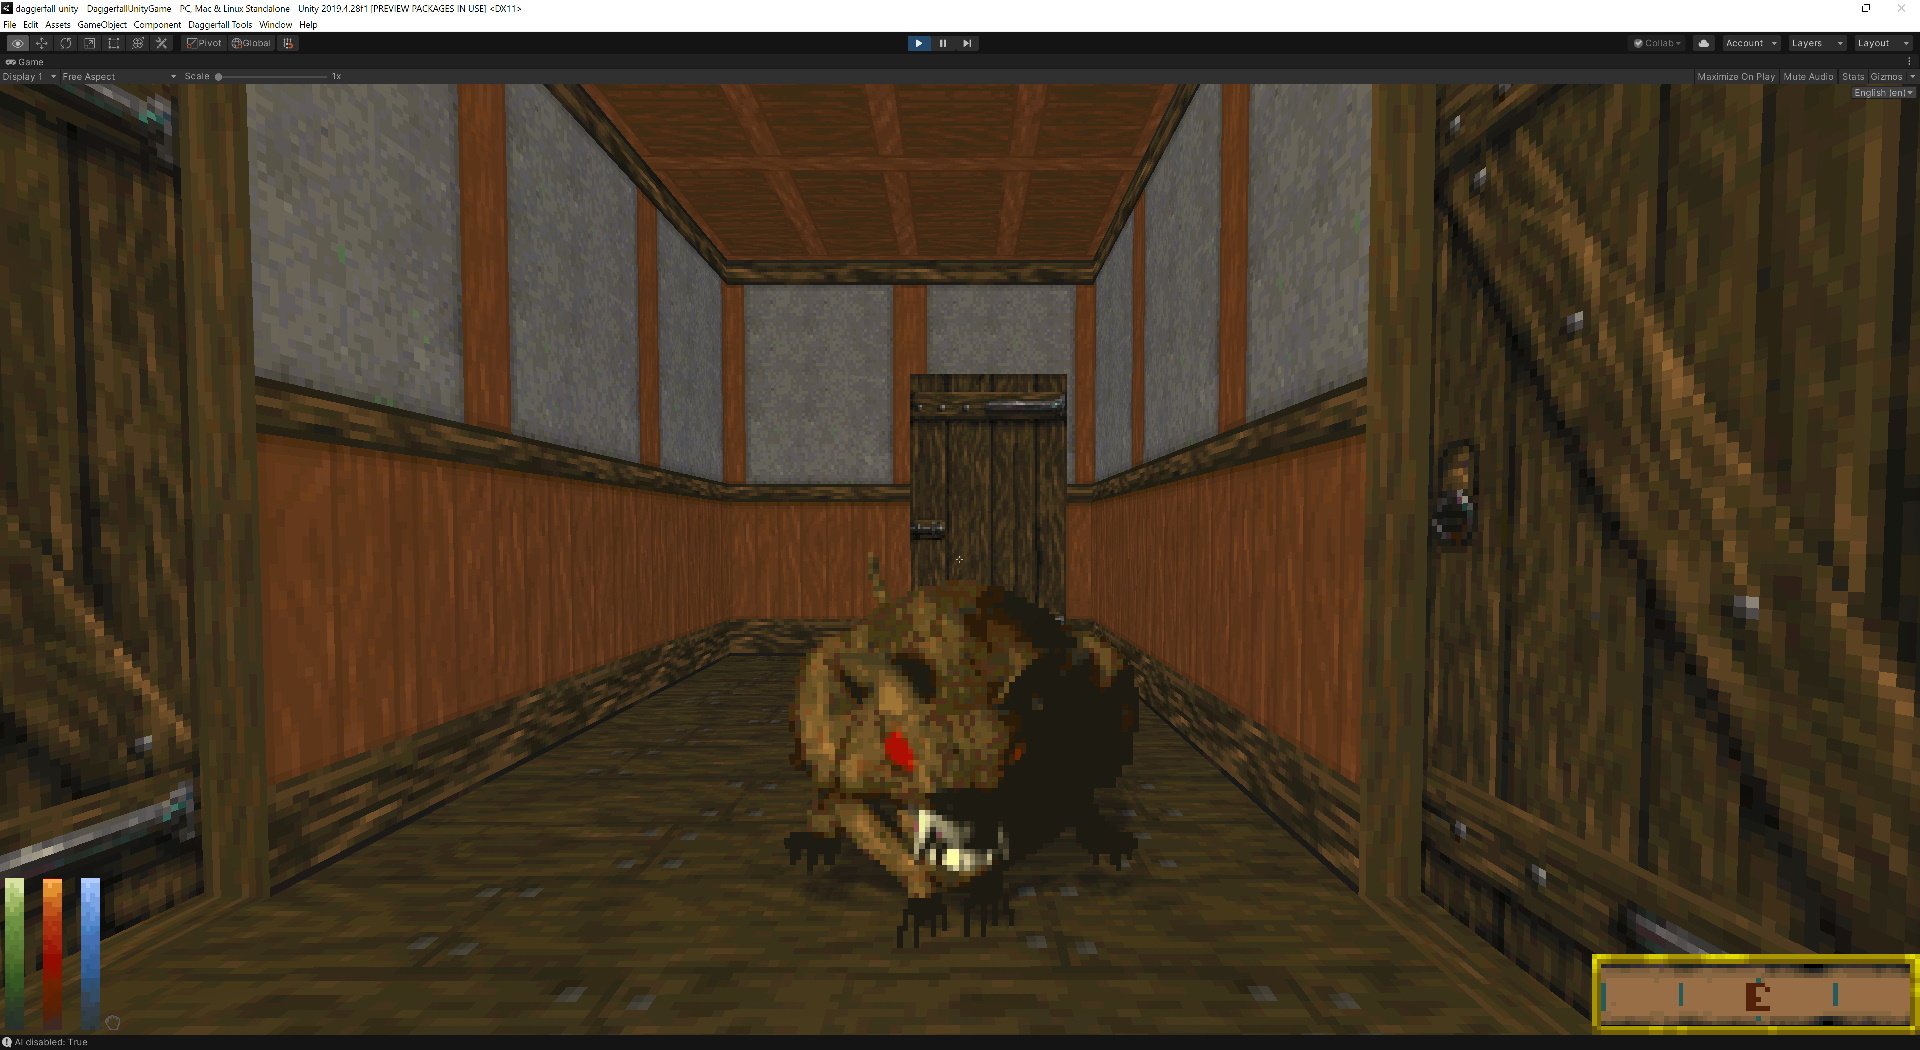
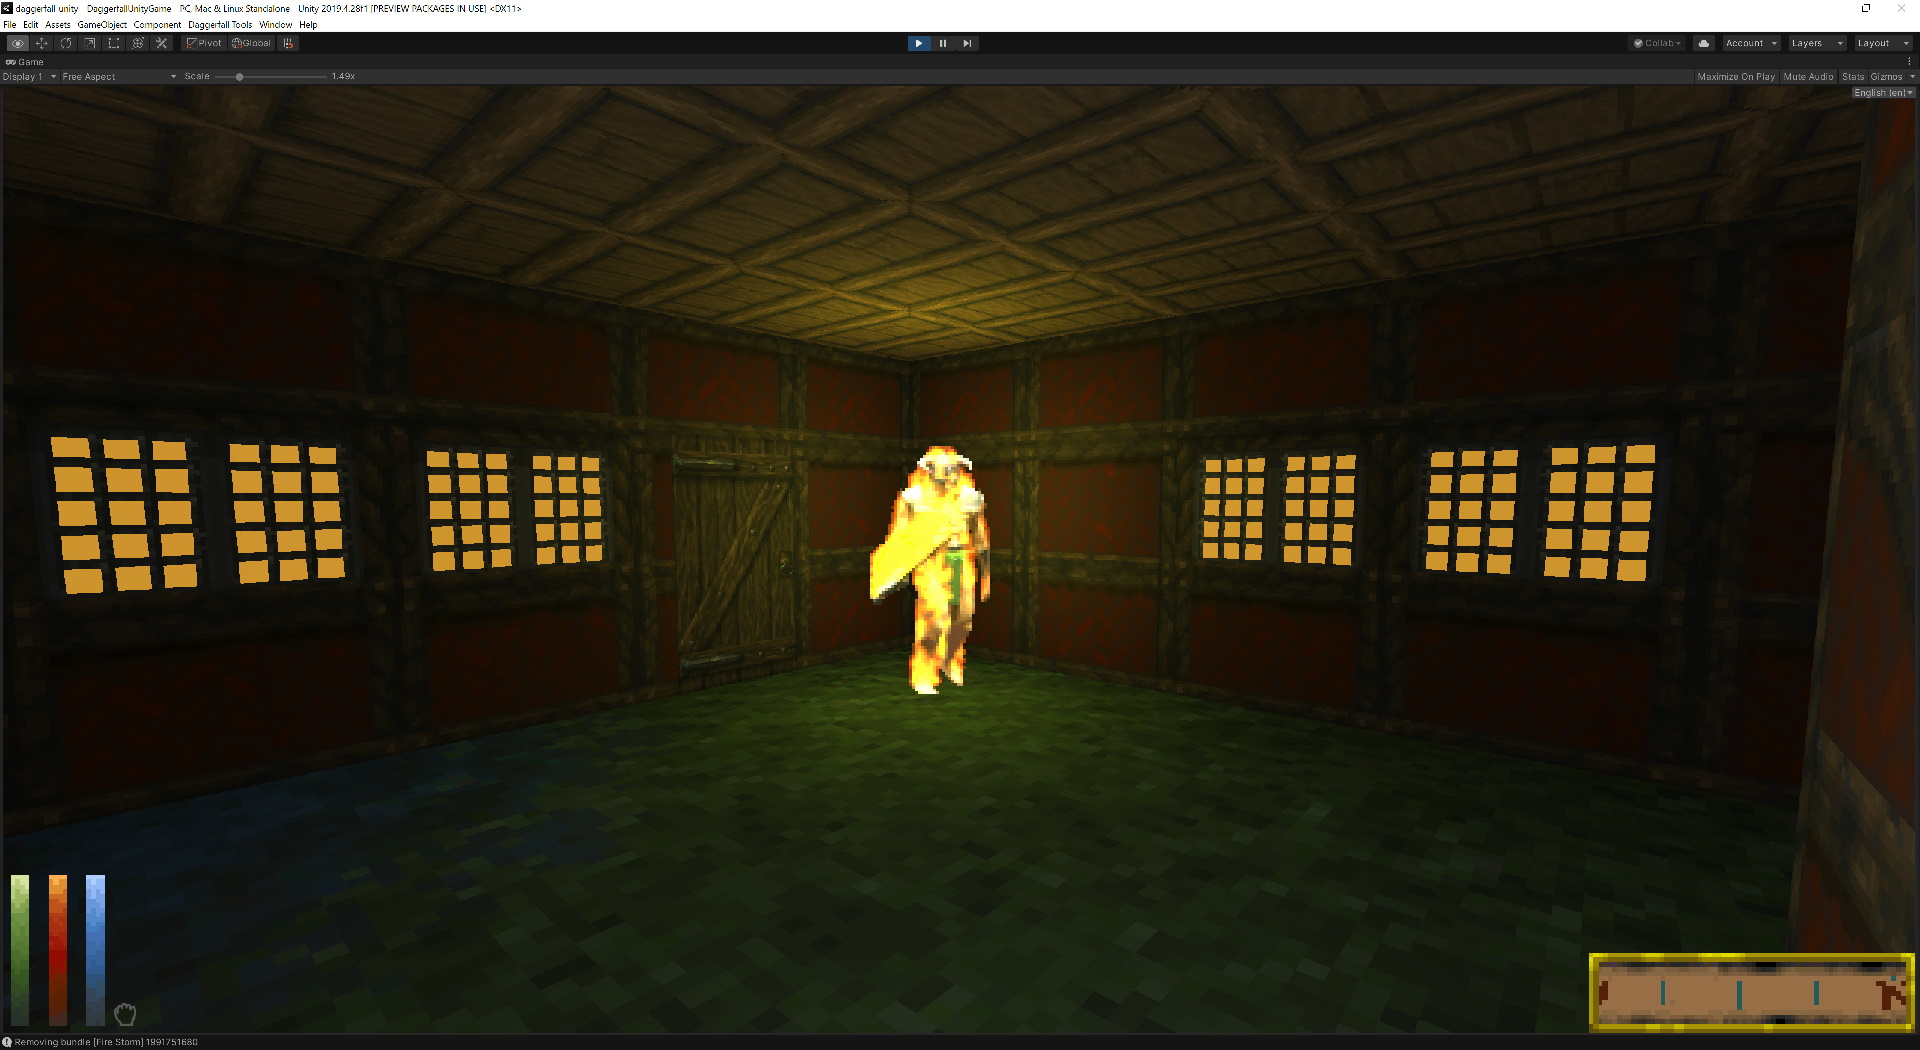
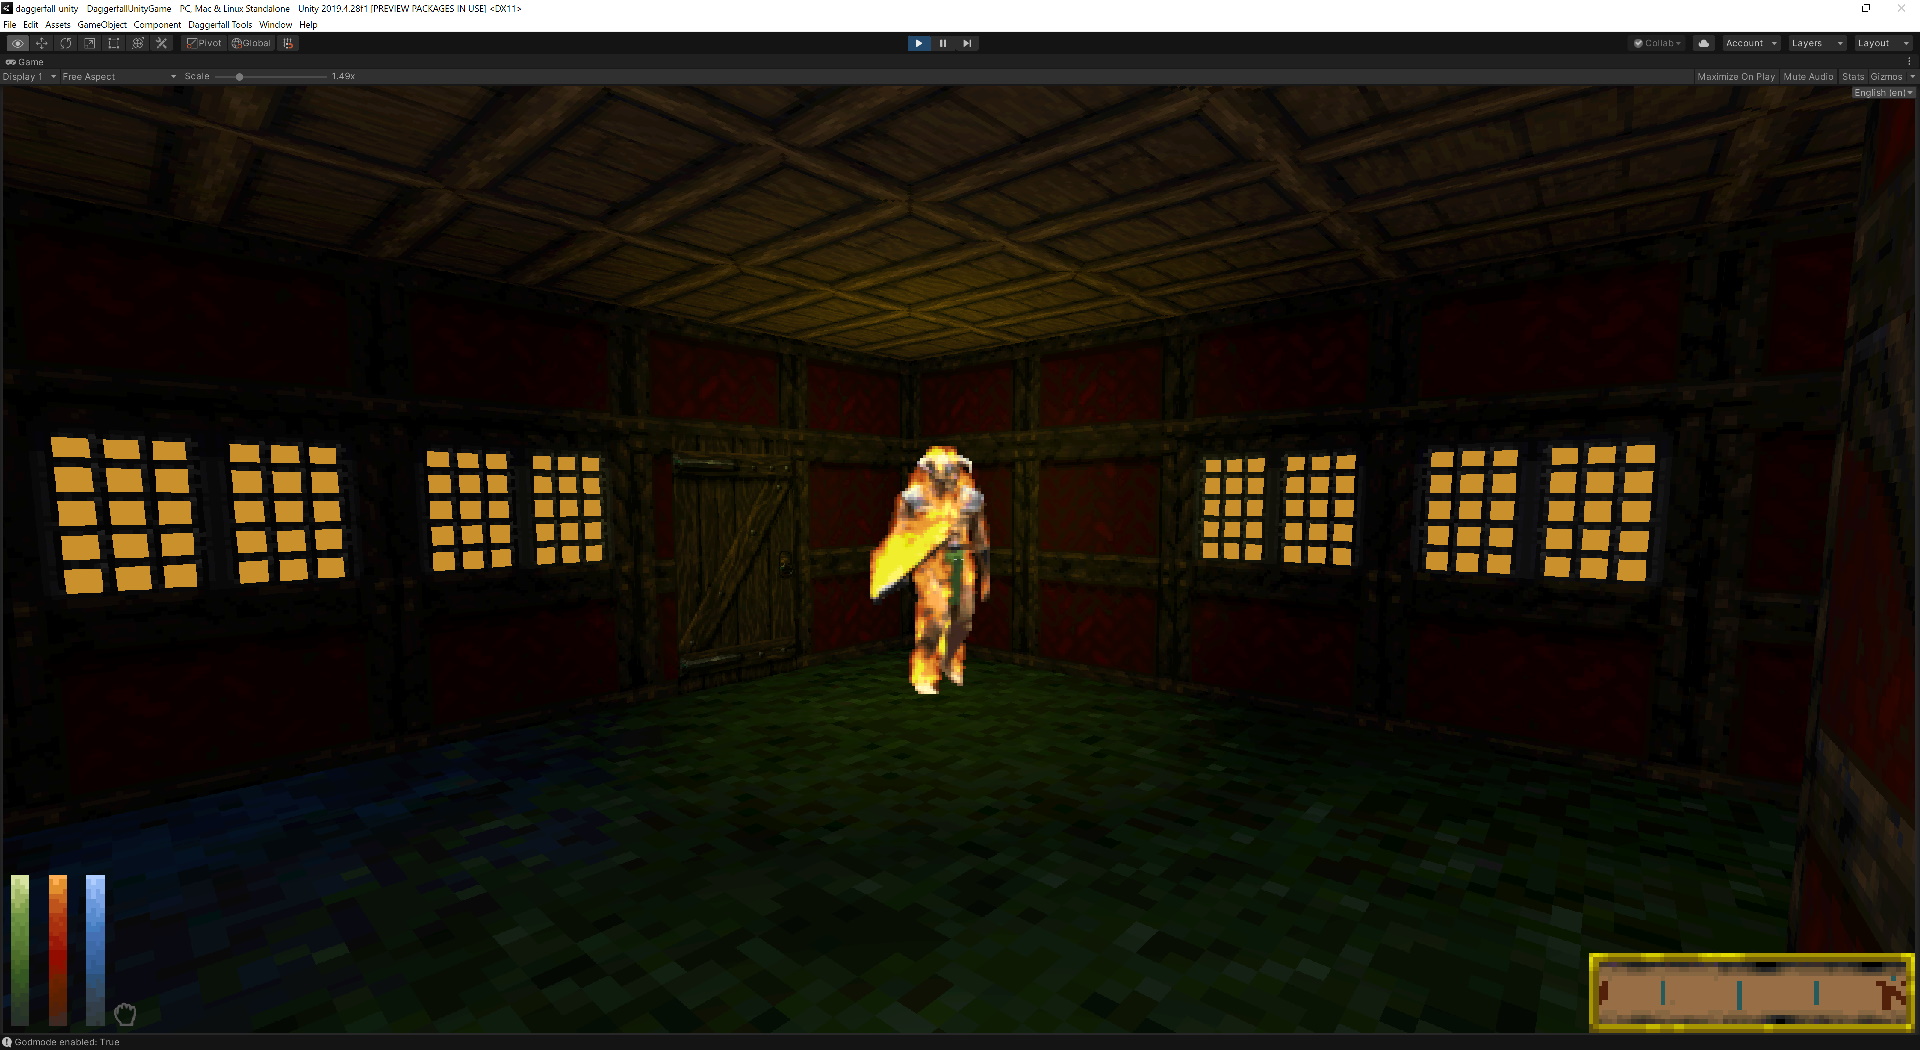
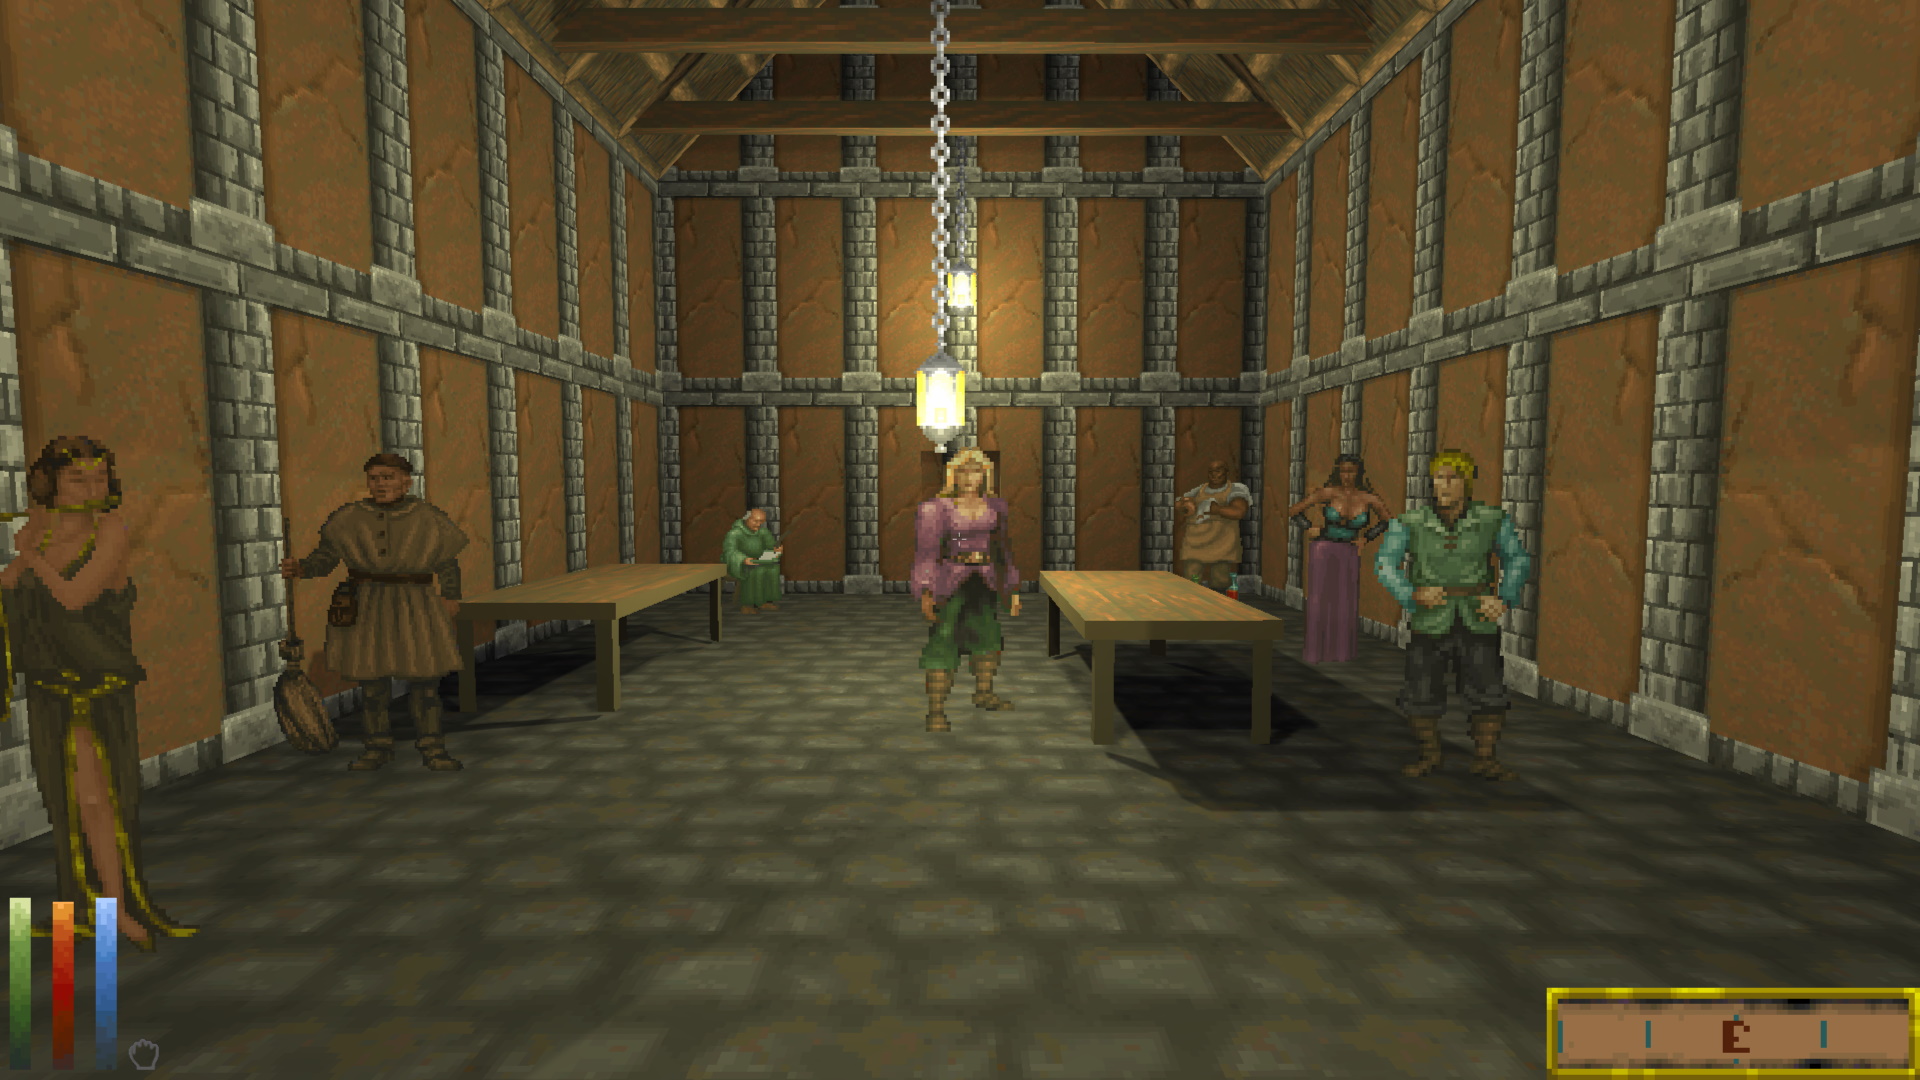
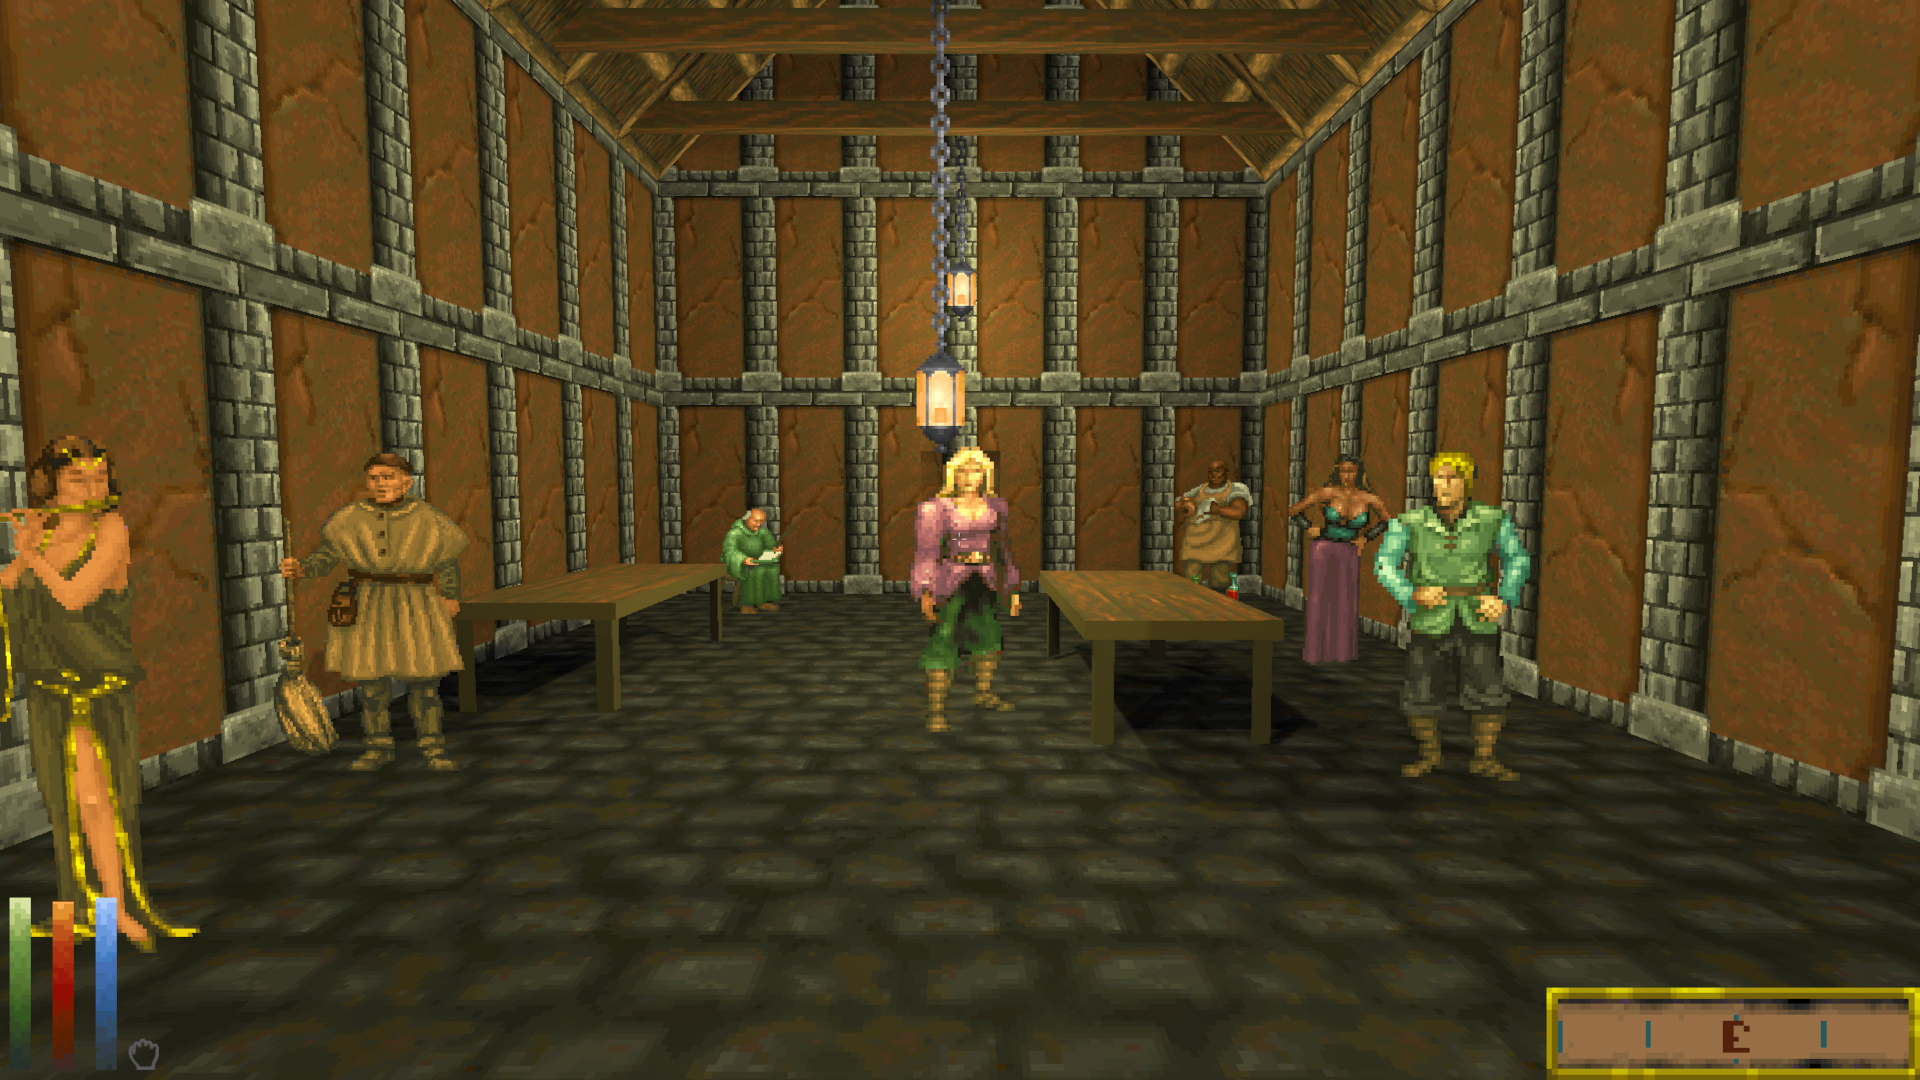
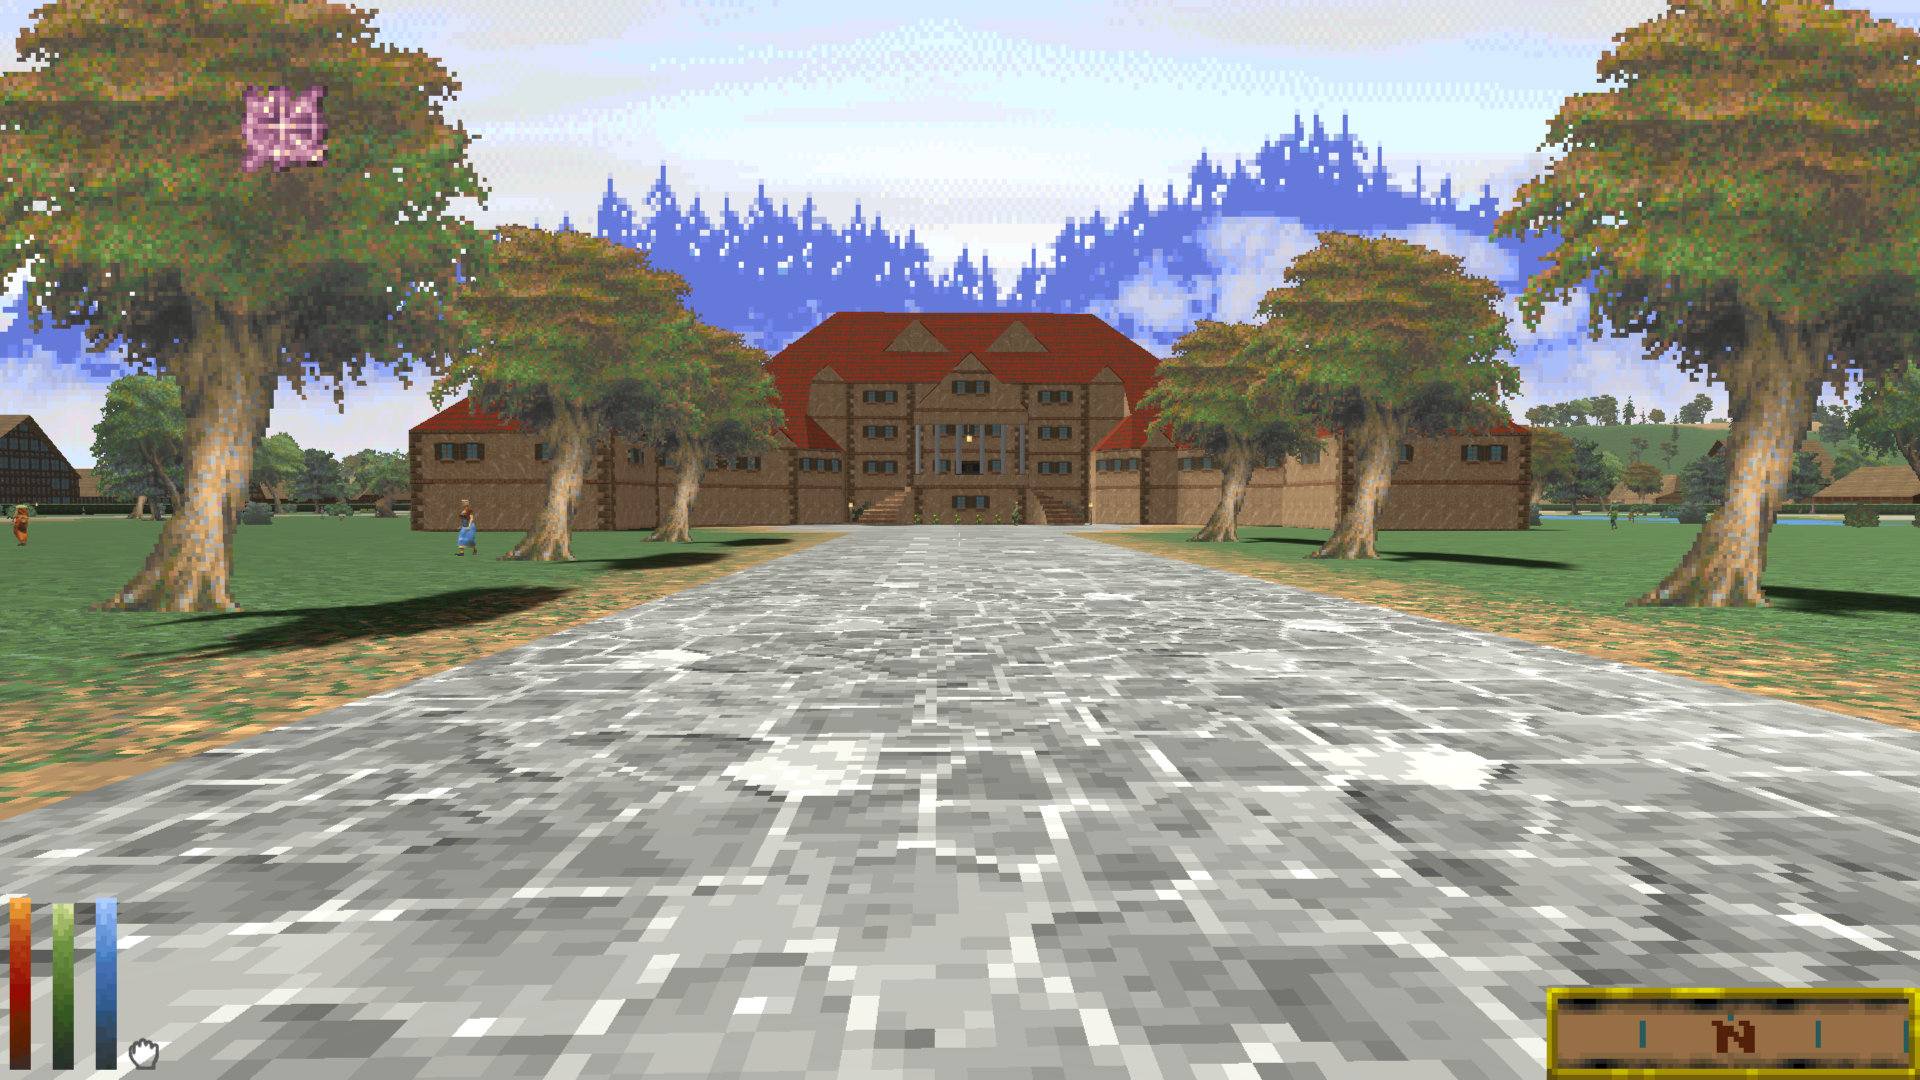
A good example of this kind of mod is Vanilla Normal Mapped which adds normal+parallax+metallic maps to complement classic colour textures. Screenshots below compare standard DFU textures and boosted by Vanilla Normal Mapped mod in 0.13.2.

These new capabilities in default shaders allow mods to intentionally reintroduce specular based on their materials, while still avoiding unwanted specular when using classic textures only. The big advantage of rolling our own shaders is more control over the rendering process.
Dungeon Water
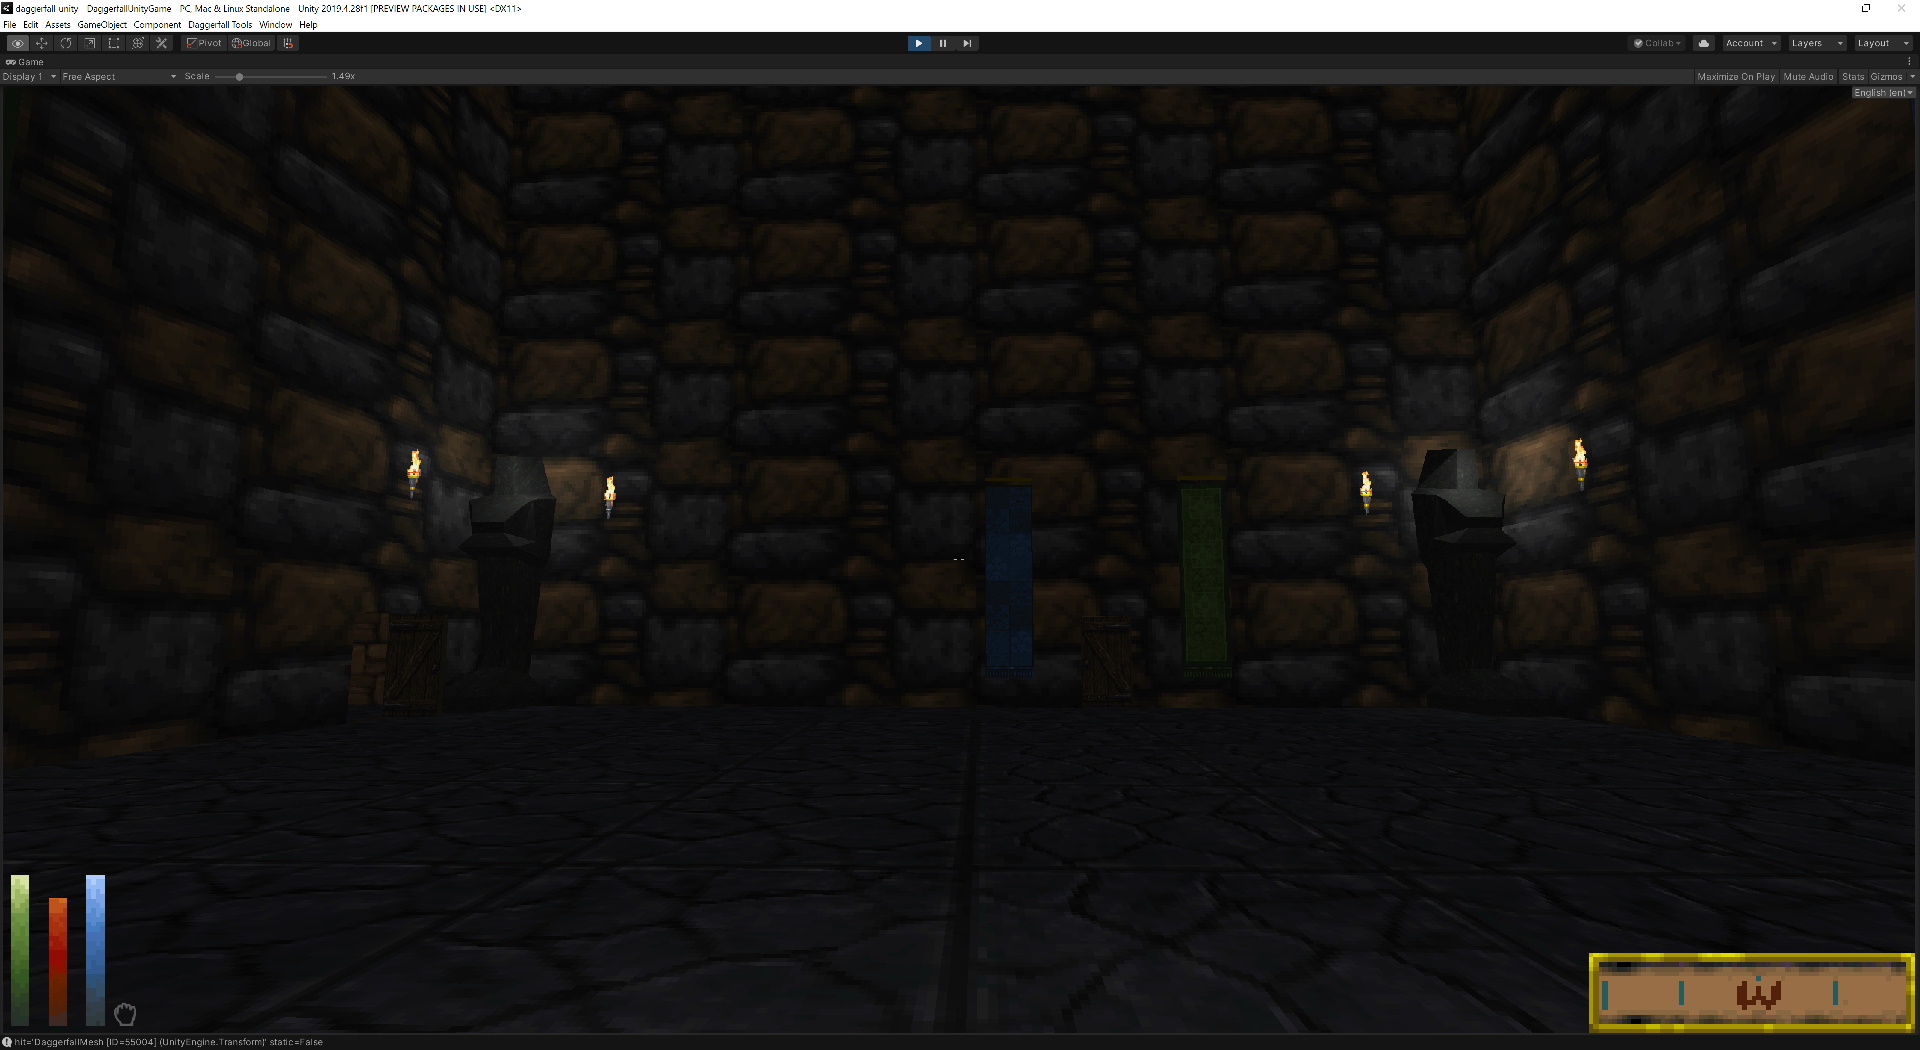
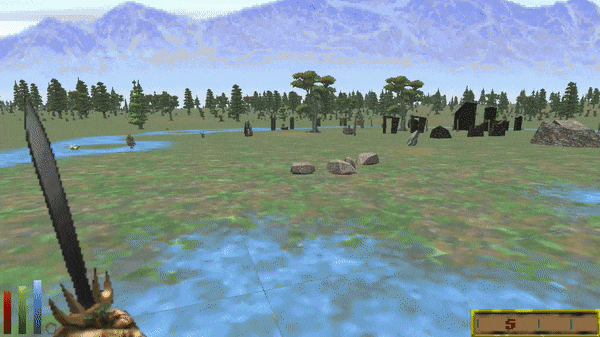
Without proper alpha blending at the time, DOS Daggerfall used a stippling effect for water surface (a kind of black pixely noise) and a bright blue fog effect when submerged.
Daggerfall Unity improves water surface with a dark water plane and slime highlights, invoking murky and stagnant water suitable for dungeons. But when you submerge, we used the same bright blue fog effect underwater. After listening to feedback, we’ve changed the submerged effect to use a dark blue-green slime colour to better match water surface.
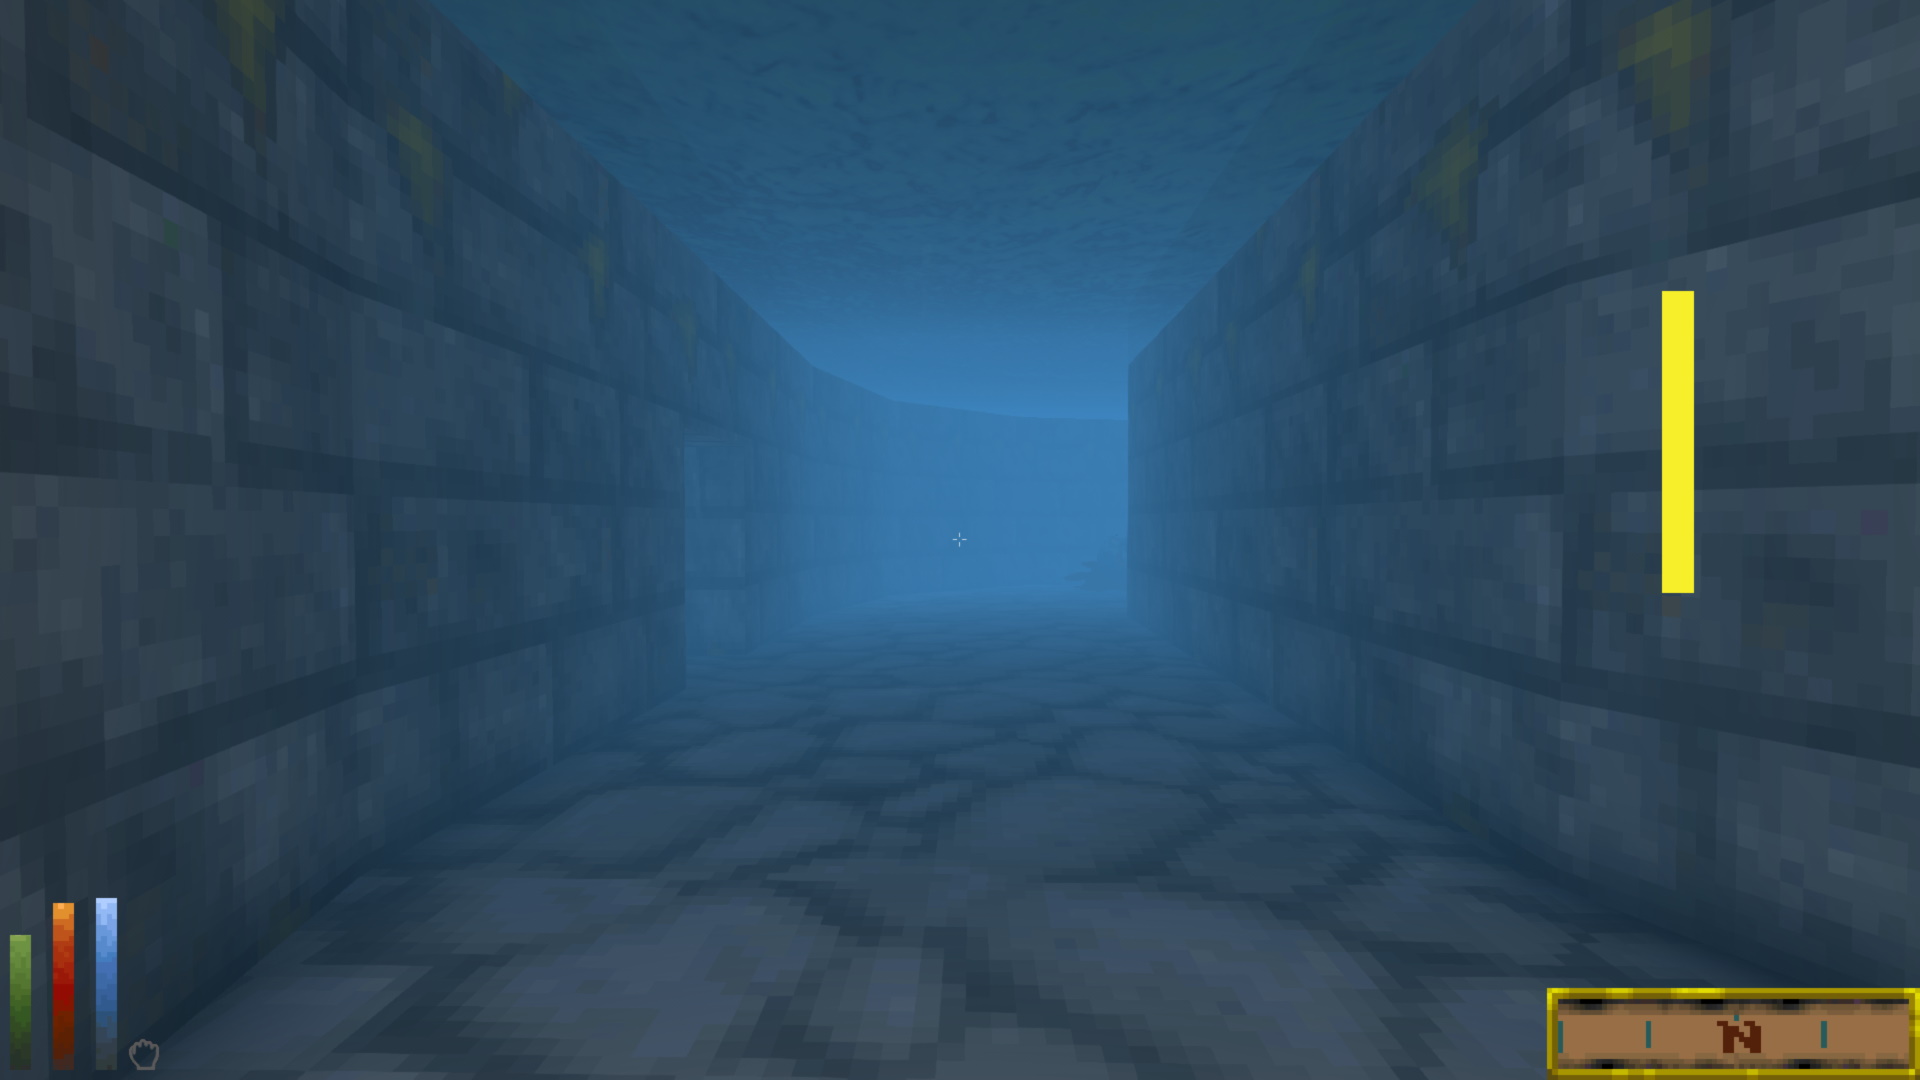
In case you want something different, we’ve also exposed the underwater fog to modders. See this topic for details on how to set underwater fog colour/density and some tips on updating surface plane as well.
Shout-out to King of Worms for his persistence around tweaking dungeon water and driving this change.
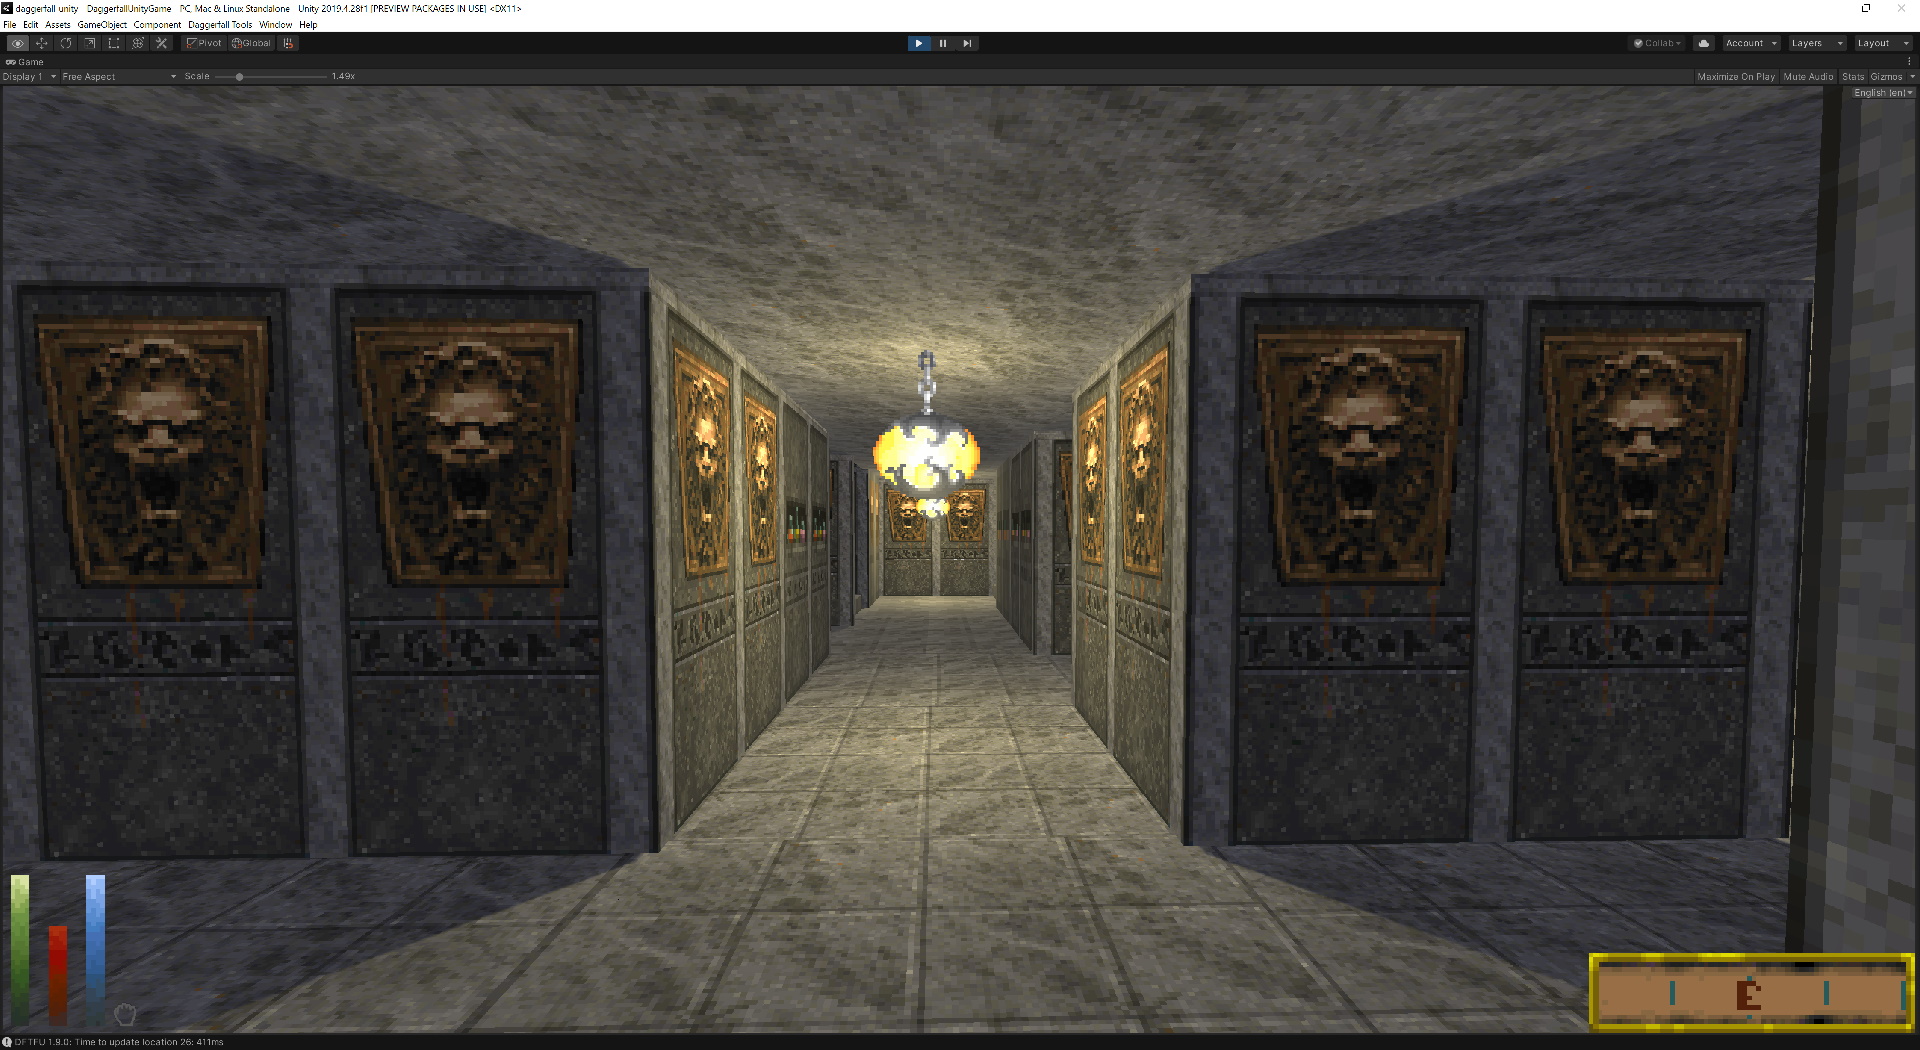
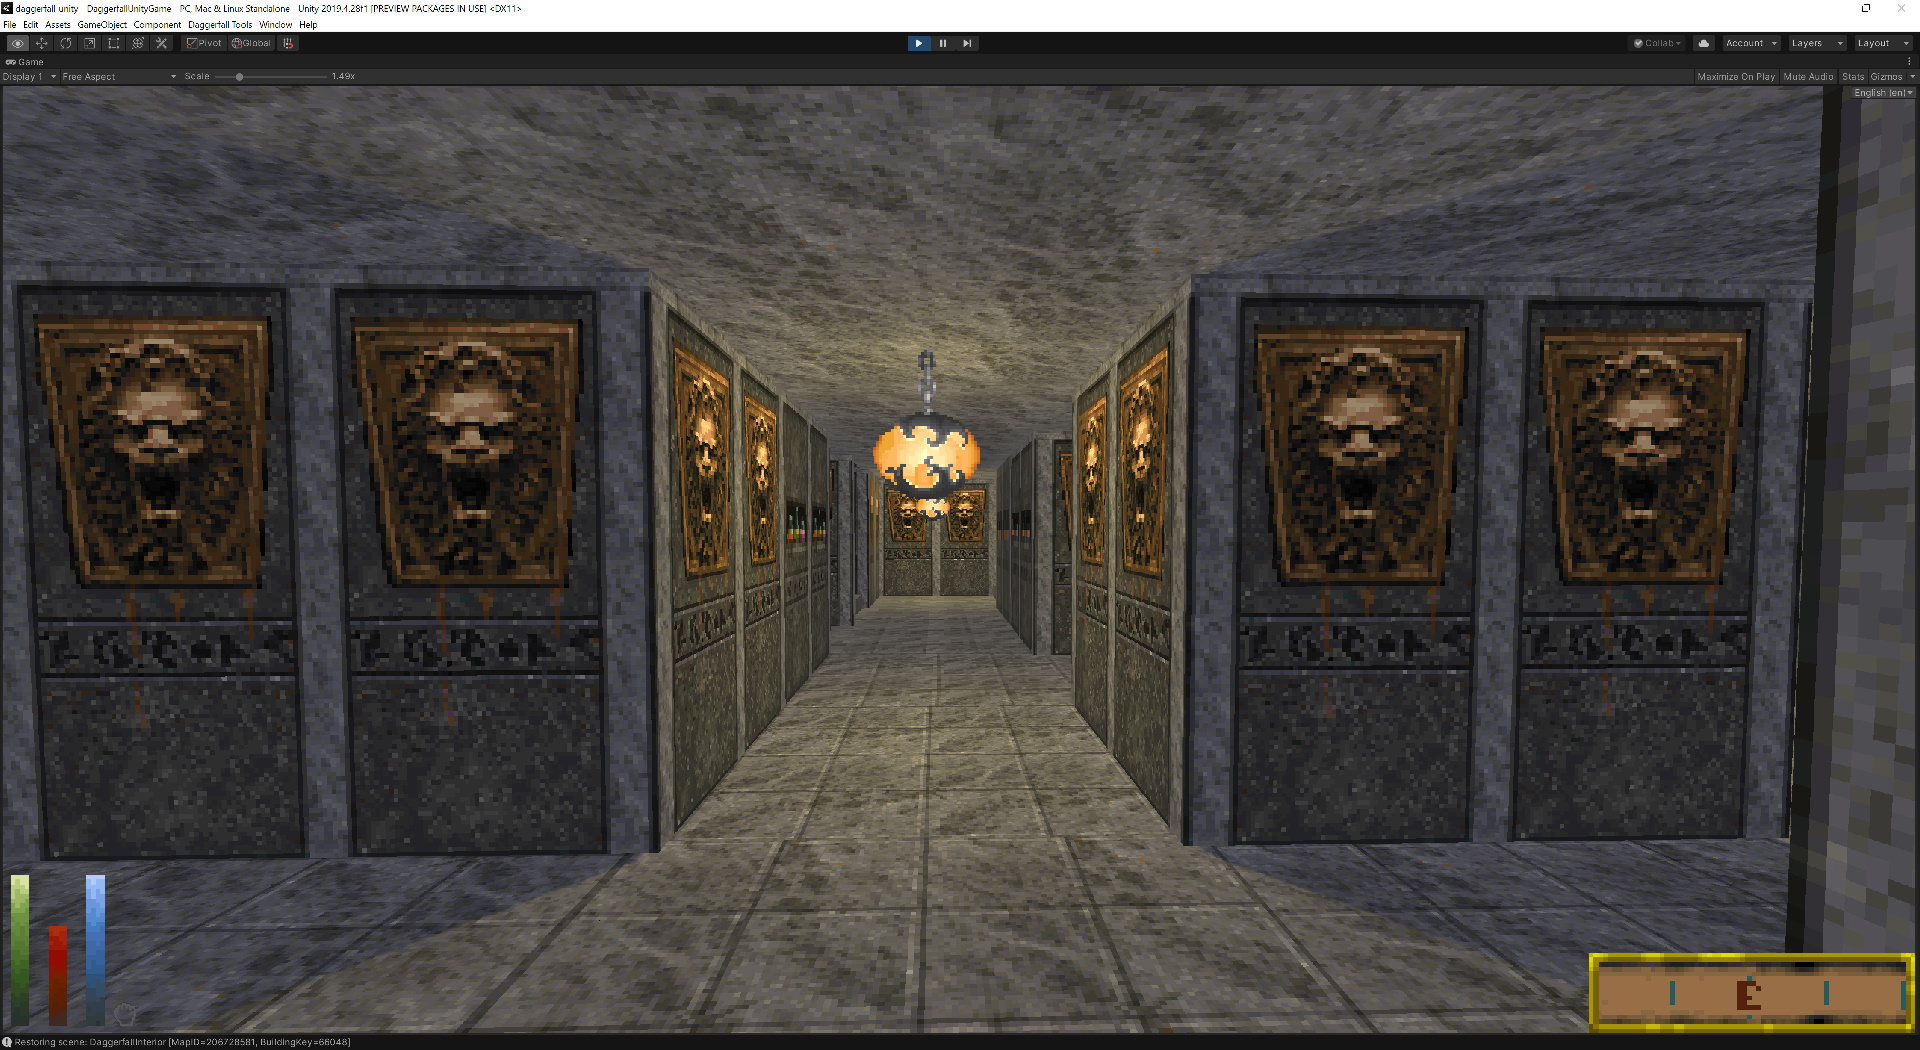
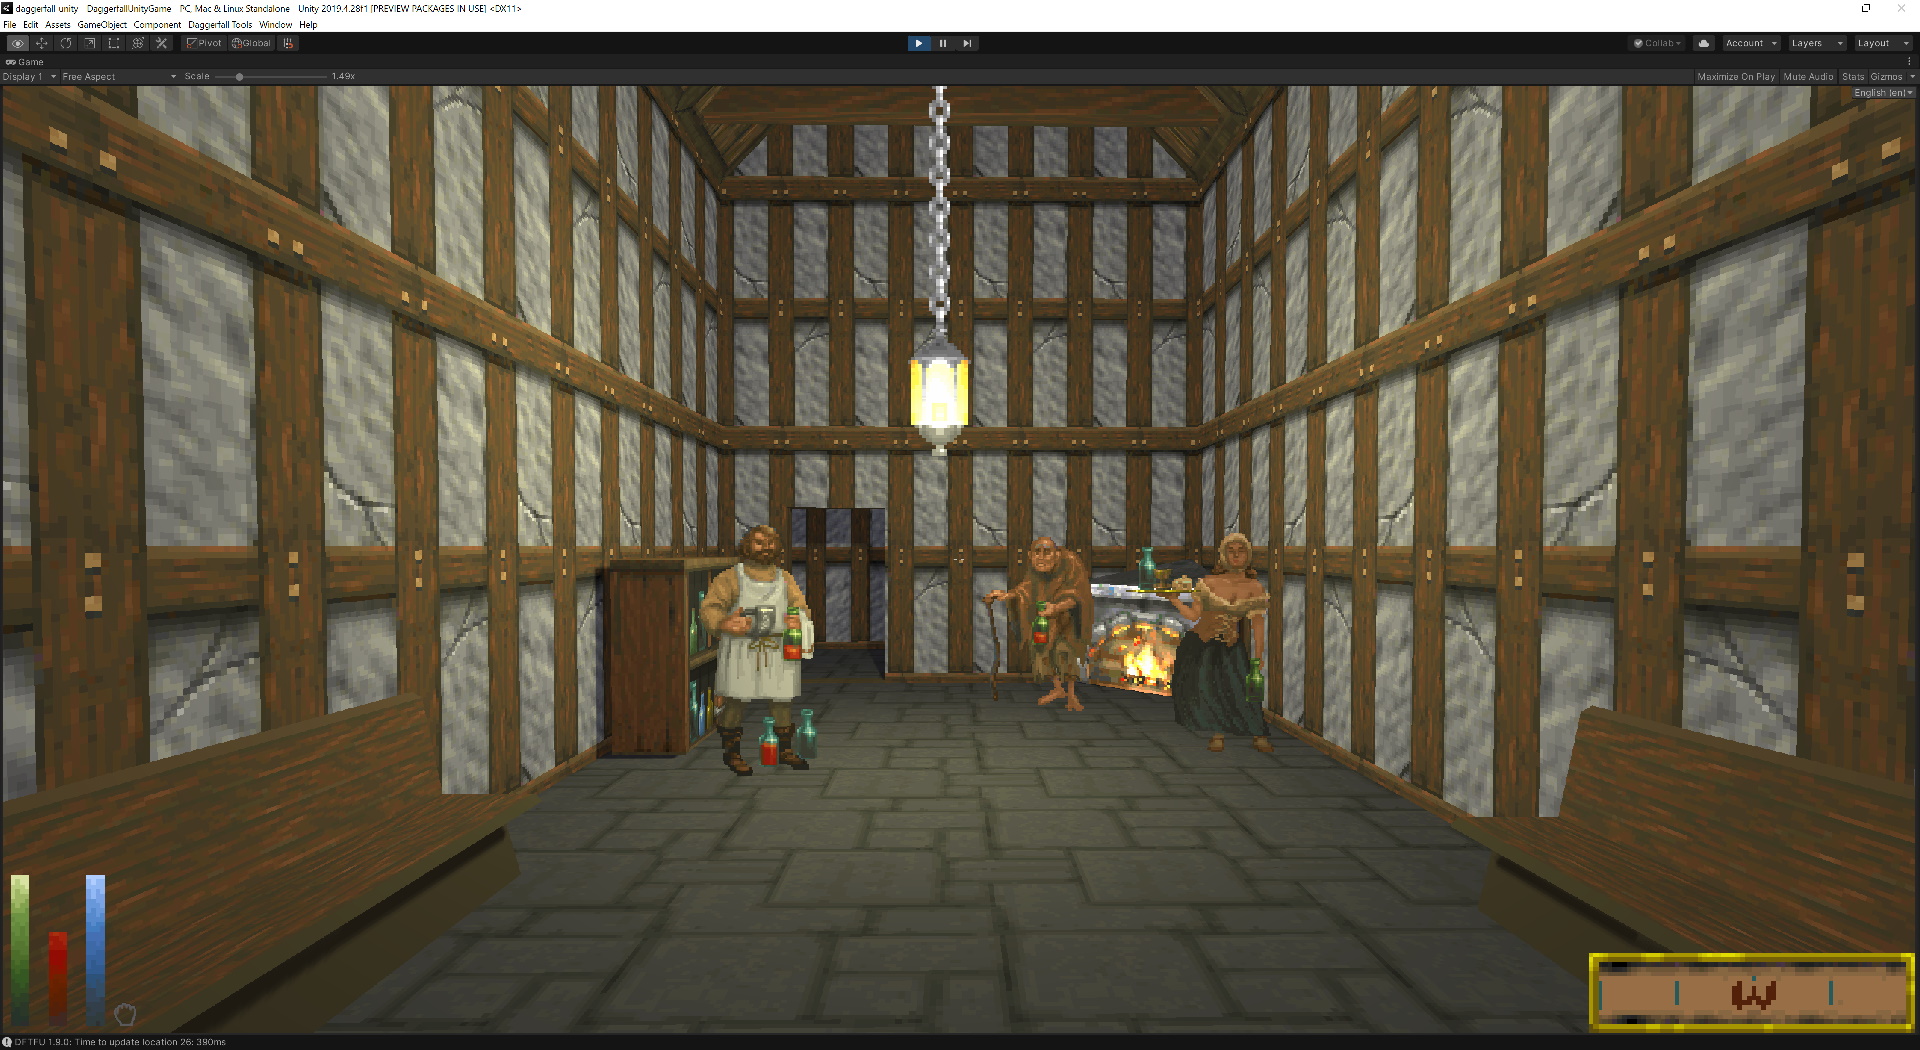
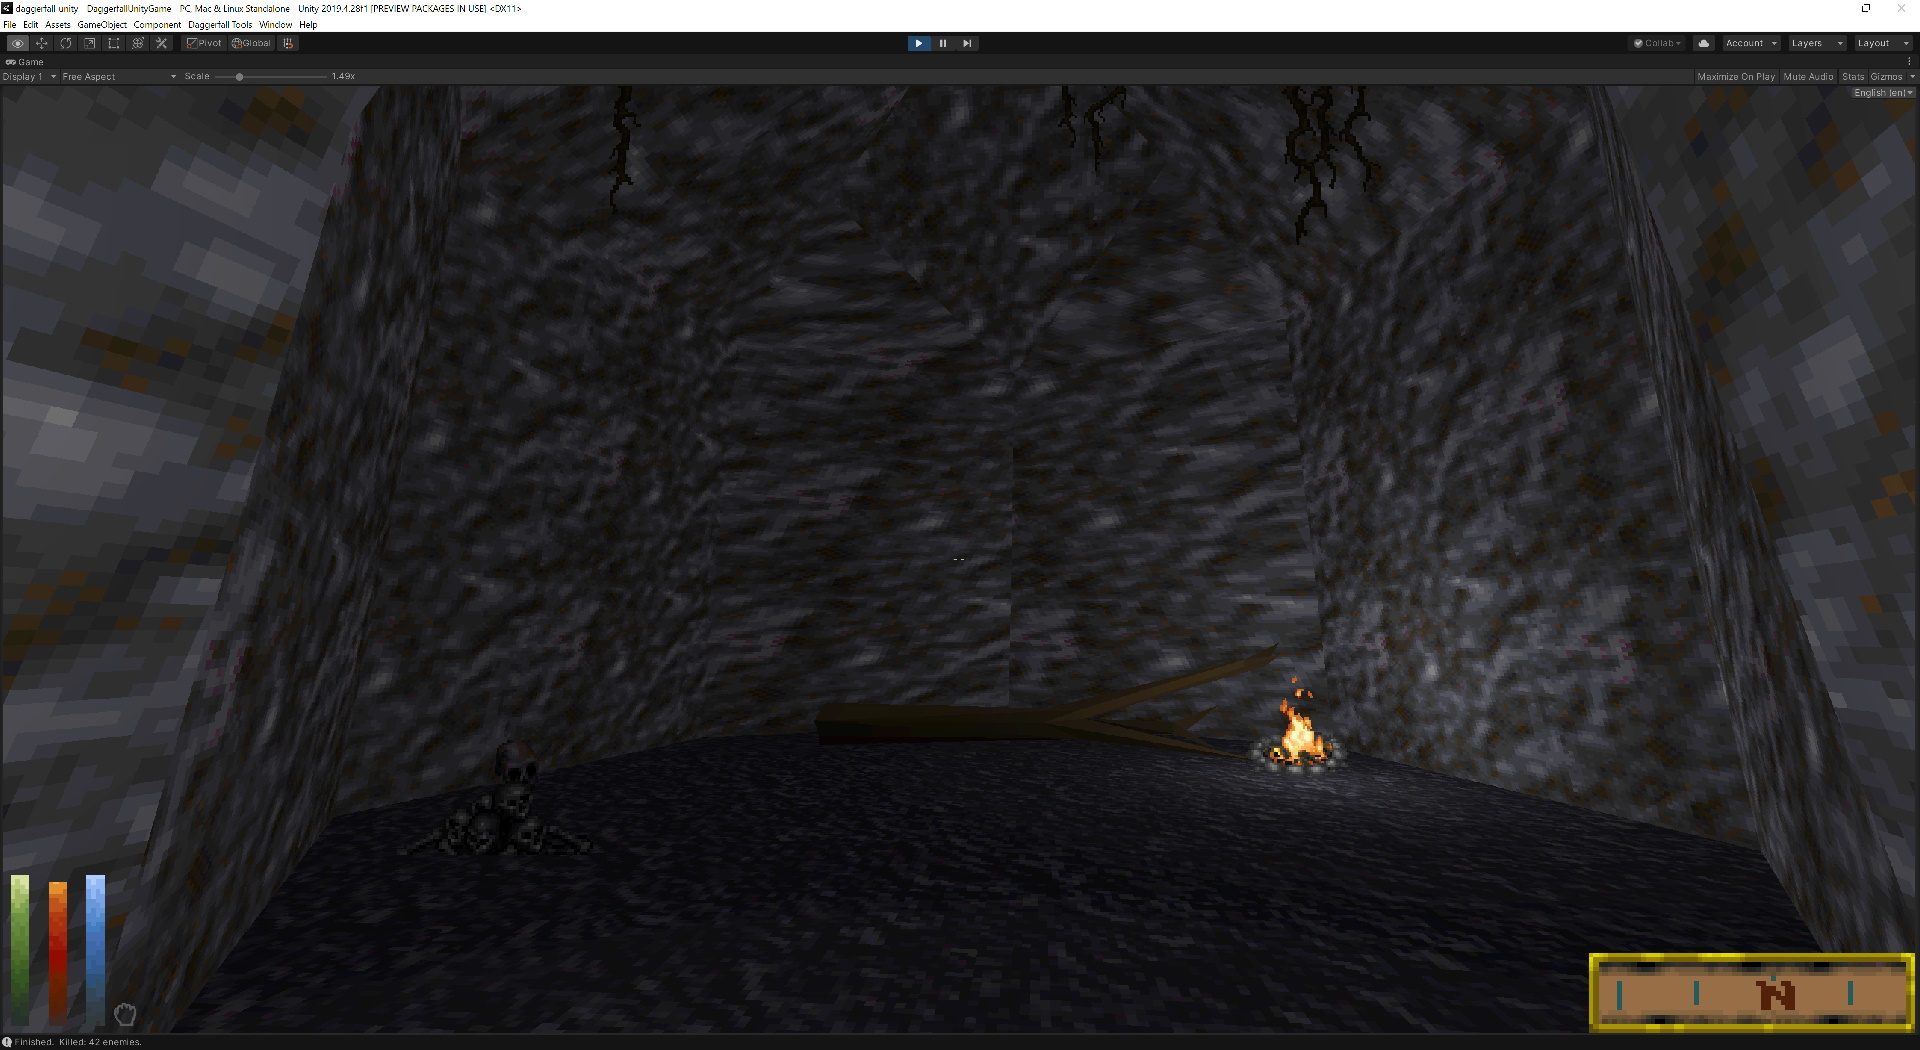
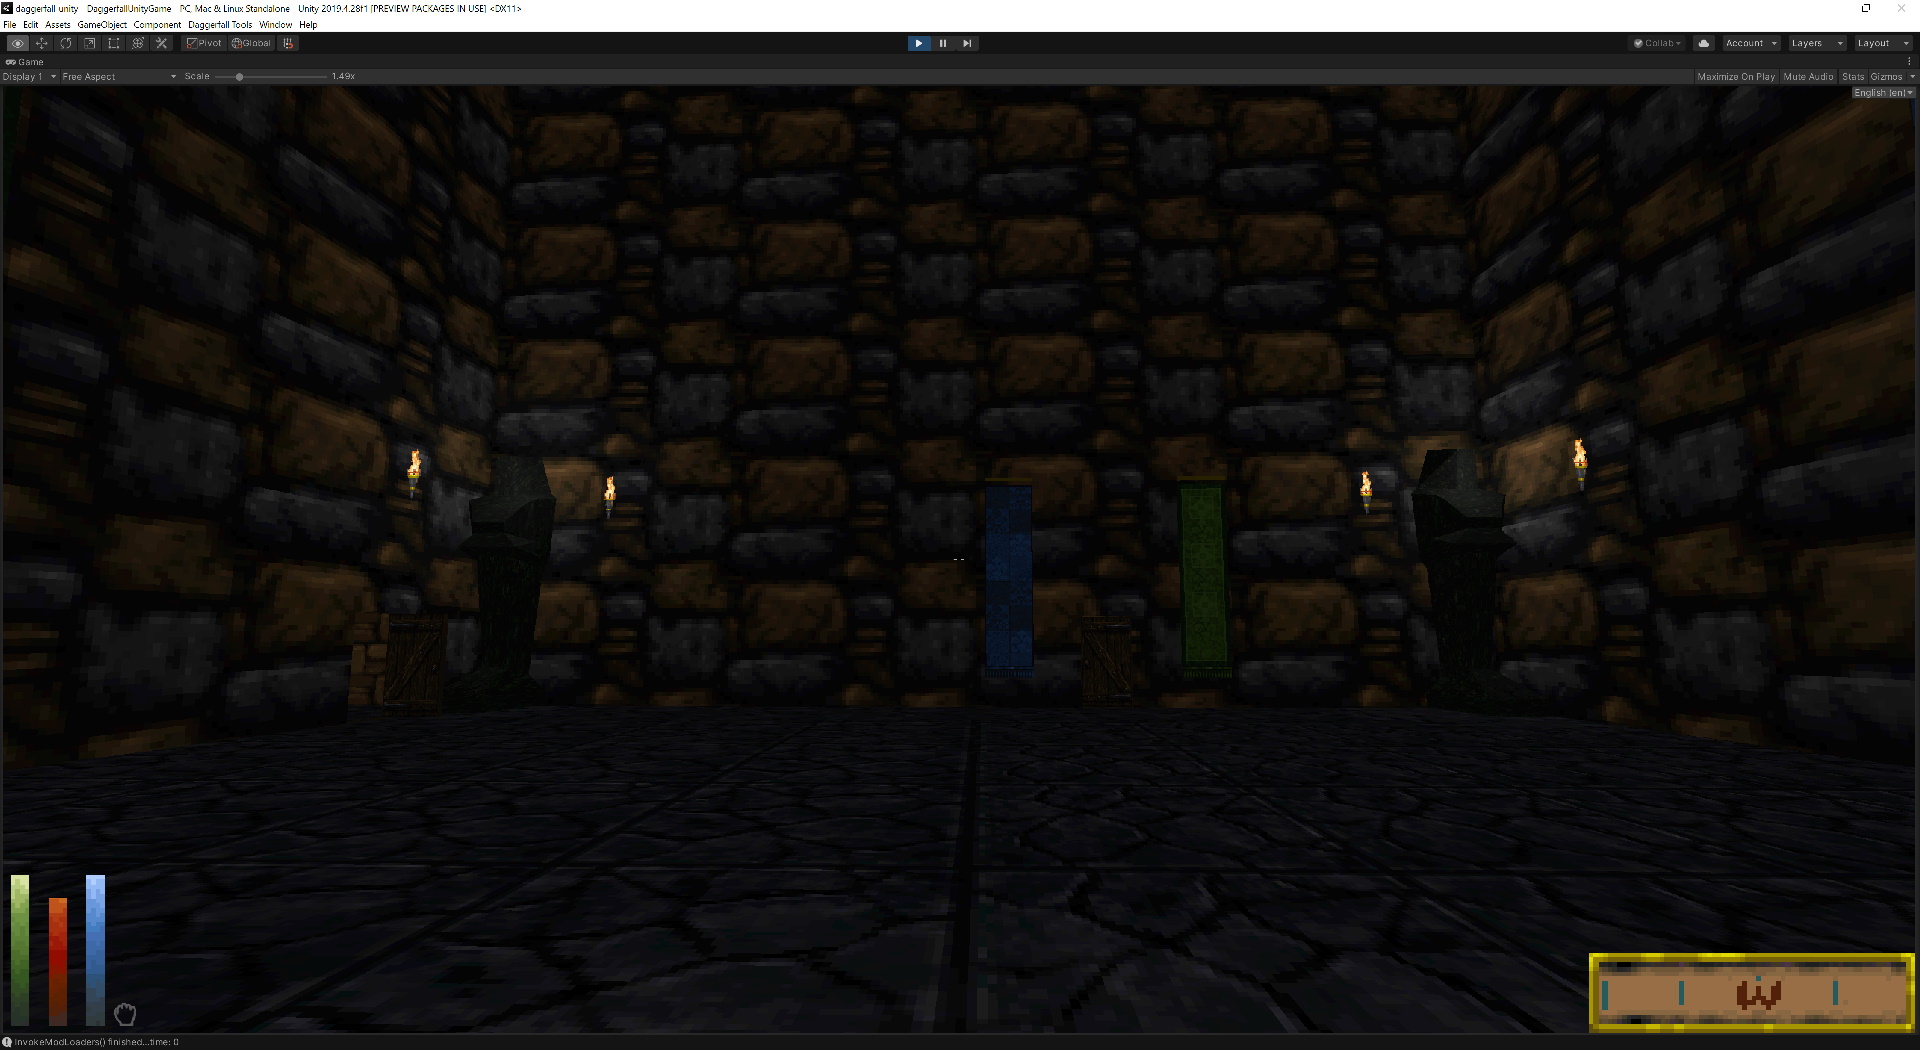
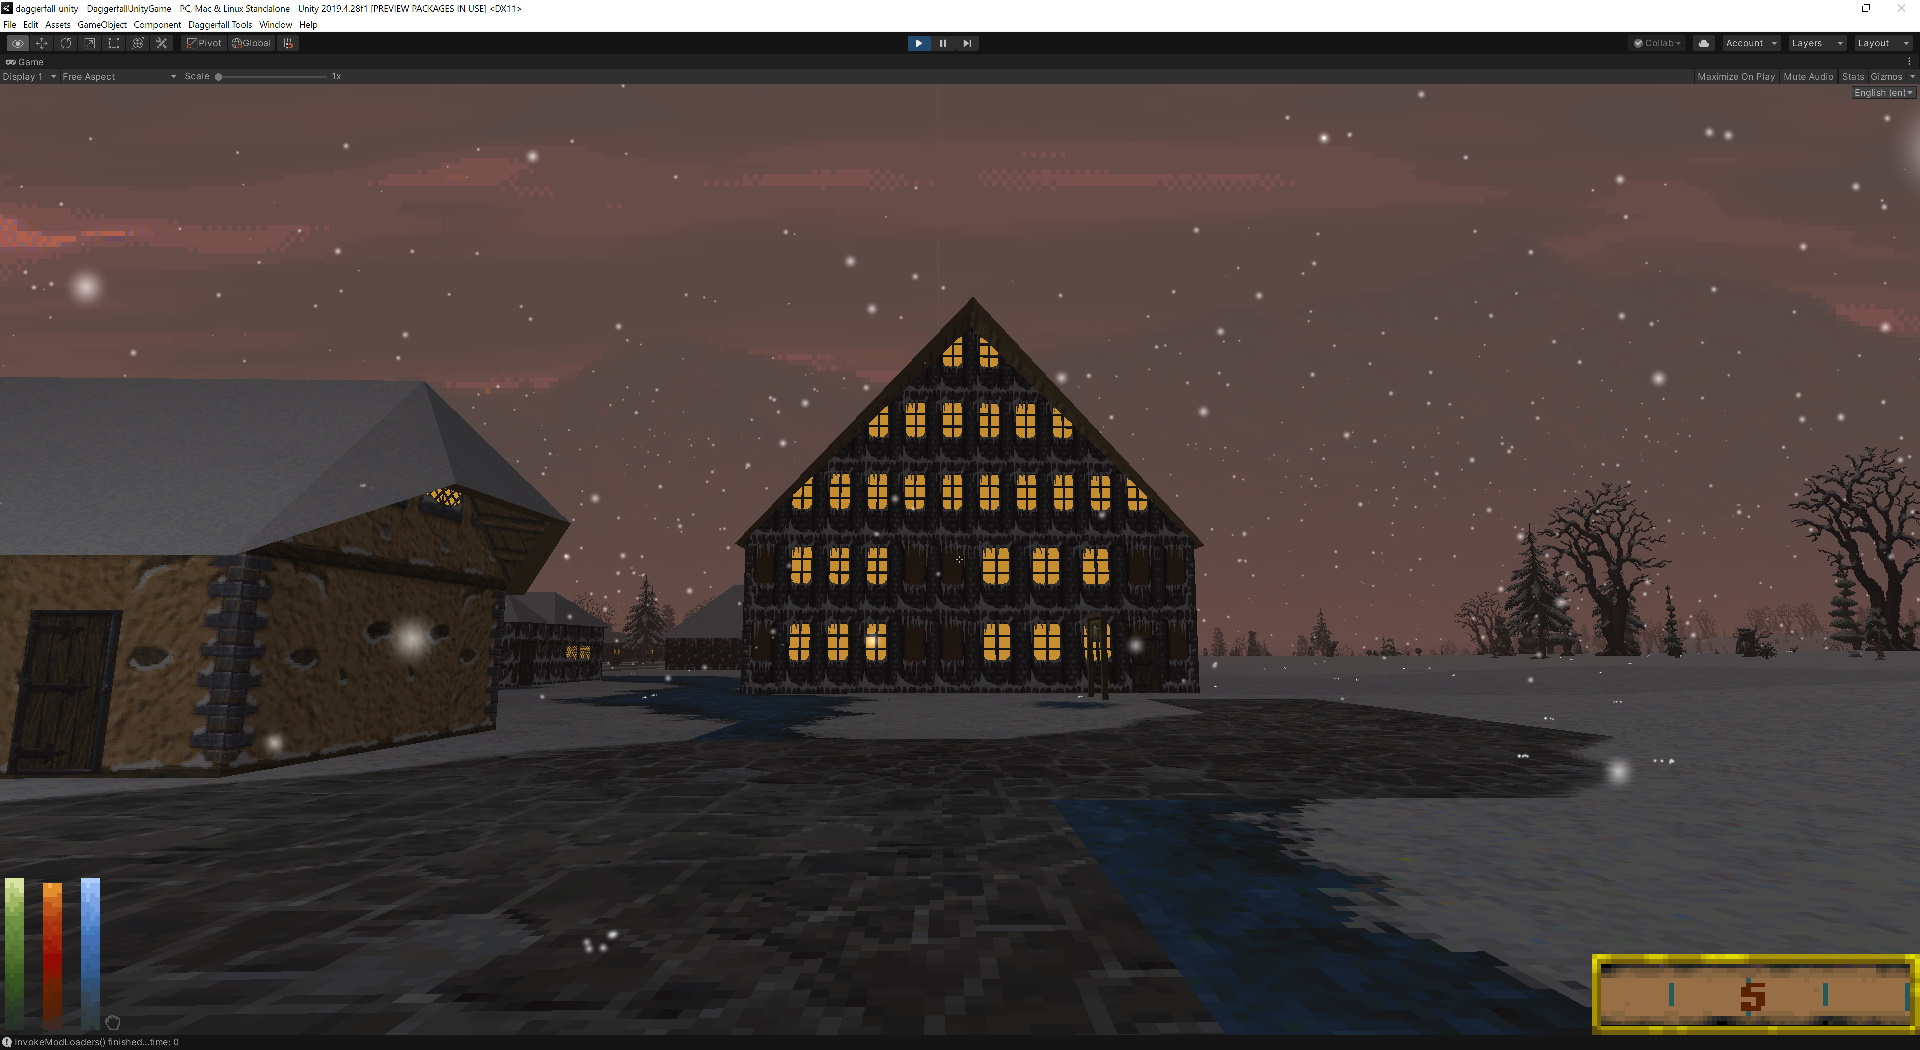
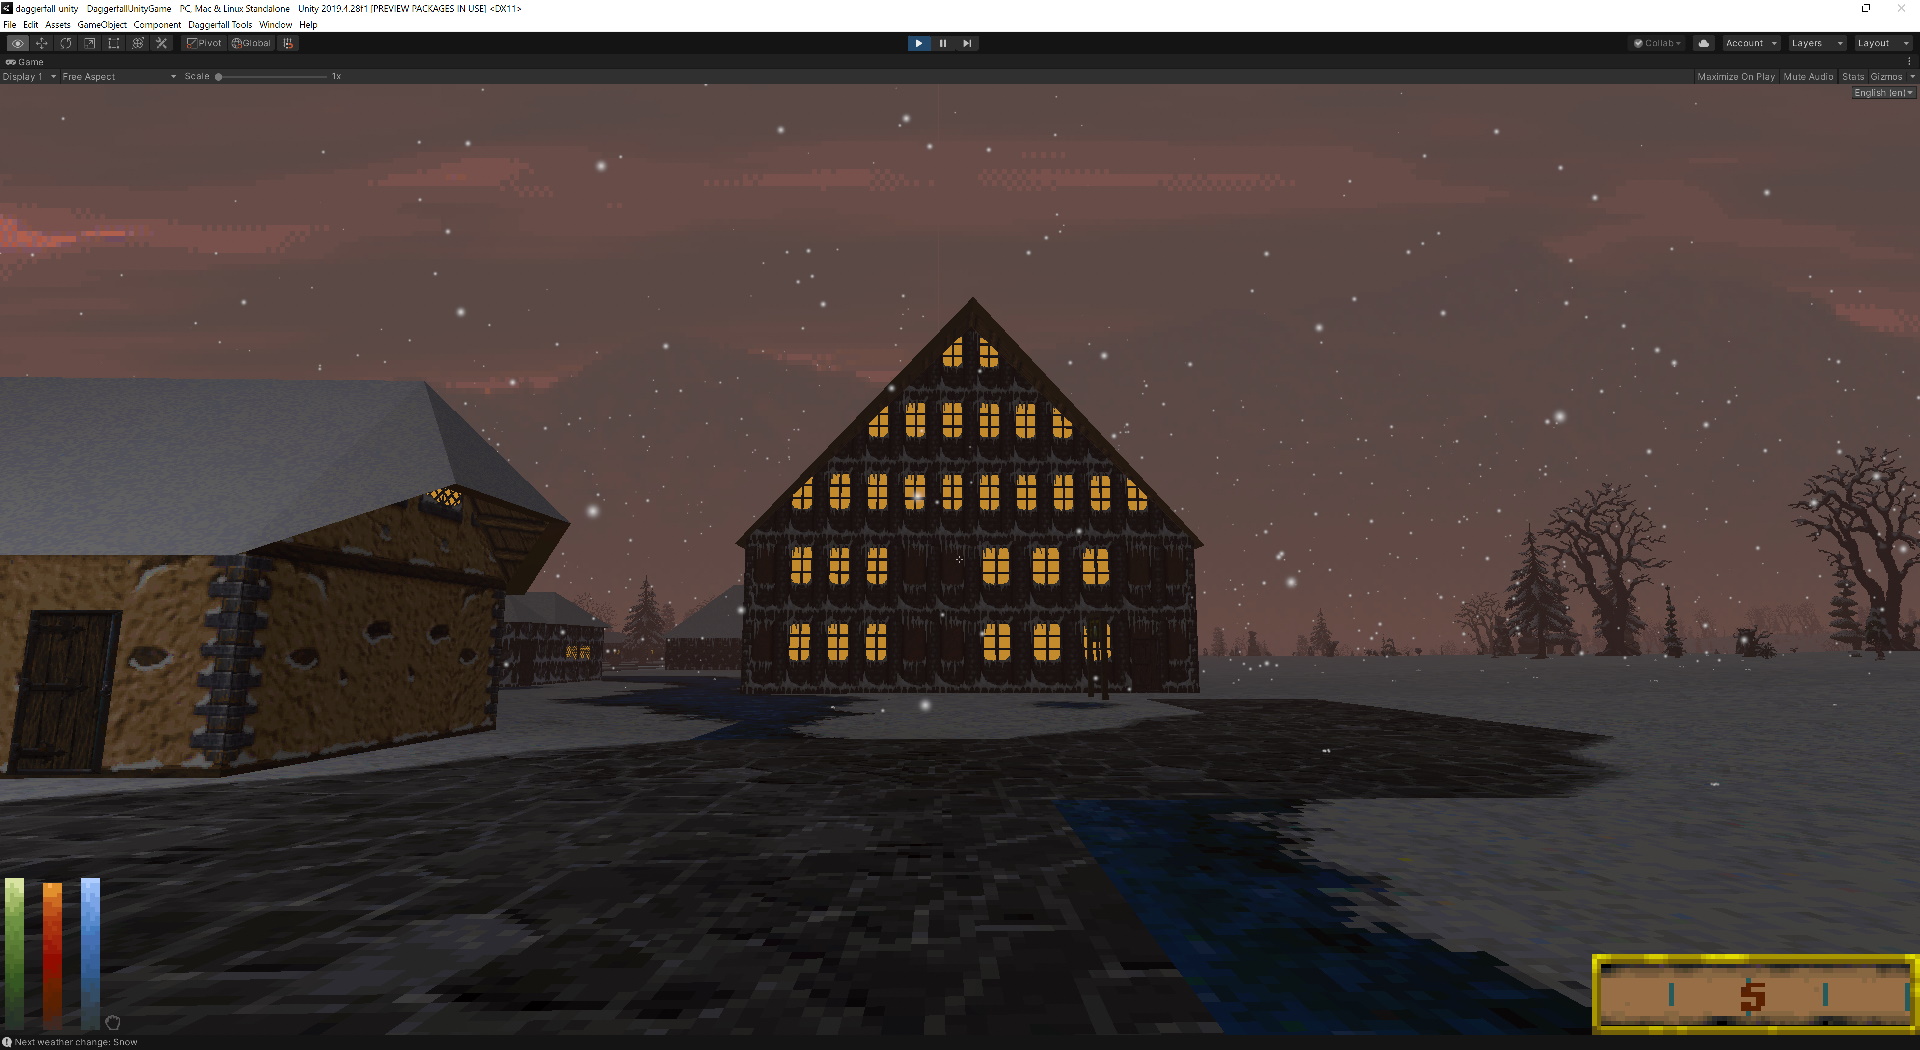
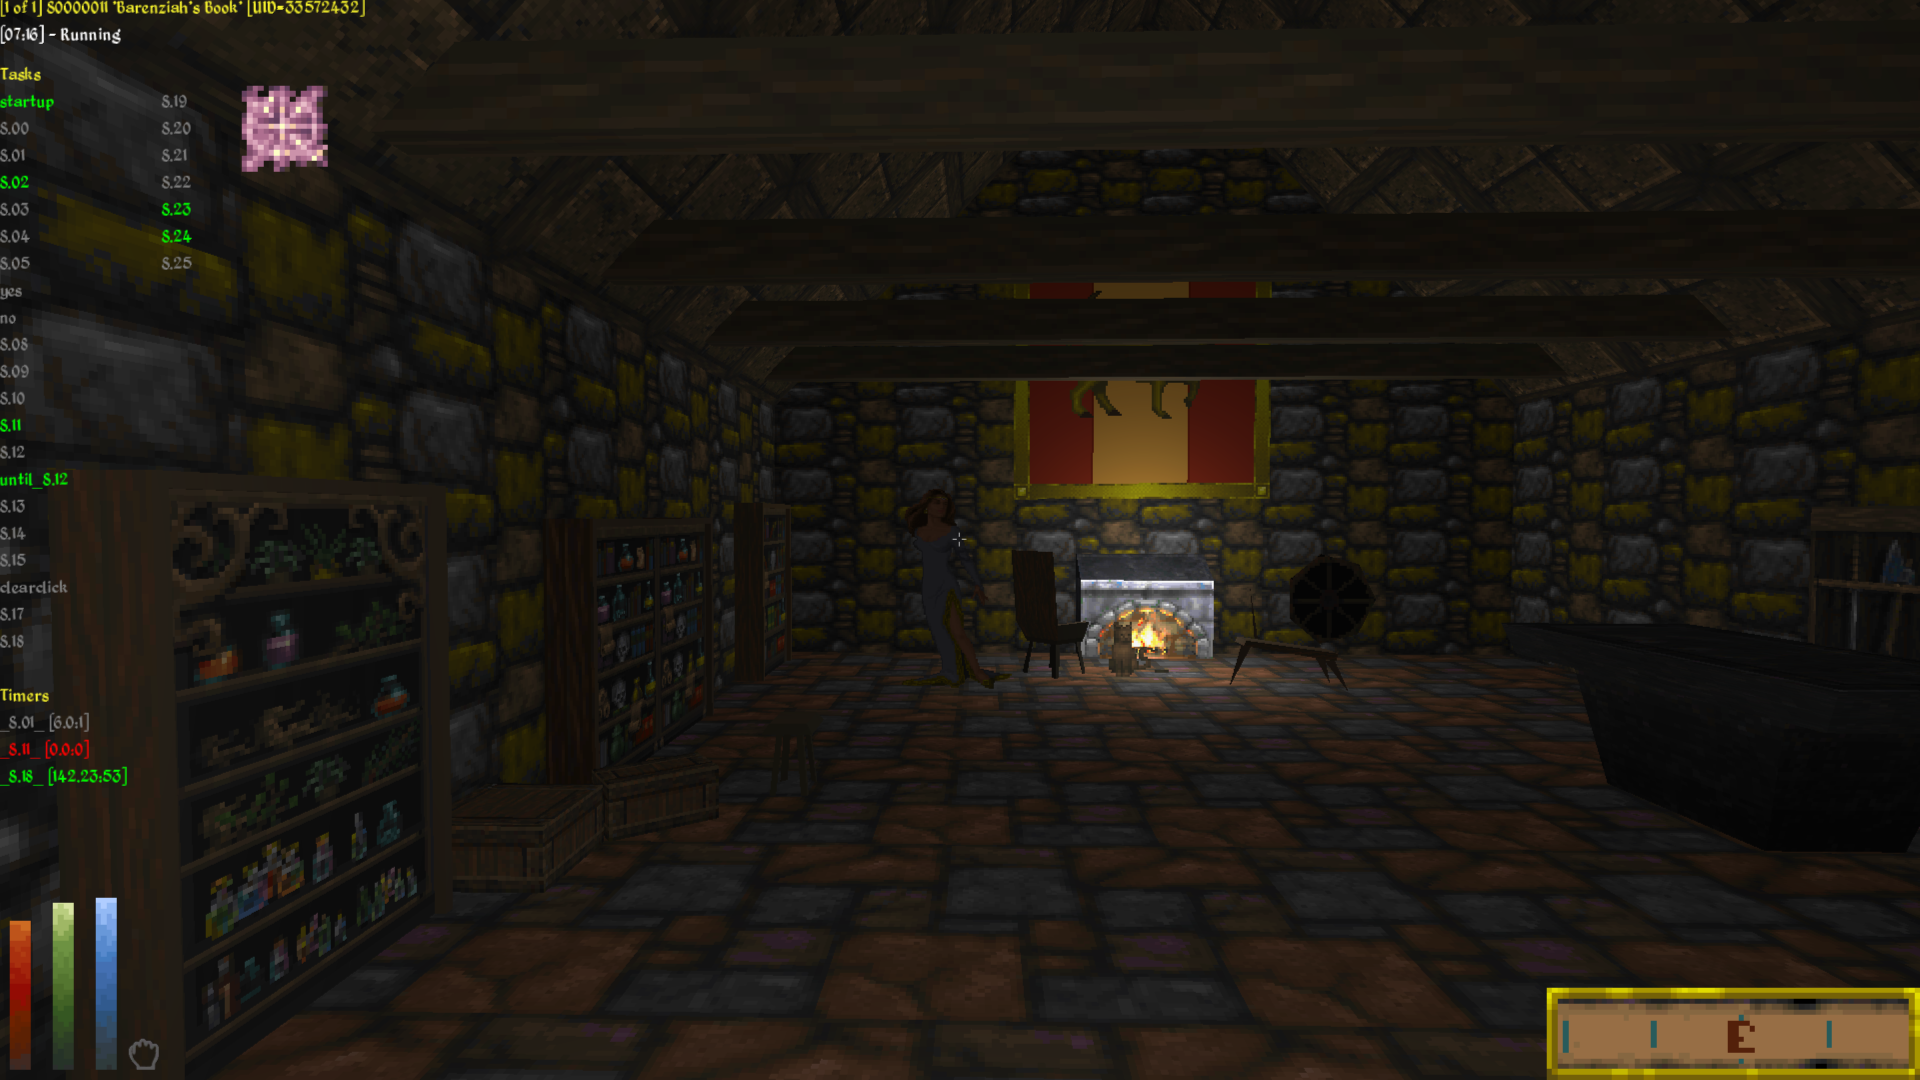
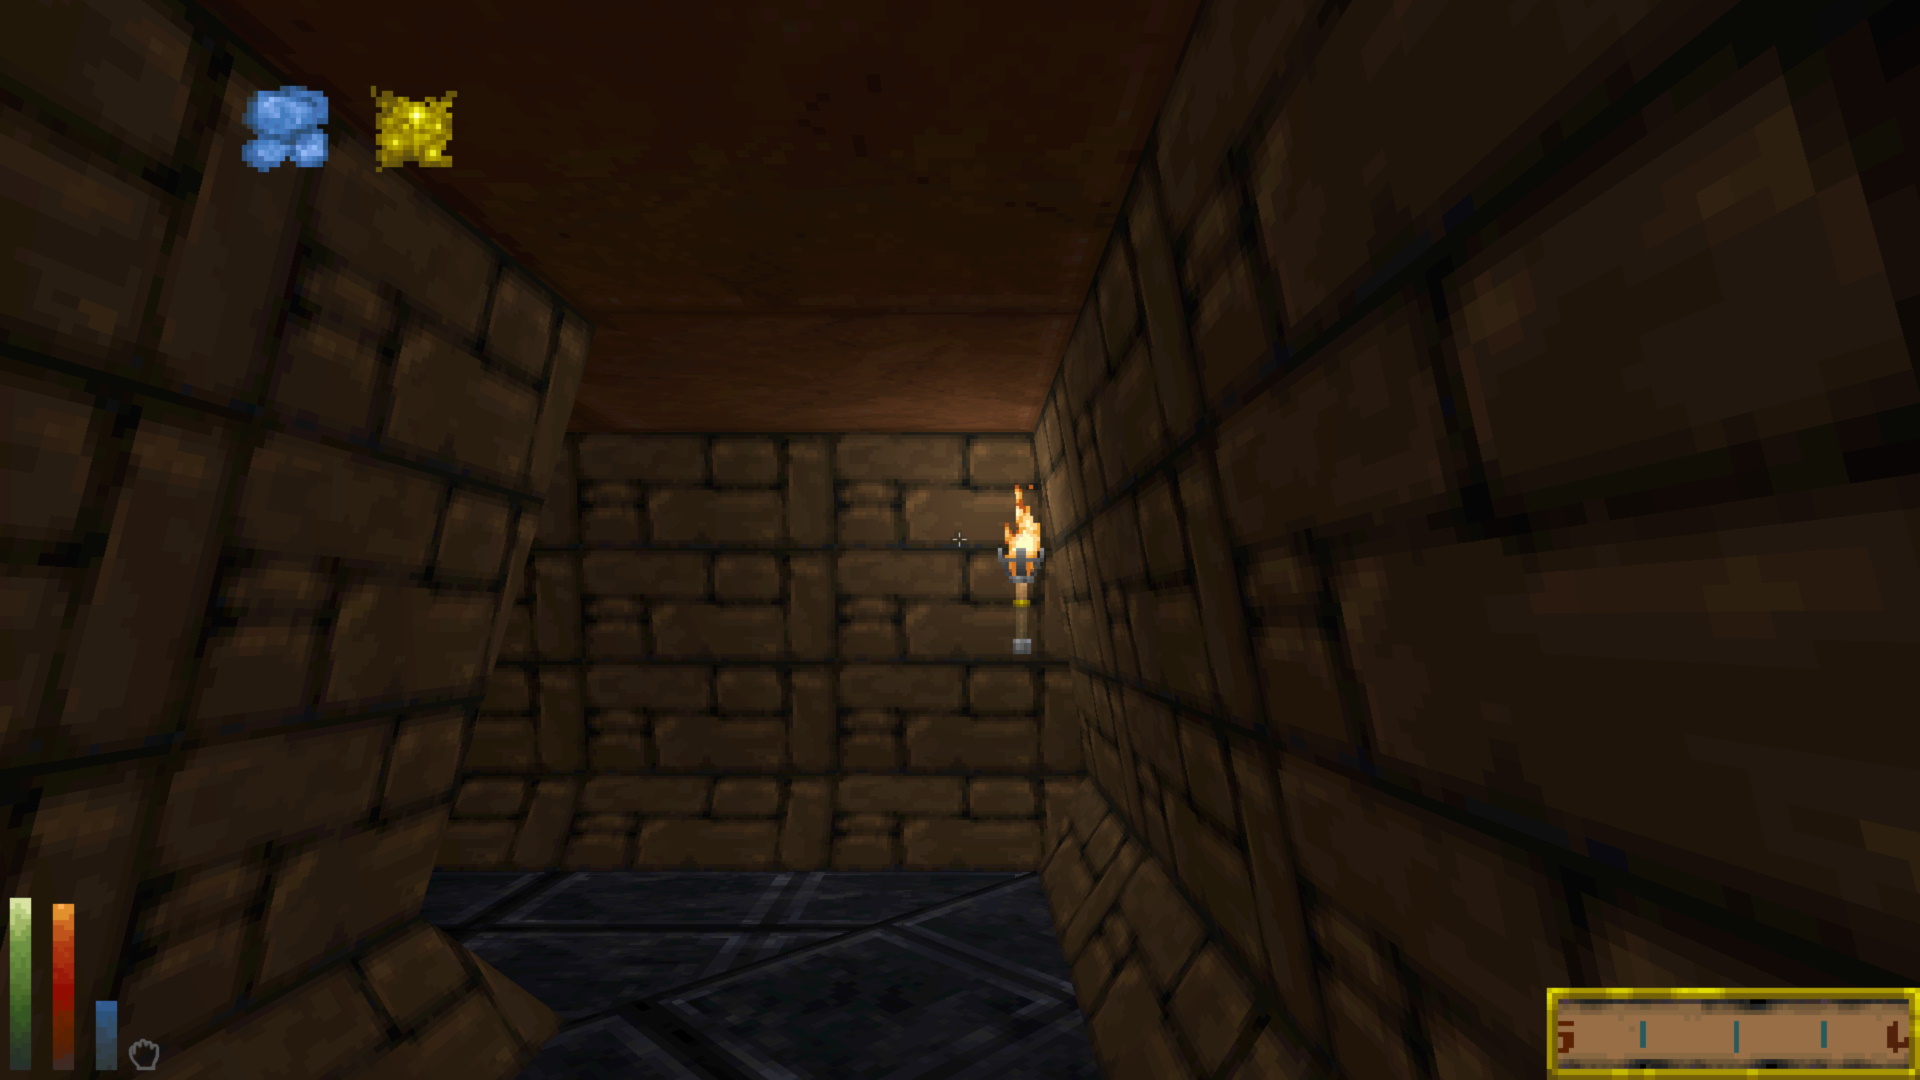
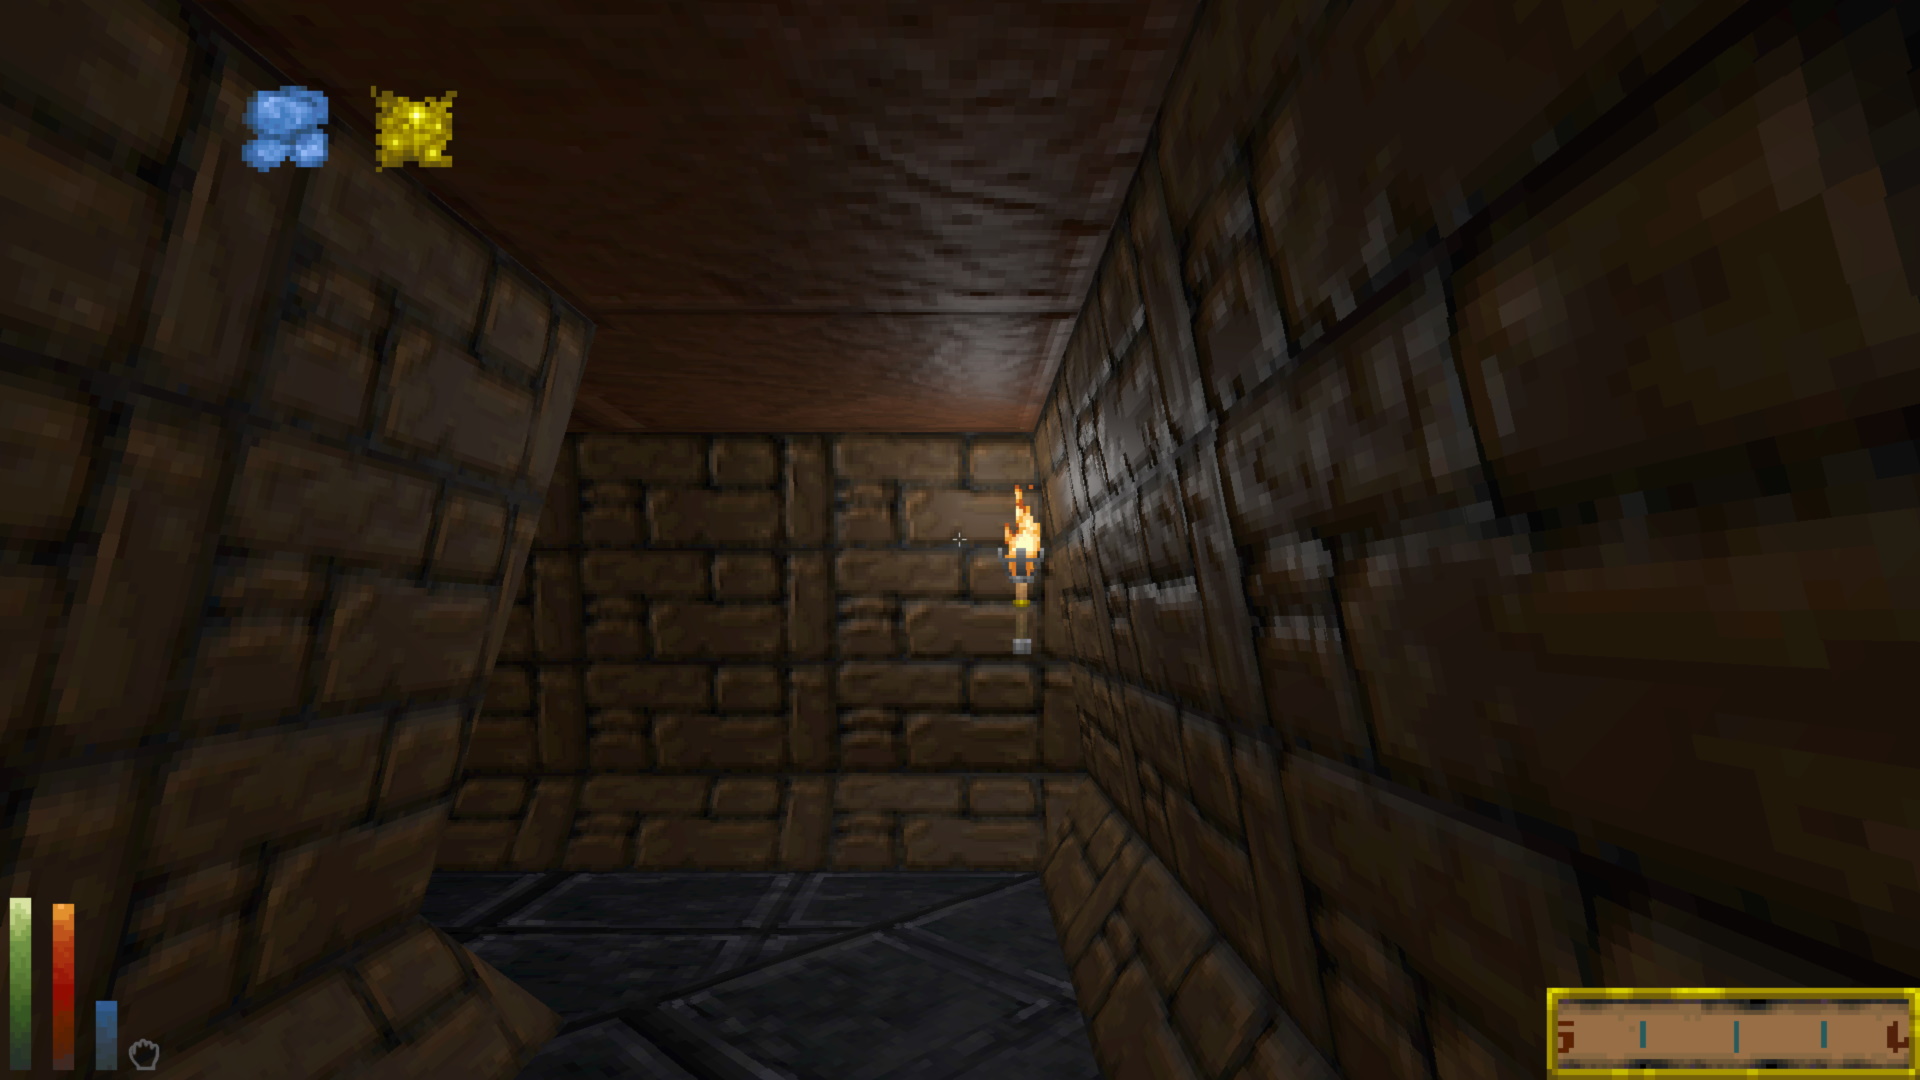
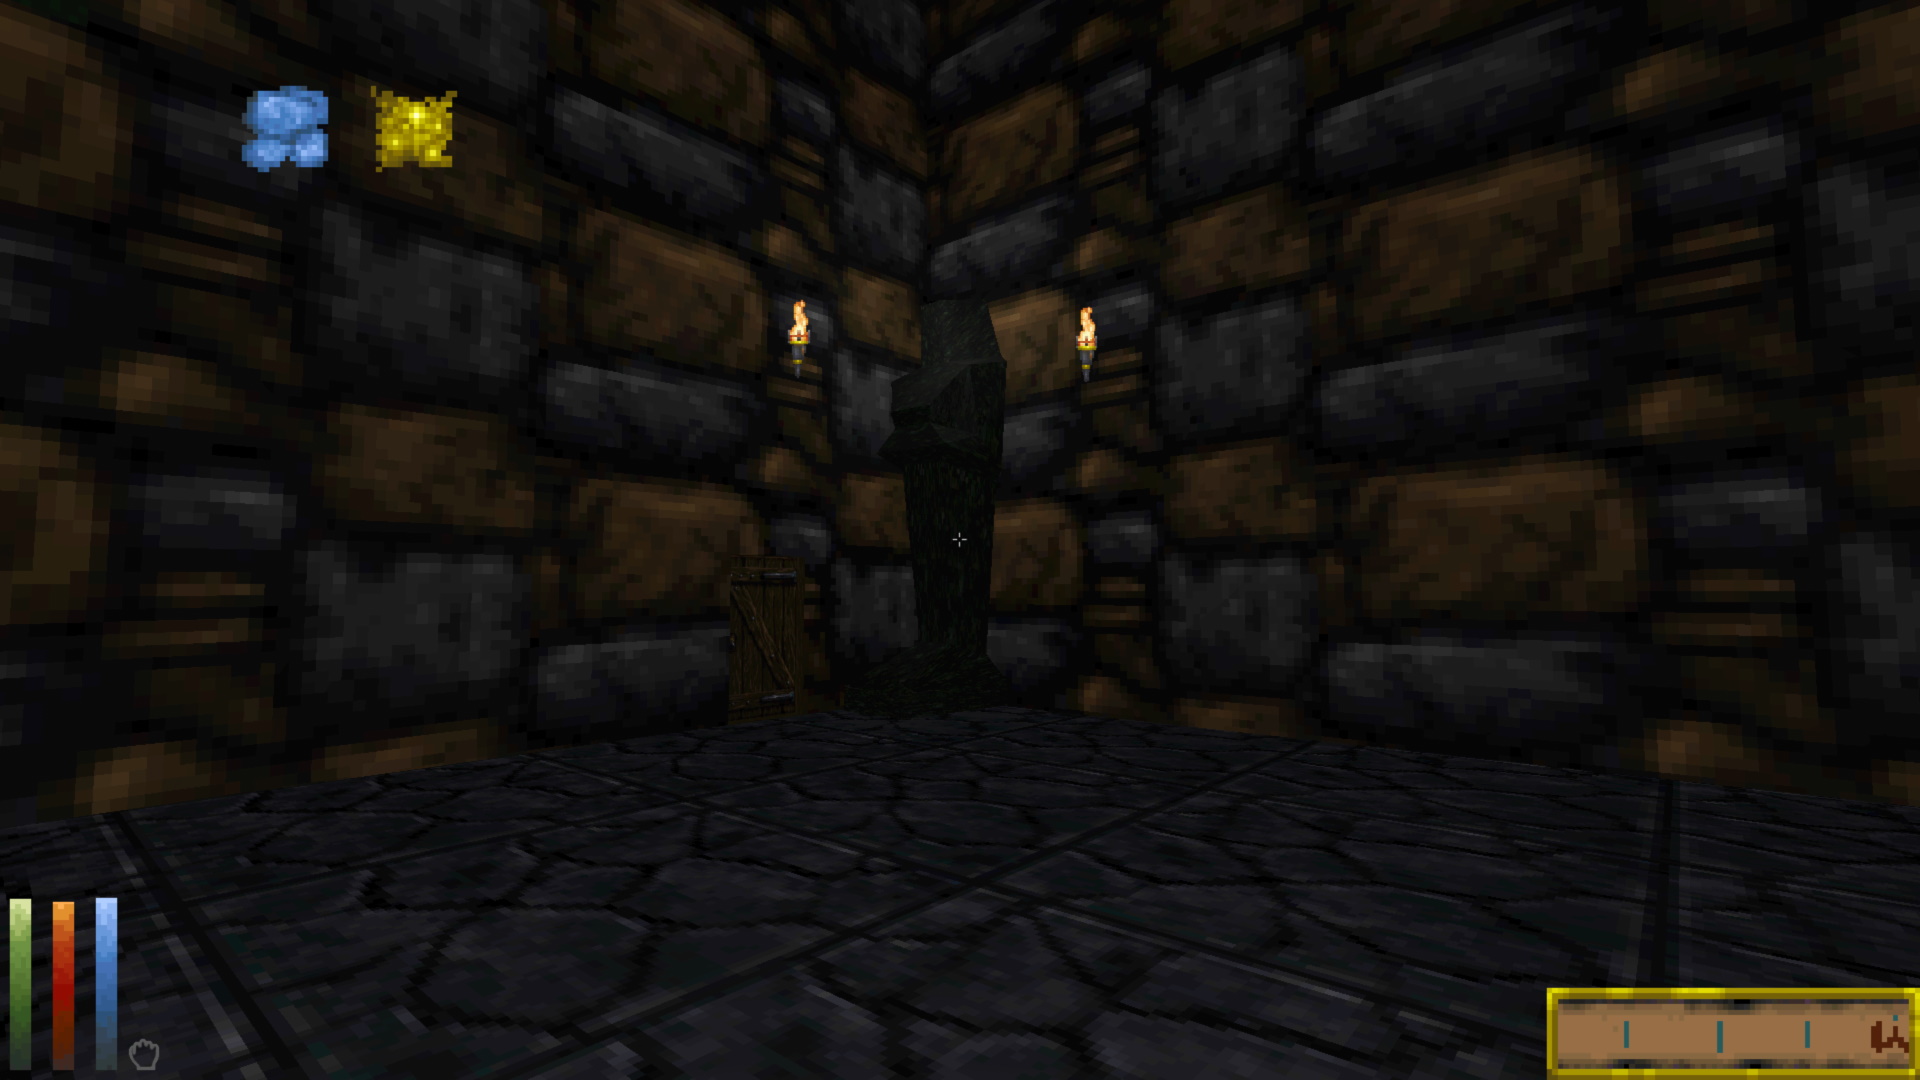
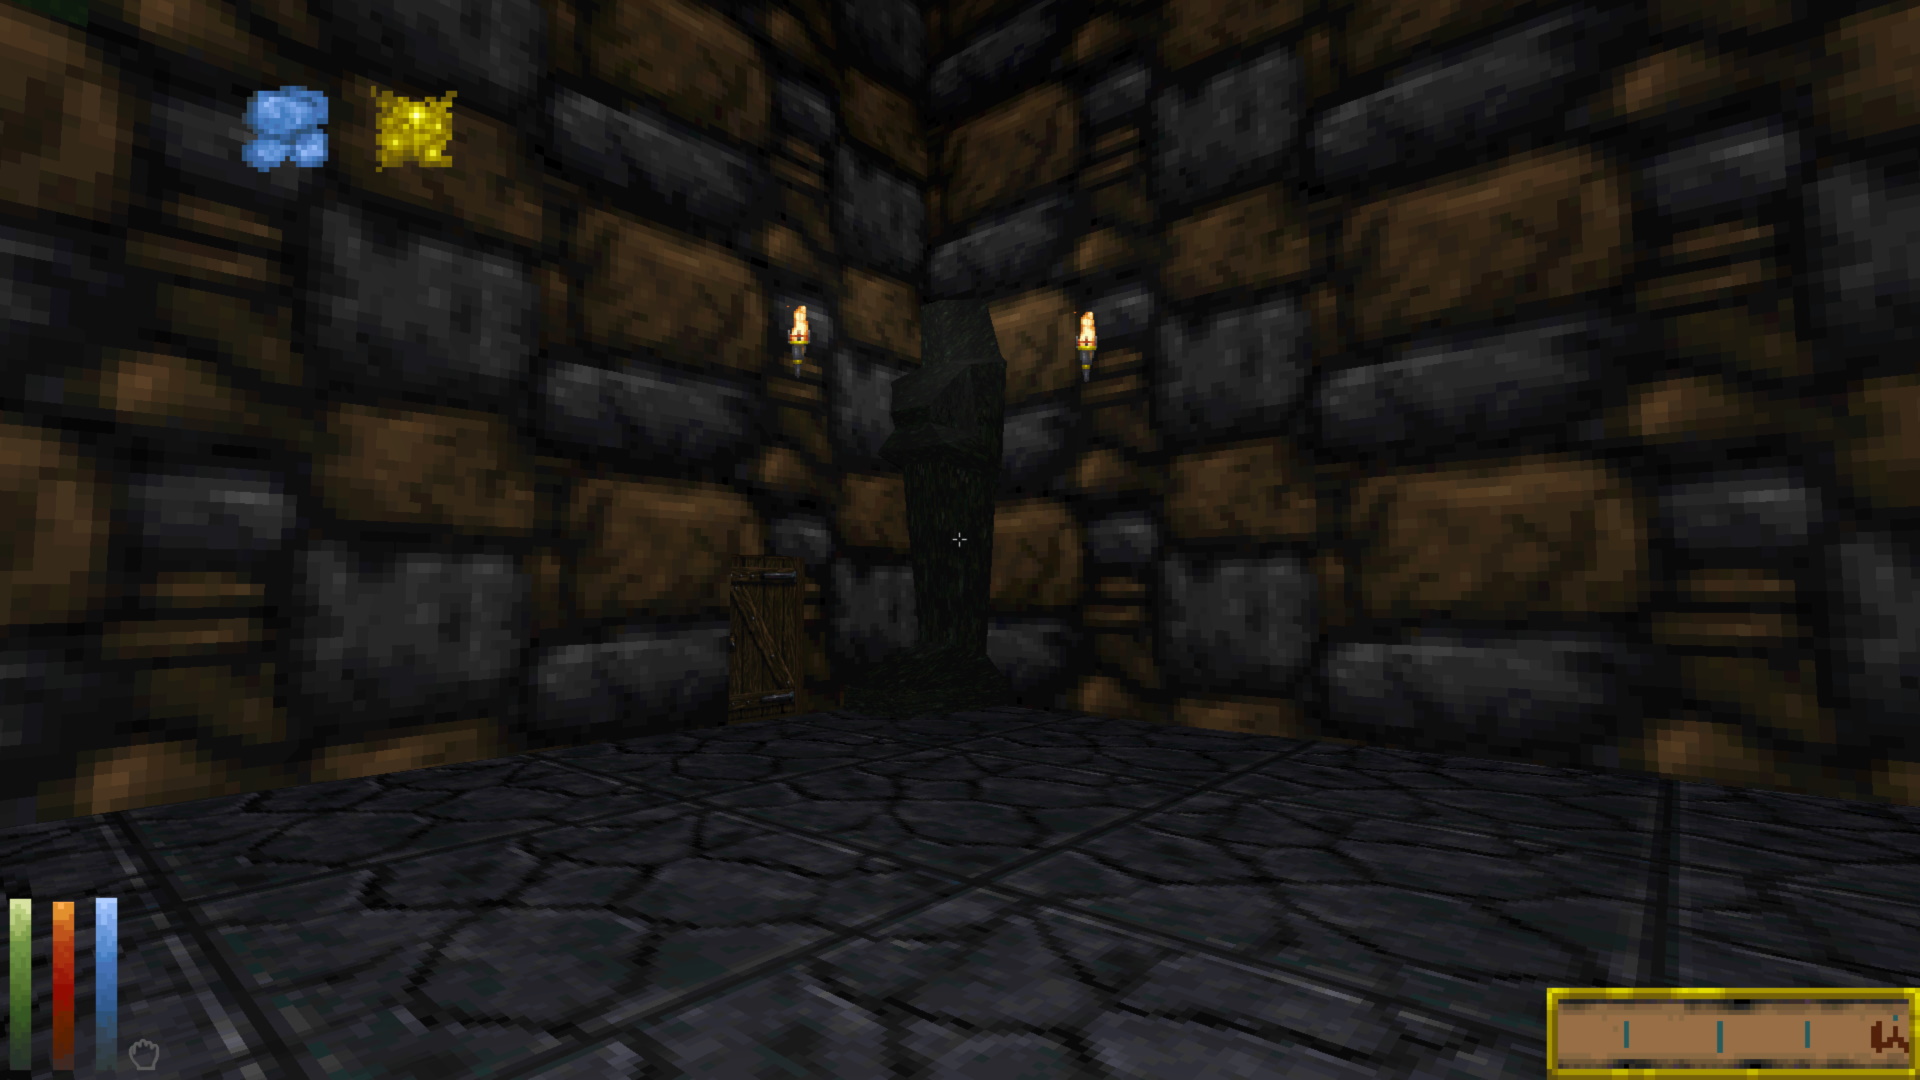
Increased Torch Brightness
On the subject of feedback, we heard several times the brightness of default and item-based torch were retuned improperly and looked too dark. We’ve now increased brightness of both default and item-based torch, and decoupled how these are handled so they can be tuned independently in future. Screenshot below compares local torch brightness when using a lantern with item-based torch in 0.13.0 vs. 0.13.2. You’ll note that 0.13.2 is brighter and more comparable to lantern in 0.12.
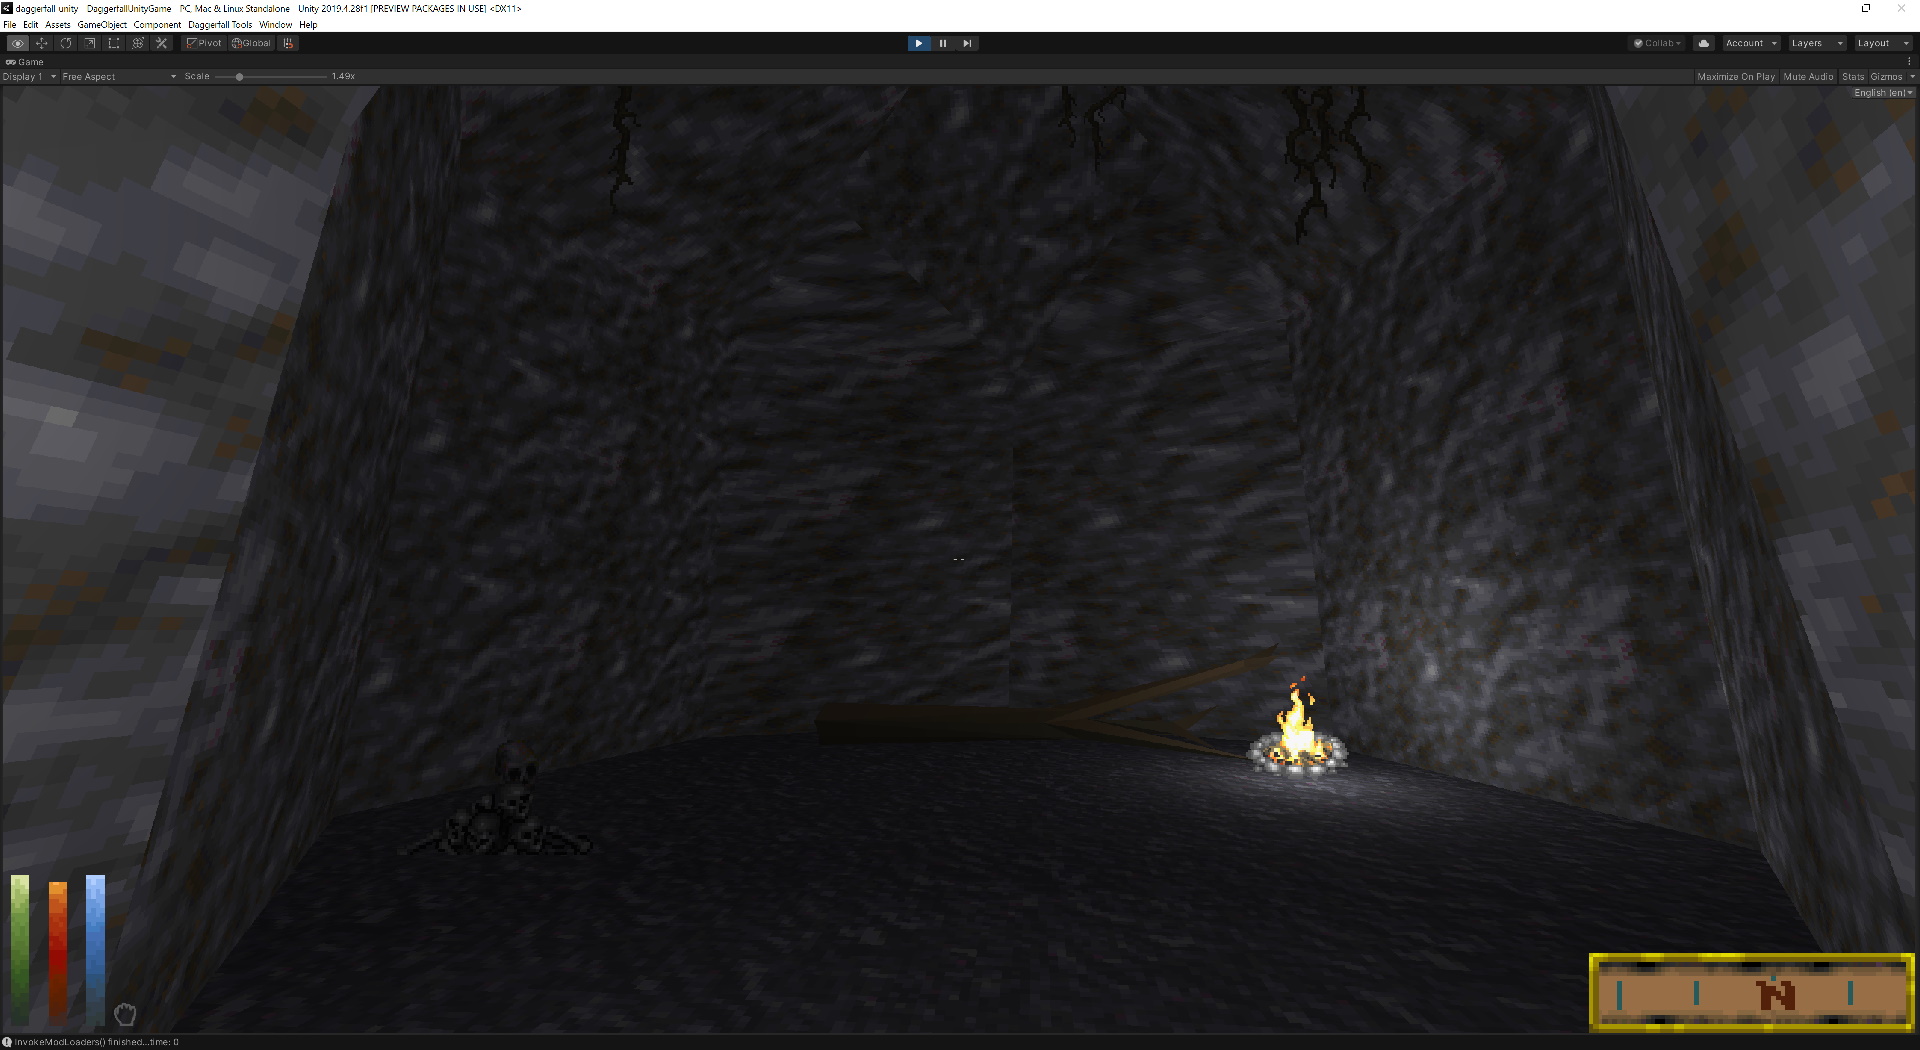
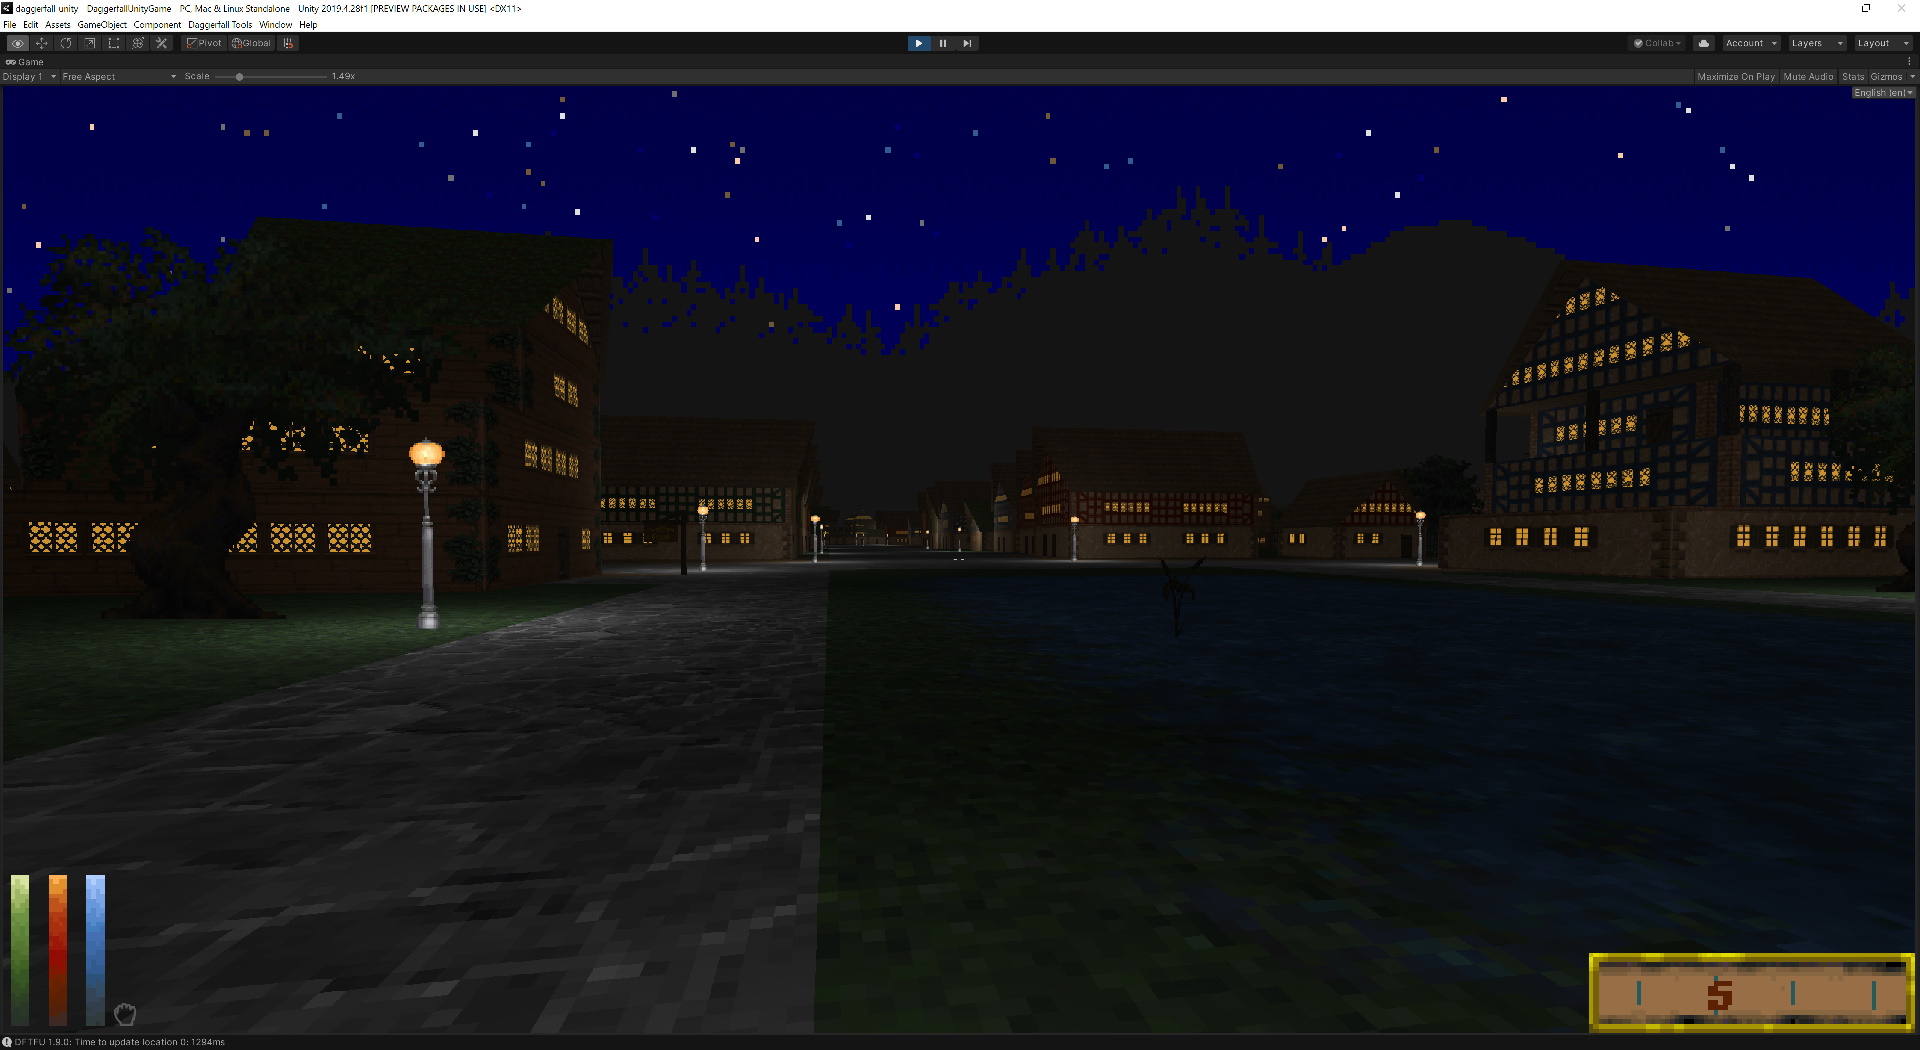
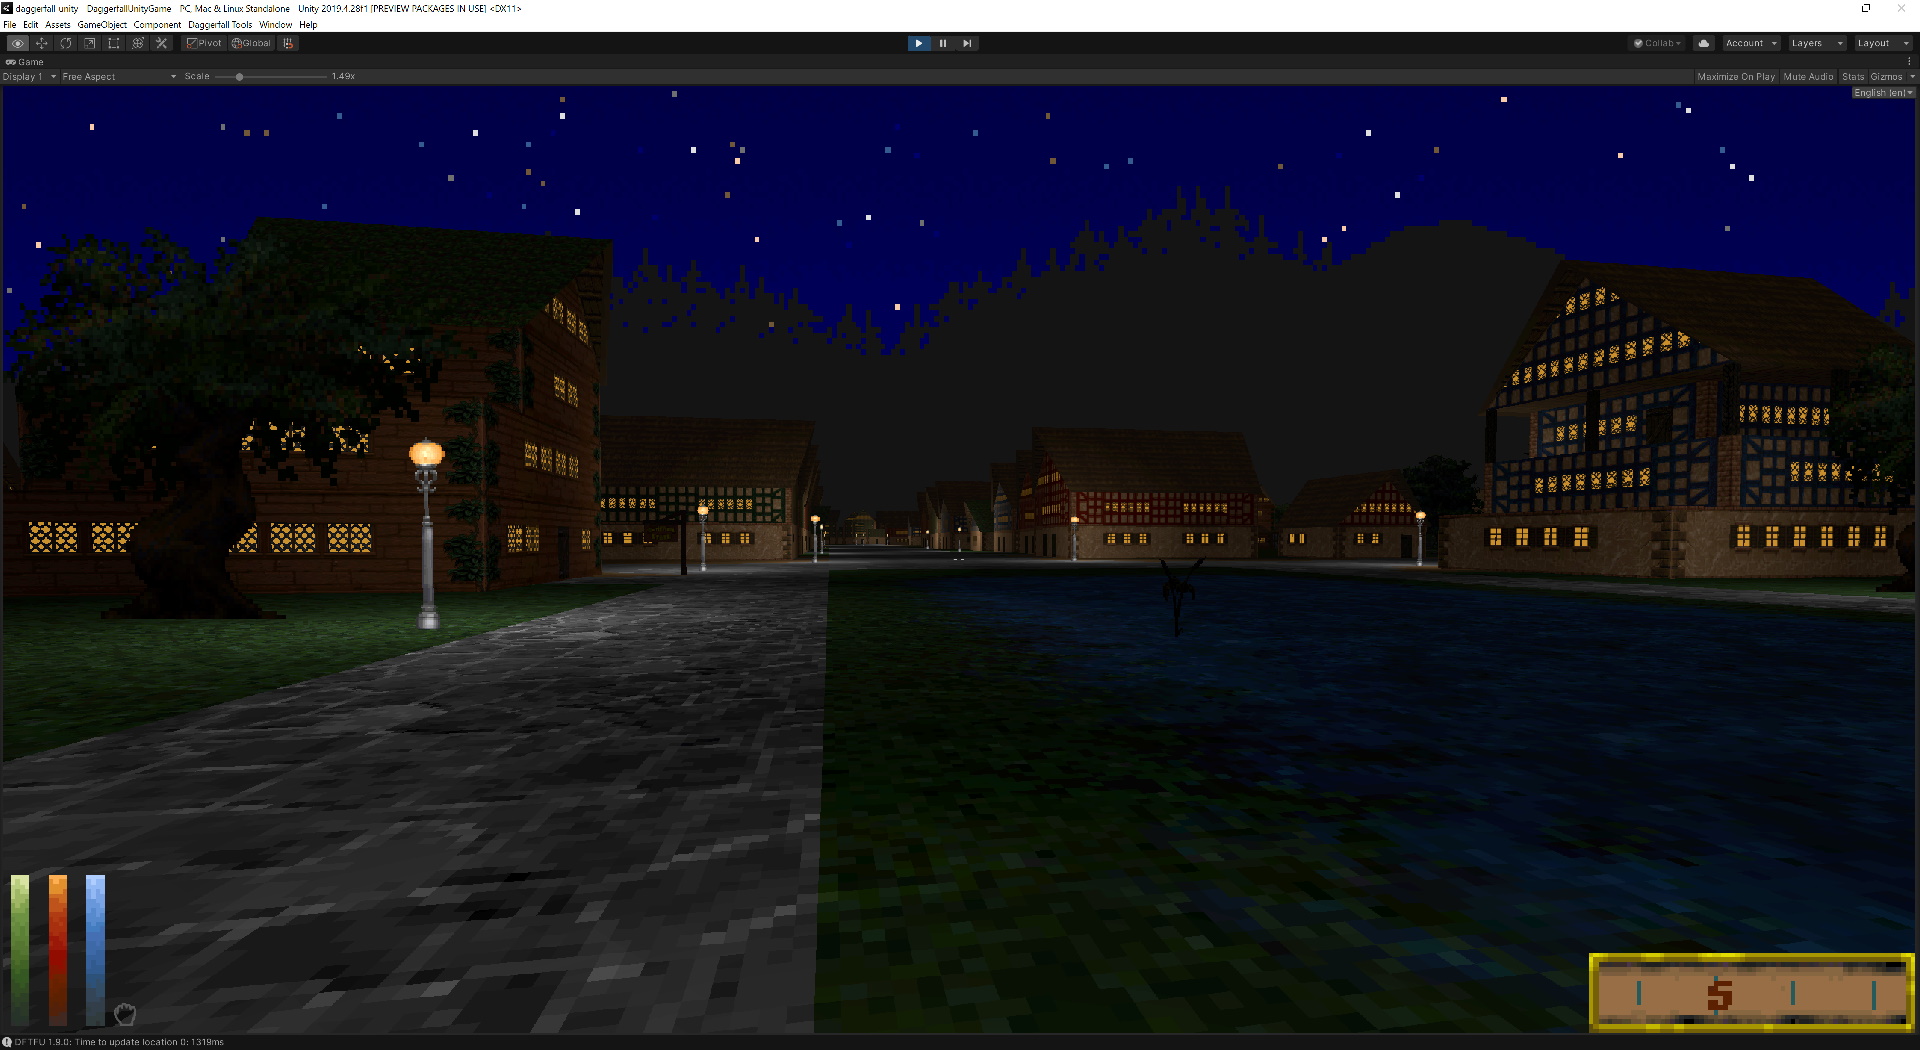
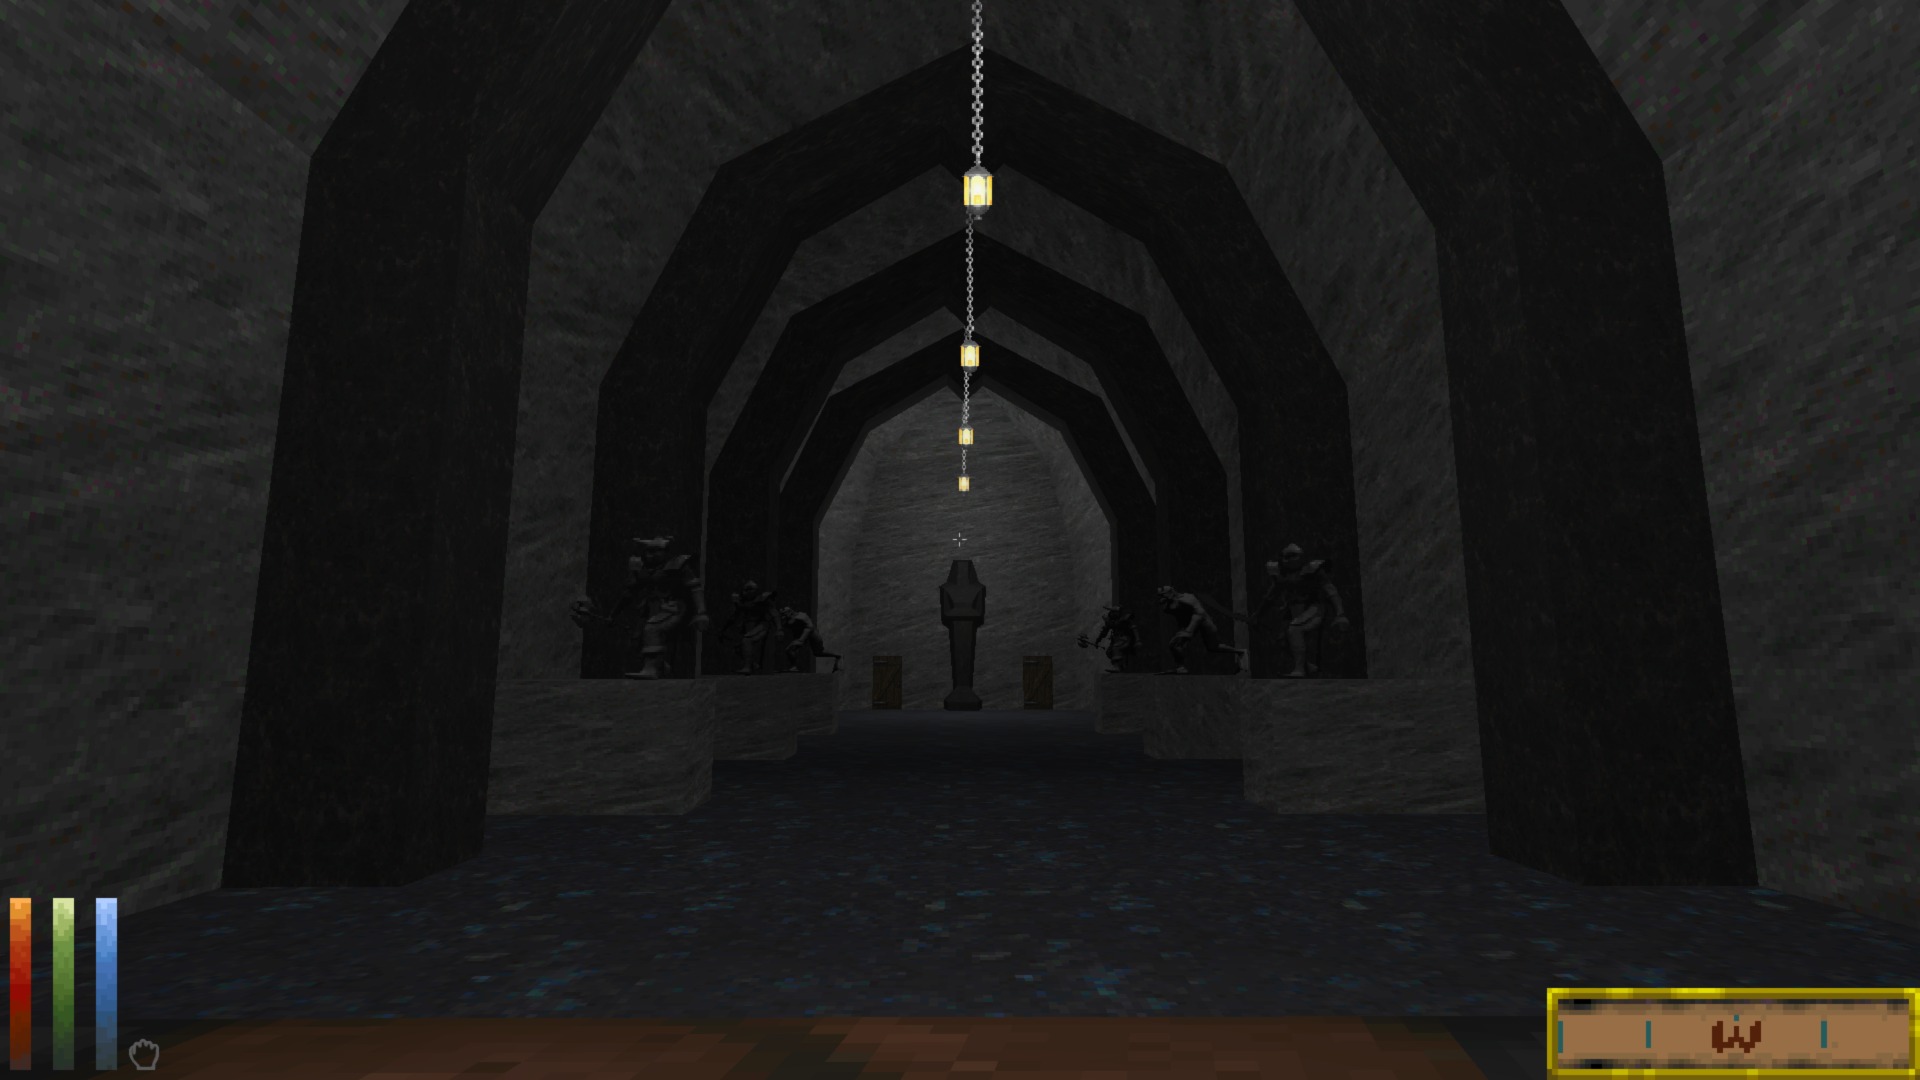
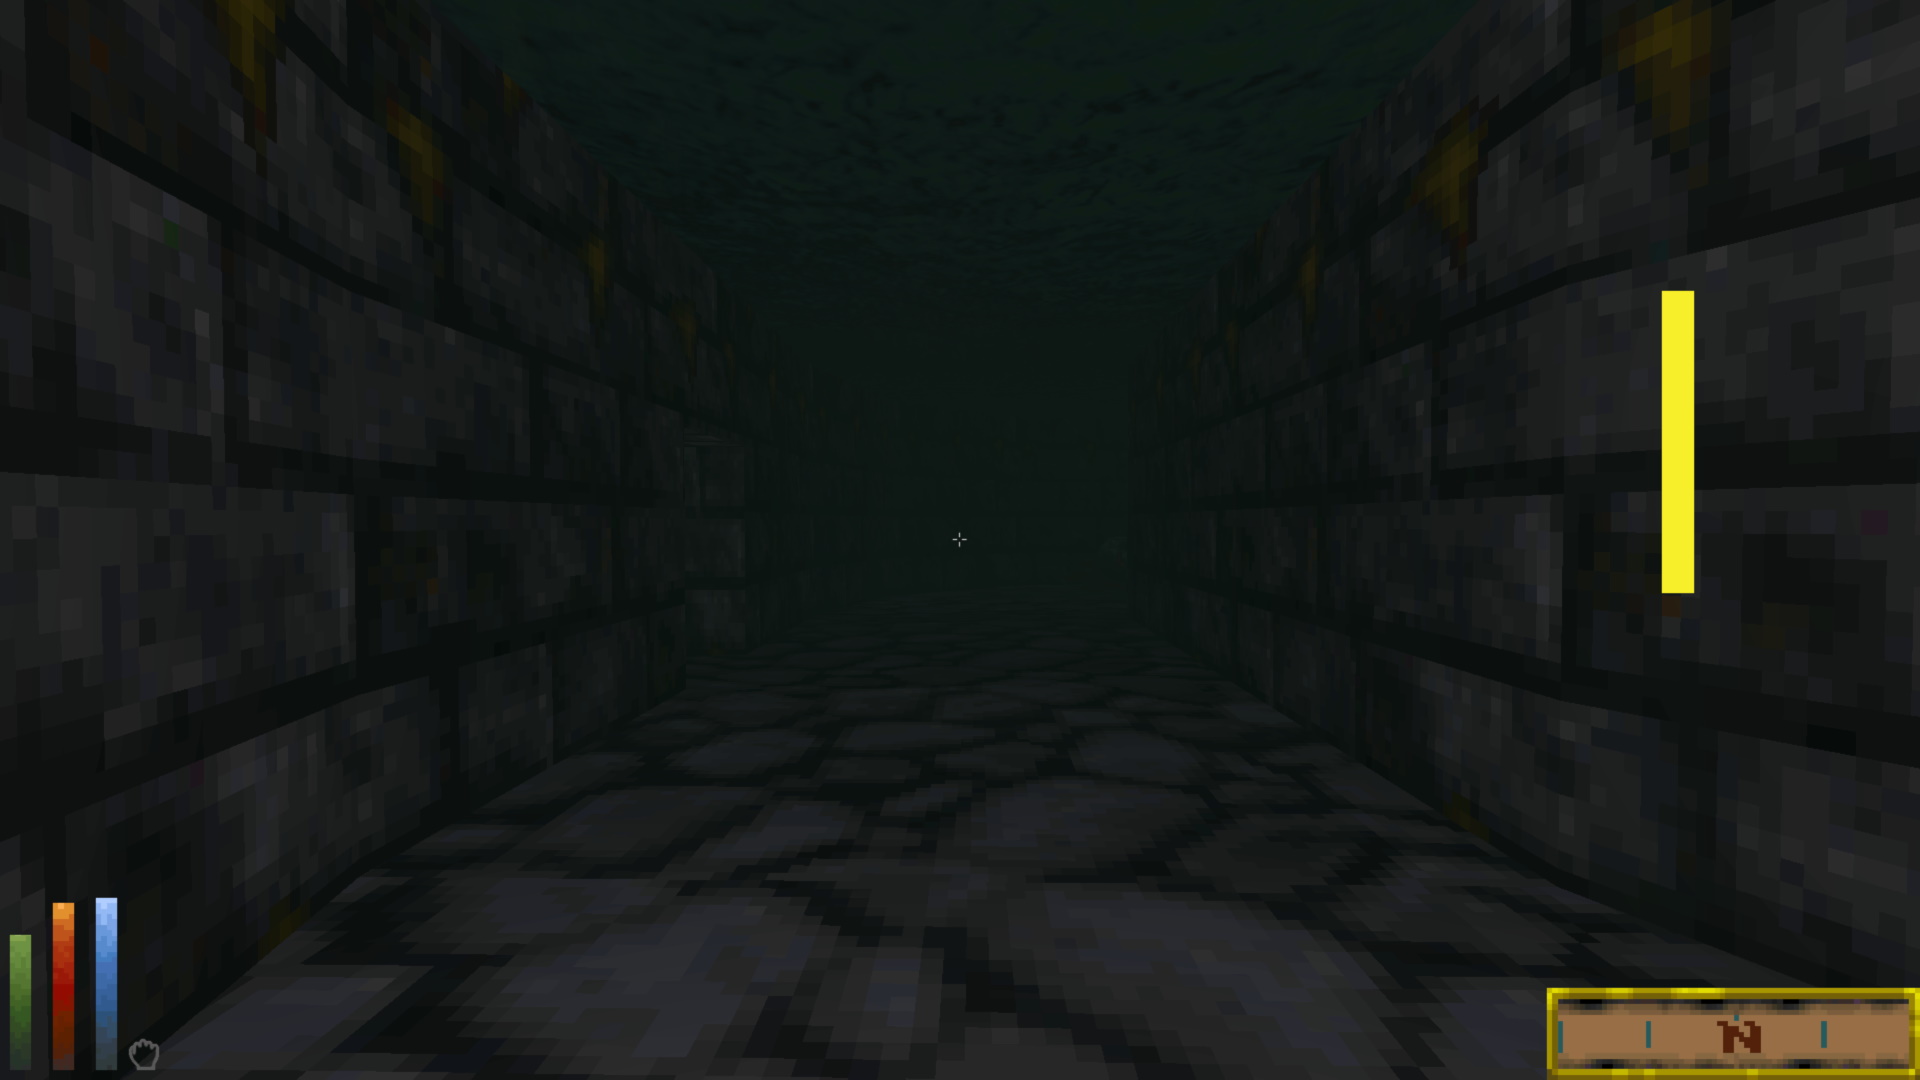
In addition to torch brightness, we also heard that retro rendering mode is too dark and tends to crush colours towards black. This kicked off a review into better matching classic’s brightness, particularly in retro mode rendering. During this review, we noted classic dungeons are very bright near player then ramp down to near black based on distance from camera. Because Daggerfall Unity’s retro mode uses naturalistic lighting and selects palette colours in a post-process, it does not properly capture this effect.
The solution was to introduce a new effect called ColorBoost to default shaders which juices up colours local to player and ramps down over a short distance. This better matches brightness contrast seen in classic, and will help players tune dungeons and nights to properly select brighter colours in retro mode local to player. ColorBoost is not a lighting effect, rather it scales albedo near camera so that brighter colours will be selected in post-process. ColorBoost will be available from 0.13.3 with or without retro mode enabled, but its primary purpose will be to select better colours in retro mode. You can see a preview of it in this tweet.
Terrain Mod Compatibility
We’ve worked with authors of popular terrain mods to help overcome compatibility problems and get their mods working in 0.13. This required updates to both mods and core. We’re pleased to announce that Enhanced Sky, Distant Terrain, and Eroded and Enhanced Terrain are now compatible with 0.13.2+. Mod authors should have compatible mods released soon now 0.13.2 is available.
General Improvements & Fixes
We’ve made several minor performance improvements and fixes under the hood. To summarise these quickly:
- Retro-sized textures are no longer compressed automatically, as this destroyed appearance of small-sized texture replacements. The threshold for retro-sized textures is < 256 pixels wide and high. (Interkarma/TheLacus)
- Fixed internal crash when loading compressed normal maps.
- Fixed loading non-colour maps as linear.
- Refactored loose texture asset loading to fix some minor bugs and clean up code.
- Fixed errors in terrain tilemap shader and cleaned up shader code.
- Fixed excess draw calls when rotating interior automap, a large performance improvement to automap (spotted by King of Worms).
- Fix out-of-range error in FormulaHelper.CalculateCastingCost (KABoissonneault)
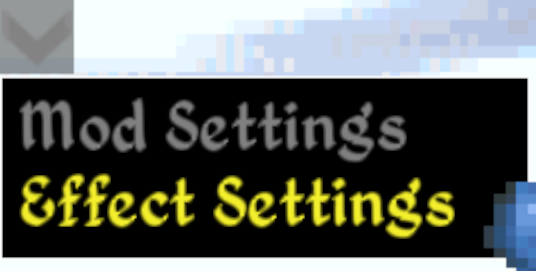
Effect Settings / Post Processing Tuning
There’s a new in-game UI under the pause menu chevron called Effect Settings.
This UI allows you to customise post processing effects while game is running. As Daggerfall Unity now embeds PostProcessing v2 (PPv2) stack, the mod which previously customized these settings is no longer compatible. Rather than update mod, we’ve integrated these settings straight into the core game!
All post processing effects are disabled by default. Once you access the above menu, you’ll be able to enable and tune Antialiasing, Ambient Occlusion, Bloom, Motion Blur, Vignette, Depth of Field, and toggle Dither while seeing your changes at runtime. Screenshots below of first three settings pages.
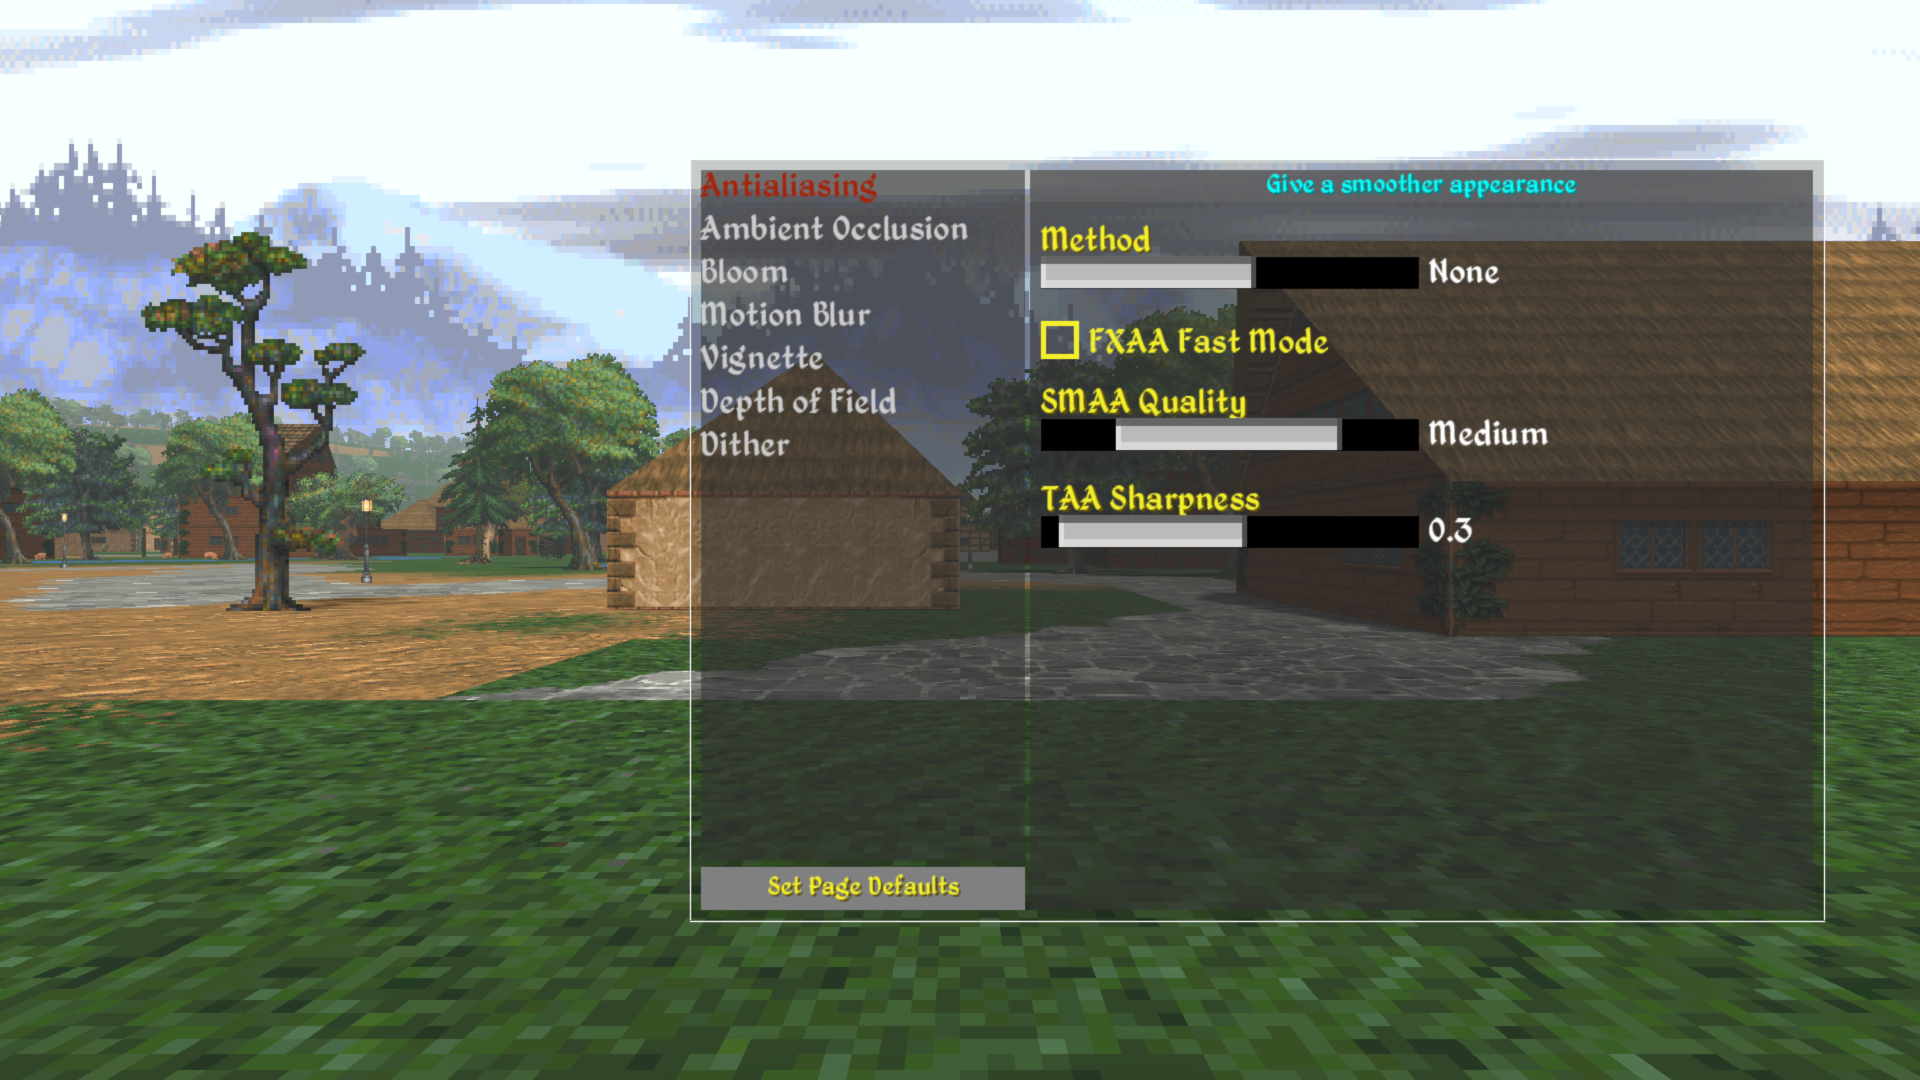
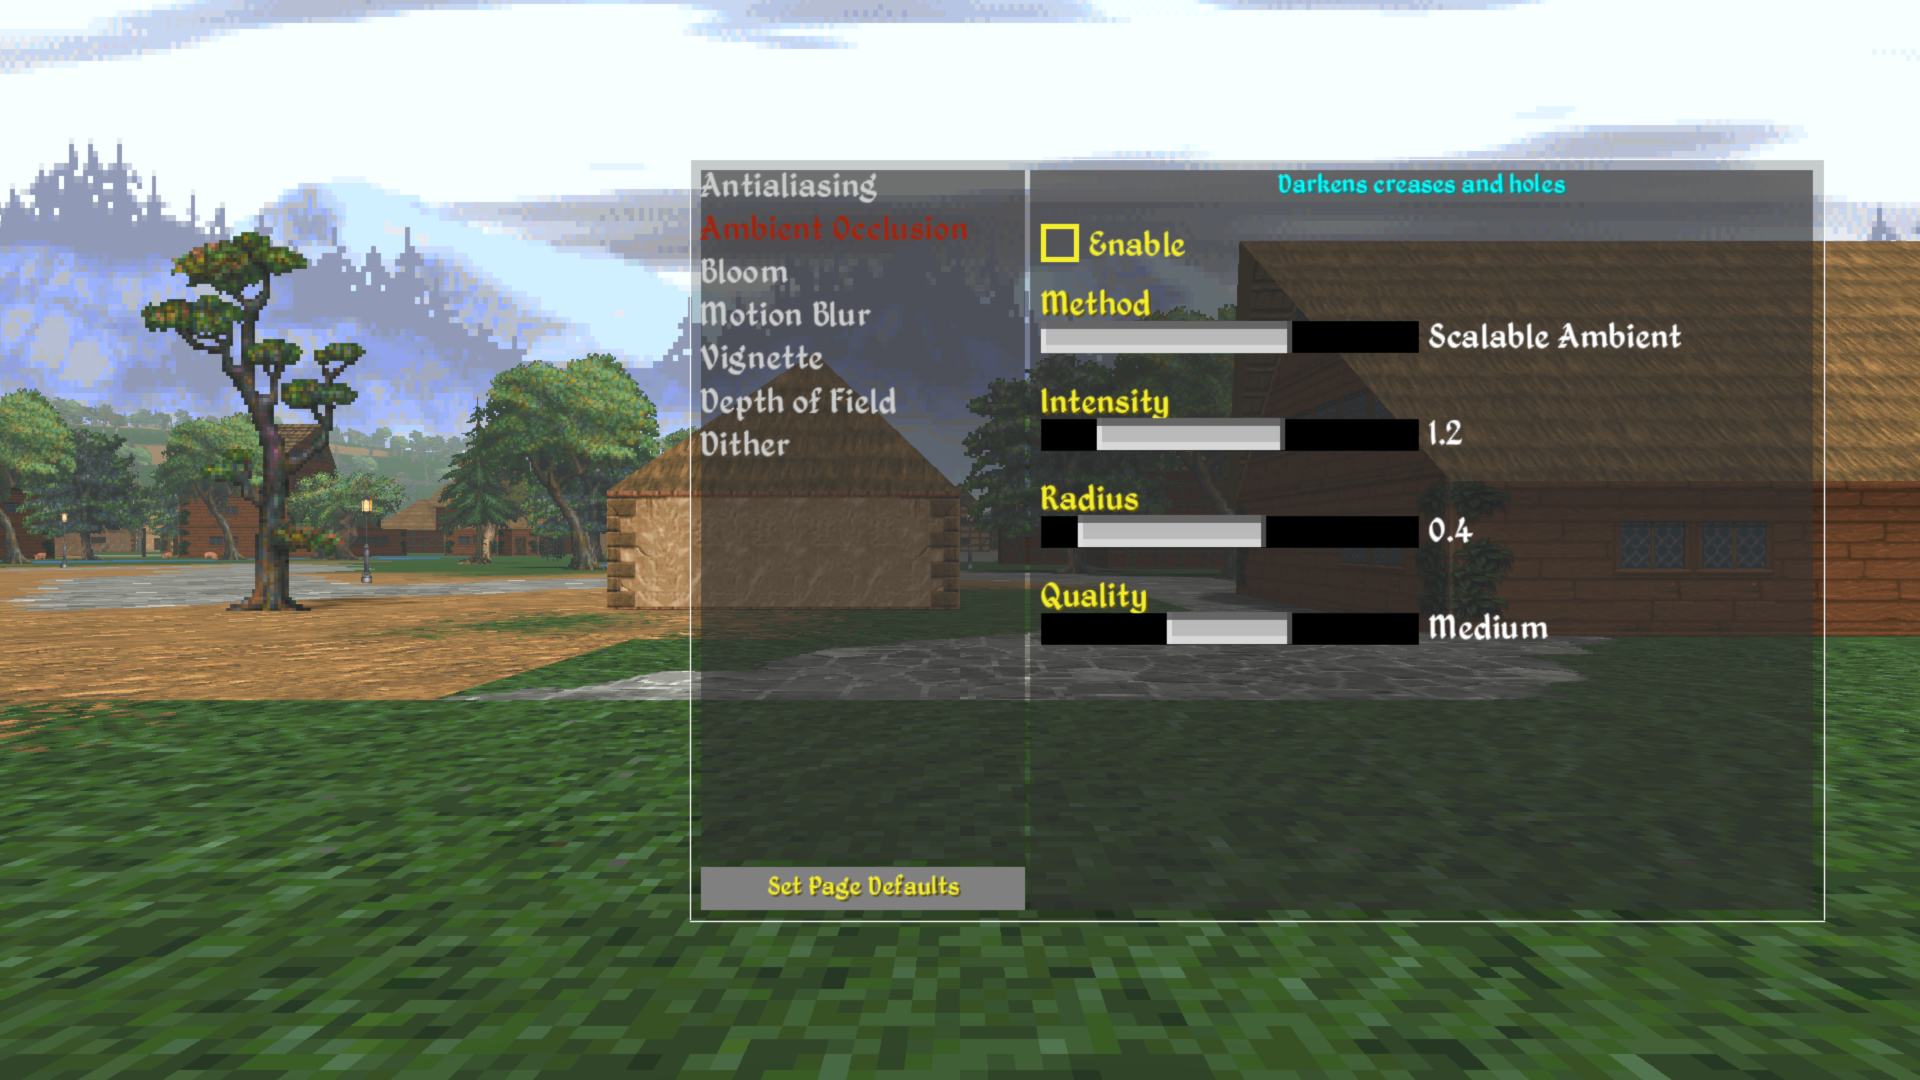

These settings have been expanded to include new settings available in PPv2 that were not available in older releases.
The Effect Settings window is also expandable, so mods can introduce new post processing or other effects, then plug their config page into this UI. This will be where ColorBoost is homed once that feature goes live in 0.13.3.
Post processing is very much a matter of personal taste and you should be able to dial in an effect to your liking. You might use these effects in your game or just to take screenshots. With effects like Vignette and Depth of Field, you can create more stylized screenshots like below.
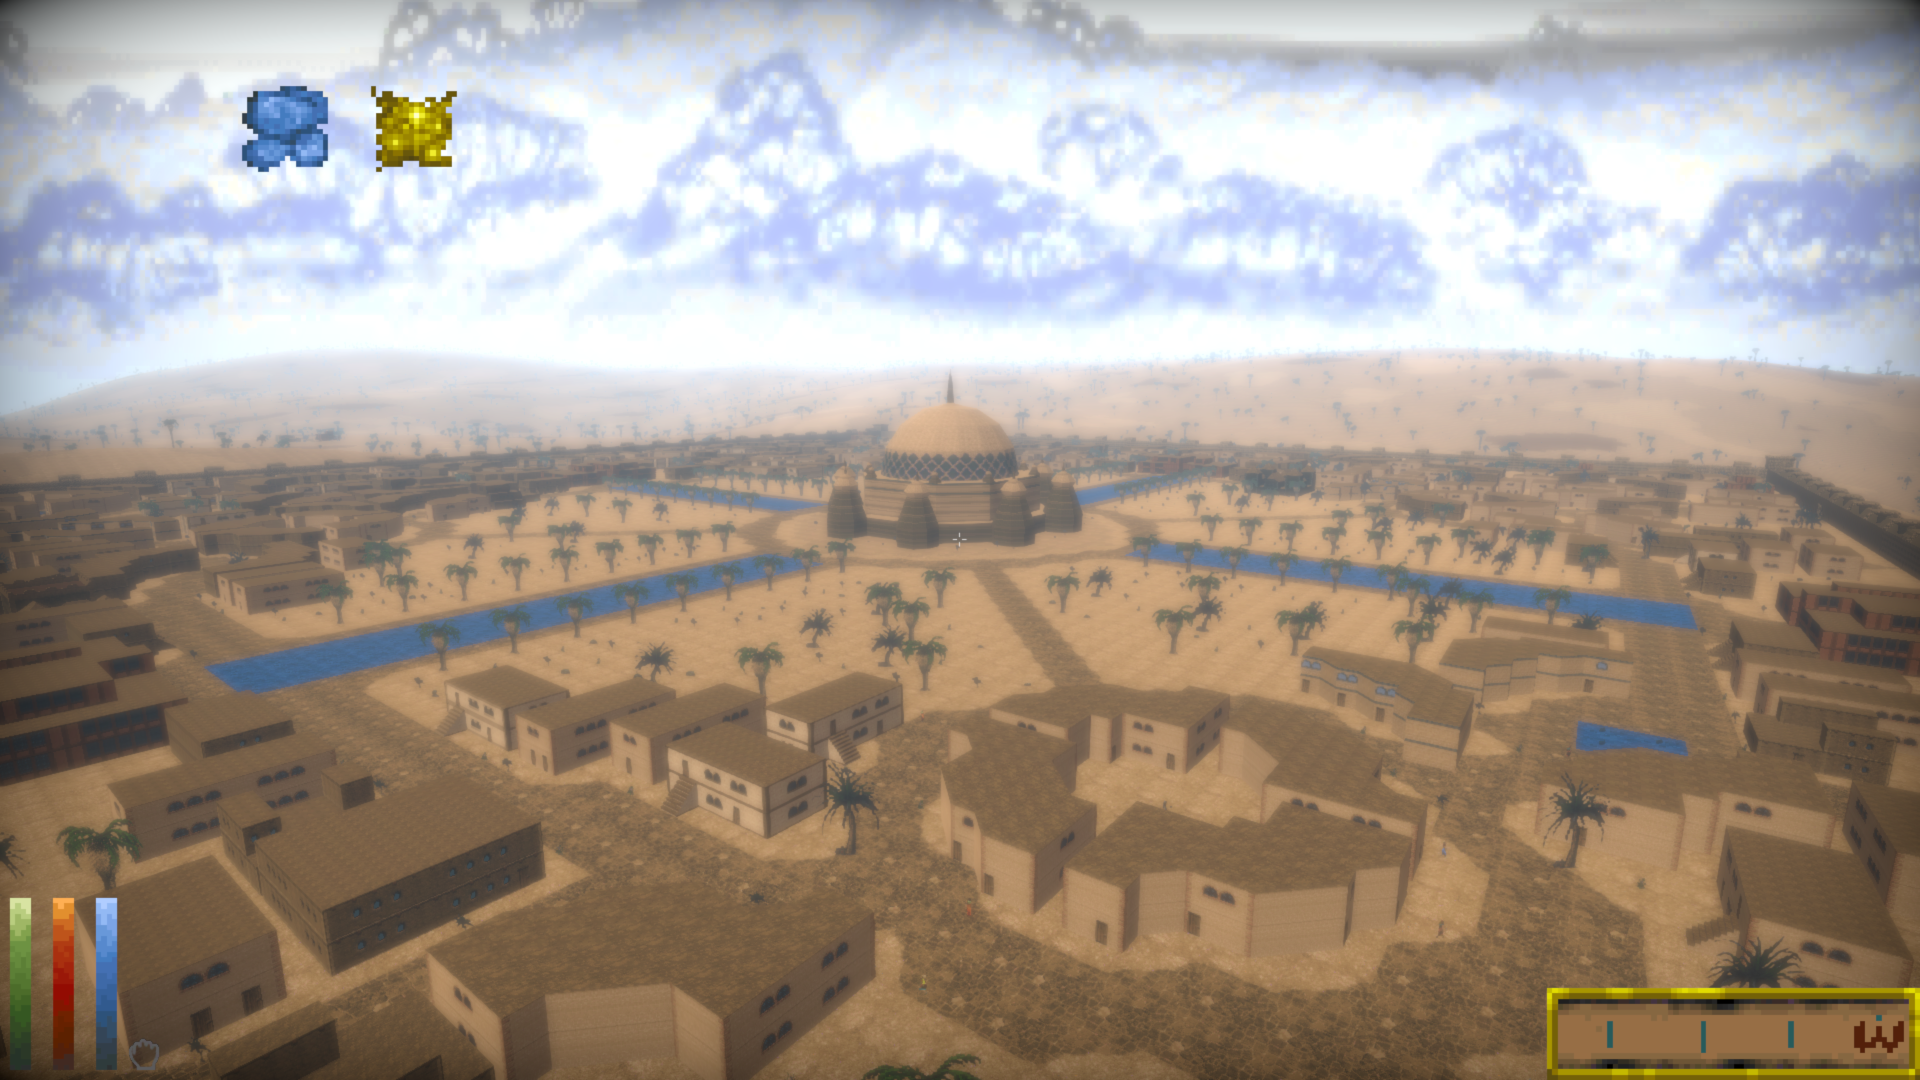

The choice is yours how you want to use these effects. You can leave them disabled, enhance game by degrees, or pile on a bit of everything for photography purposes.
Conclusion
With all the tweaks and fixes in this release, along with increasing mod compatibility, Daggerfall Unity 0.13 is almost ready to lose the Preview tag and go back to stable beta releases.
As of now, 0.13.2 represents a close-to-final state for rendering in Daggerfall Unity. All the challenging and breaking changes are now behind us. Modders can release compatibility updates for 0.13.2+ and be confident their mods will remain compatible with 1.0 as no further rendering changes are scheduled.
Looking at a timeframe for 1.0, this will now most likely be early 2022. End of year is fast approaching and we still have lots to do. Once rendering is closed out, we’ll move on to Localization improvements and general bugfix. We’ll call 1.0 when happy with overall state and stability of game.
Thank you for reading, and for playing Daggerfall Unity!